FF7 Rebirth Walkthrough – Chapter 13 – Where Angels Fear To Tread
At the Junon Aerodrome, Elena and Rude catch wind over the radio that all units are converging on the temple's location, prompting discussion about the legend of those who enter the temple never returning. Reno stirs in the back of the chopper as Tseng boards with the keystone in hand.
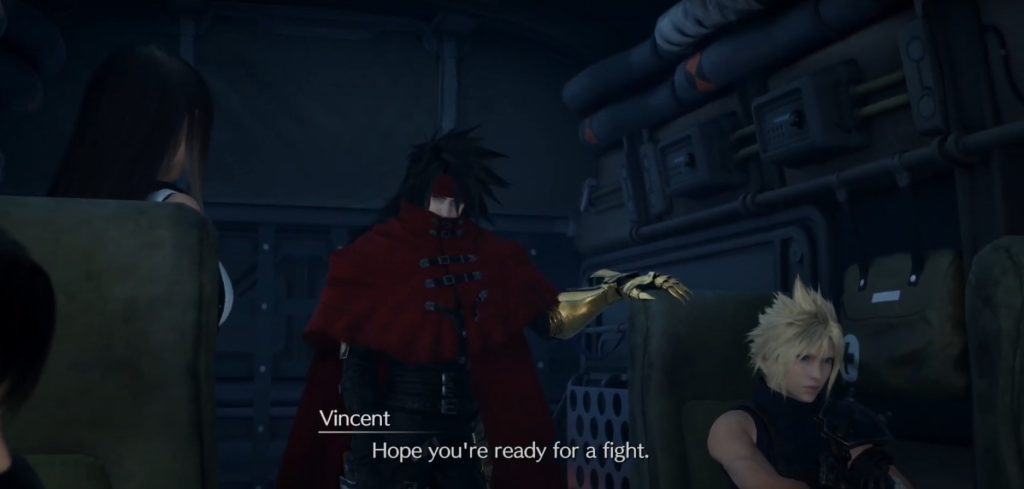
Vincent, eavesdropping on the conversation, confirms Shinra's trajectory toward the northern continent, a path Cid agrees to follow.
Steering the Bronco boat northward into the vast expanse of the open sea, you set your sights on the objective marker displayed on your HUD's compass. As you near your destination, the sky darkens, and a scene unfolds overhead featuring Rufus and Hojo aboard a helicopter discussing the temple's significance as the "beginning of the end."
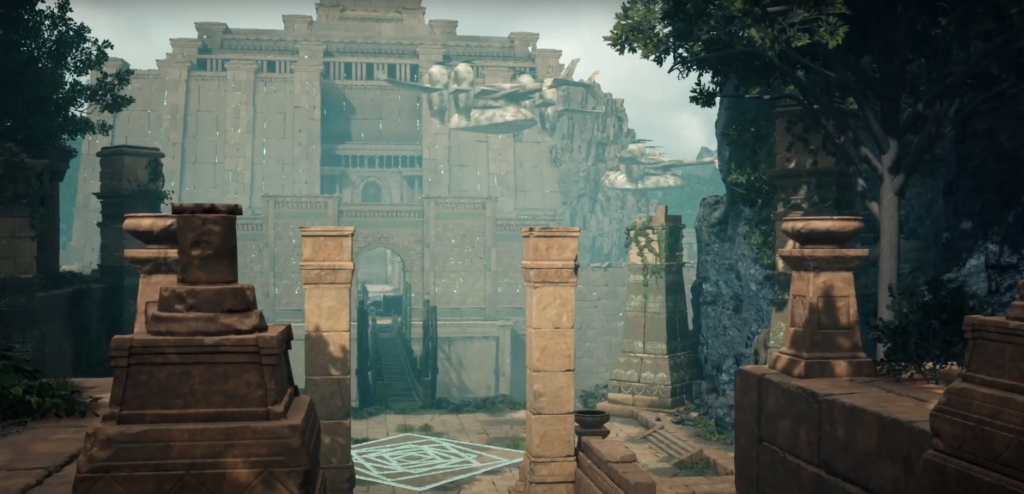
Below, Tseng places the keystone into an altar, and the temple of the Ancients materializes. Continuing your journey on the boat, you eventually reach your docking point.
Here, a warning alerts you that you're approaching a point of no return. If you have any unfinished activities or side quests you wish to complete before advancing to the game's conclusion, refrain from docking until you're fully prepared.
As Cid tends to repairs on the boat, you can utilize the Rest Bench and vending machines to your right before venturing into the nearby forest.
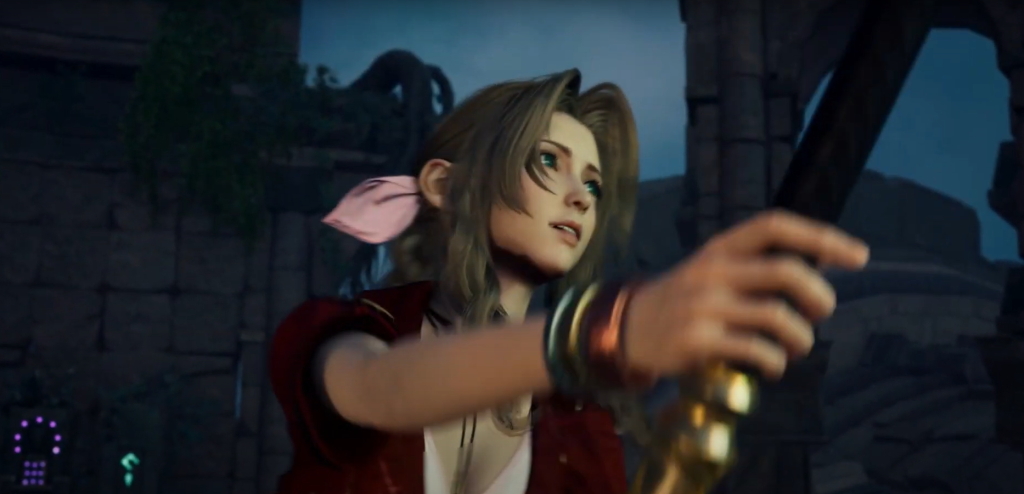
Proceeding northward, you emerge onto a bridge leading to the temple, where Aerith senses a connection with the lifestream, urging the party to enter.
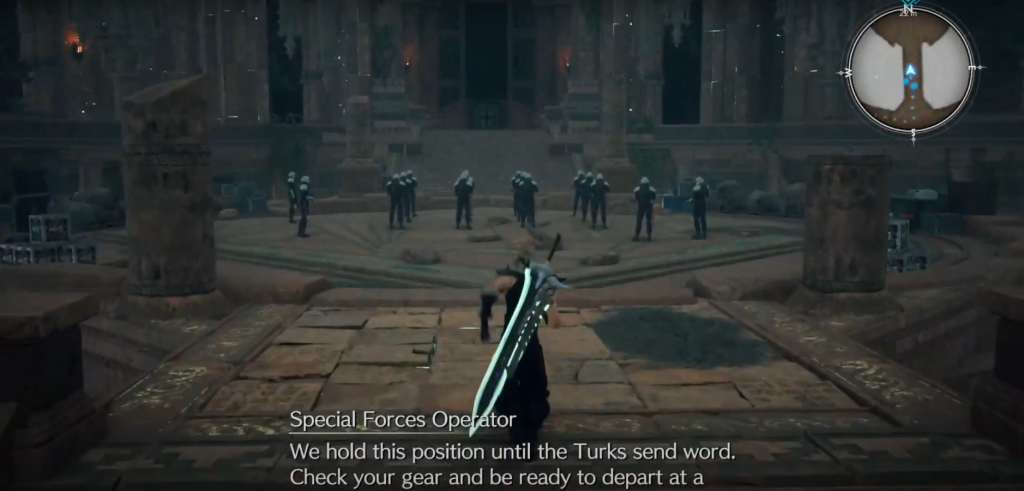
Cross the bridge, ensuring to loot the chest on the left side down the steps, yielding 2 mist mega-potions. On the opposite side, you'll engage with 3 Security Officers, a Special Forces Operator, and a 2-C SOLDIER Operator. Prioritize your targets in reverse order: the 2-C SOLDIER, followed by the Special Forces, and then the Security Officers.
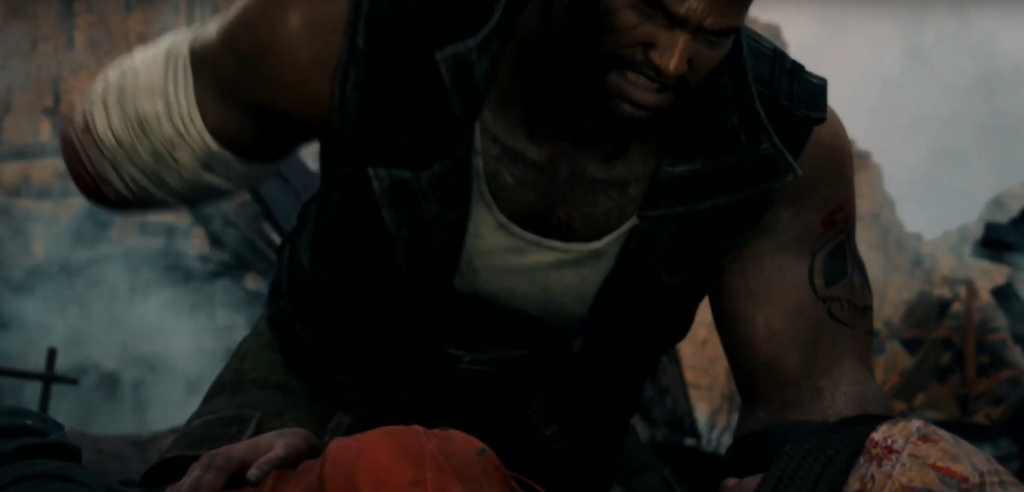
During the skirmish, you may attract the attention of two additional enemy clusters, each composed of Security Officers, Elite Security Officers, Elite Grenadiers, and additional 2-C SOLDIERs. Once all adversaries are vanquished, proceed up the main path toward the north. Vincent remarks on the fiends that have slain the men below, and both he and Cid agree to await your return as you ascend the steps and push open the doors at the summit.

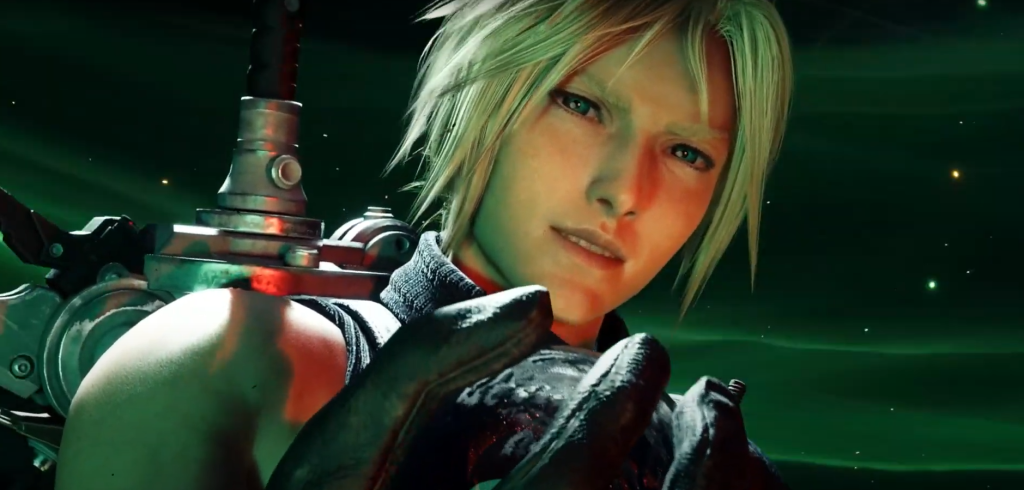
After receiving intel about Sephiroth from a hooded figure named Roche, traverse the Union Room toward the northern end and slip through the gap in the doors. Dispatch the Security Officer and two Riot Troopers guarding the area before pushing open the next set of doors, revealing the labyrinth beyond. Meanwhile, within the Labyrinth's Path of Guidance, the Turks hear commotion outside, prompting Tseng to order Elena to accompany him while Reno and Rude pair up to continue their search.

The Labyrinth
Enter the labyrinth and descend the steps to the east. Follow the path down and around, eventually reaching an automatic barrier at the bottom. Engage in combat against two Blight Frogs and a Cthonilizard. Exercise caution against the Cthonilizard's "Salientian Sigh" attack, as its breath can transmute you into a frog. You'll need a Maiden's Kiss, Remedy, or Esuna spell to reverse the transformation.
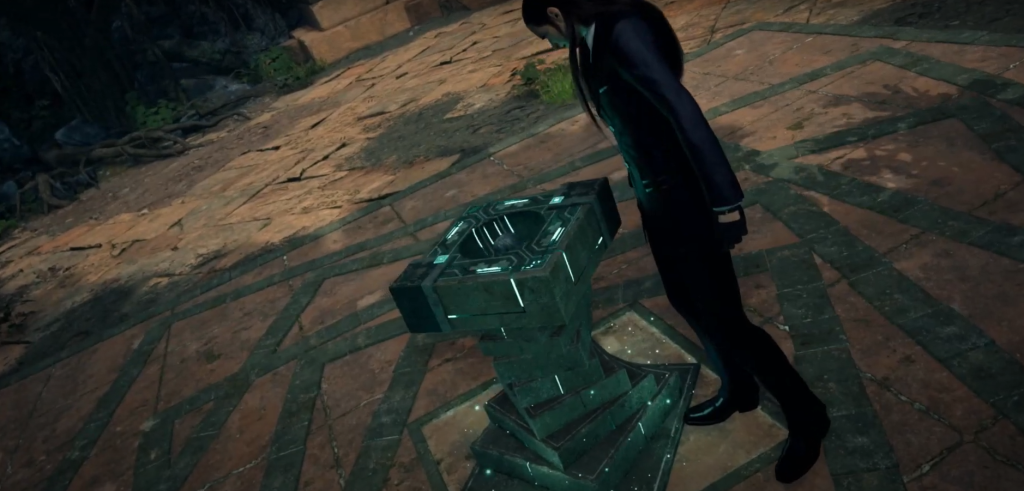
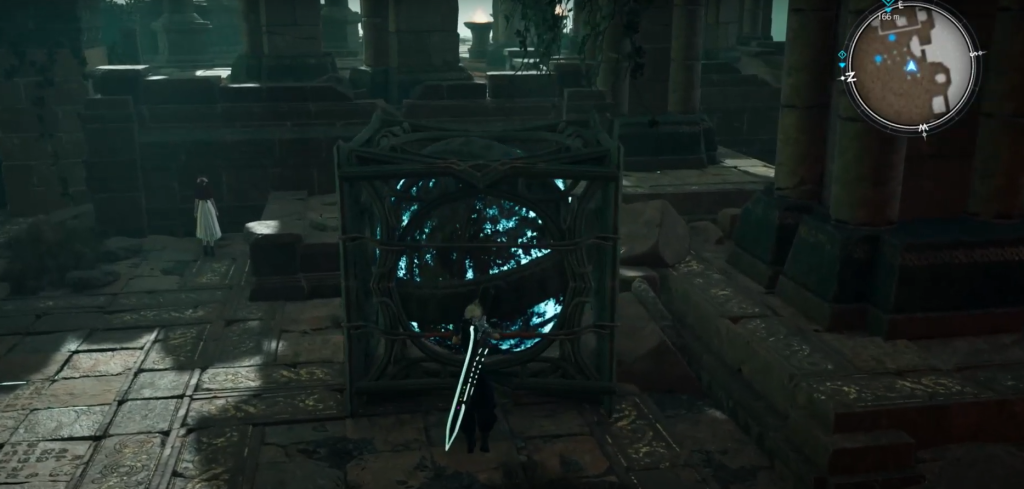
After emerging victorious, ascend the steps to the north, leading you to the Rubystar Chamber ahead. Interact with the floating diamond-shaped structure, granting you the ability to manipulate gravity. Pull the right analog stick downward to invert gravity, placing you on the ceiling.

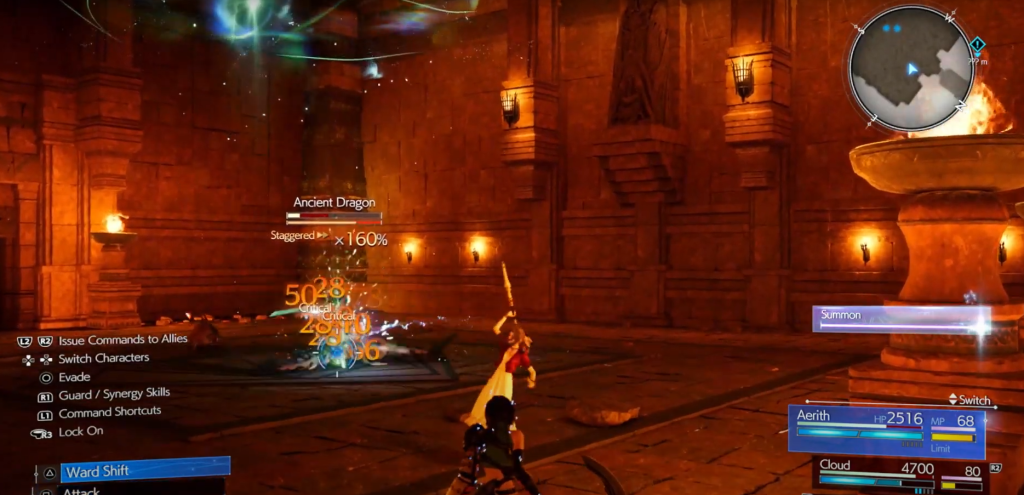
Descend the various steps outside, winding down until you encounter two Ancient Dragons. After dispatching them, proceed through the northern opening and ascend the stairs to the right. Begin climbing the vines at the top, scaling all the way to the left until you reach the Jadestar Chamber - Ceiling. Interact with the chamber to revert gravity, returning you to the floor. Exit the chamber and confront two Cthonilizards and an Ancient Dragon to the left.
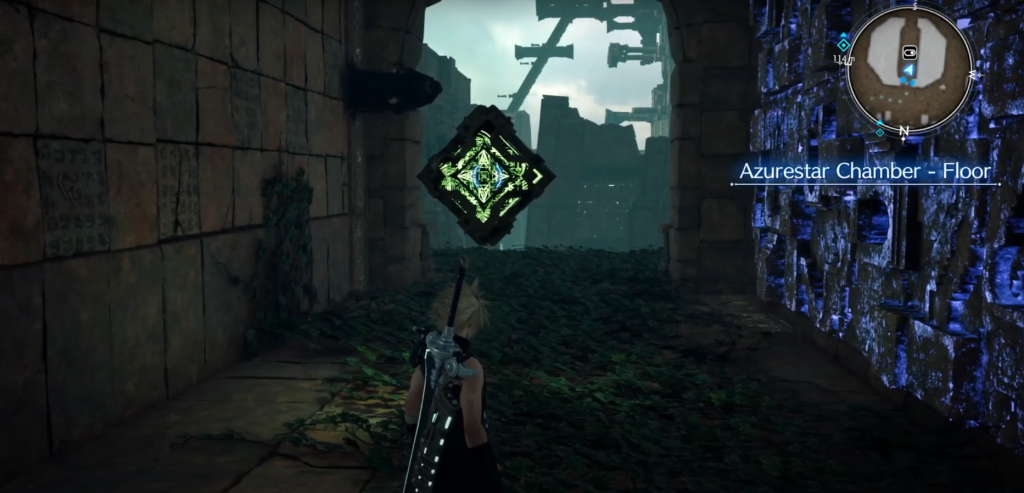
Continue north, then veer left upon sighting the floating green lifestream trails ahead. Here, witness a Special Forces Operator being dragged or falling through the stream. Proceed westward, then ascend the steps to the right, reaching the Azurestar Chamber.
Alter the gravity to position yourself on the wall, aligning with the robed figure. Begin climbing the vines on the wall, ascending to the top of the current set of vines. Then, climb the next set of vines all the way to the summit.
Proceed to the far side of the square and descend the steps, passing through the automatic gate to confront Riot Troopers, Security Officers, and a 2-C SOLDIER Operator. Once you've vanquished them, approach the giant square housing the blue orb and utilize L2 to drag it around. Maneuver it into the southeastern corner to enable climbing onto it and accessing the dangling vines above.
Ascend to the left at the top of the vines, encountering two Shinra soldiers leaping off the waterfall. Proceed to their location and take the plunge off the edge yourself, descending into the water below.
Swim forward, then climb out and ascend the steps ahead, followed by climbing up to the left to confront two more Cthonilizards and a Blight Frog. After dealing with these creatures, ascend the steps to the west and navigate around to the next steps immediately to your left. This will lead you to the Mauvestar Chamber, where you'll find yourself on the wall. Adjust the gravity to position yourself on the ceiling, then descend the various sets of steps outside to confront a large group of Shinra Security Officers.
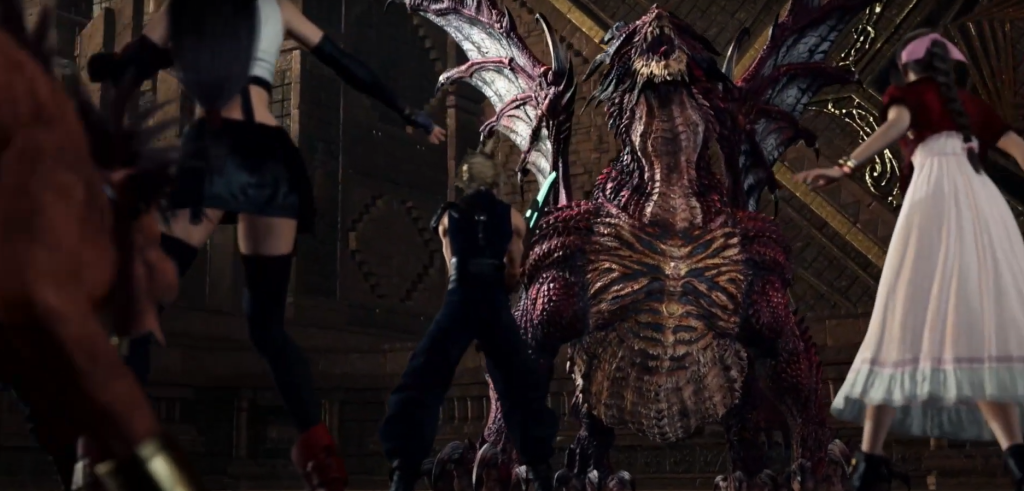
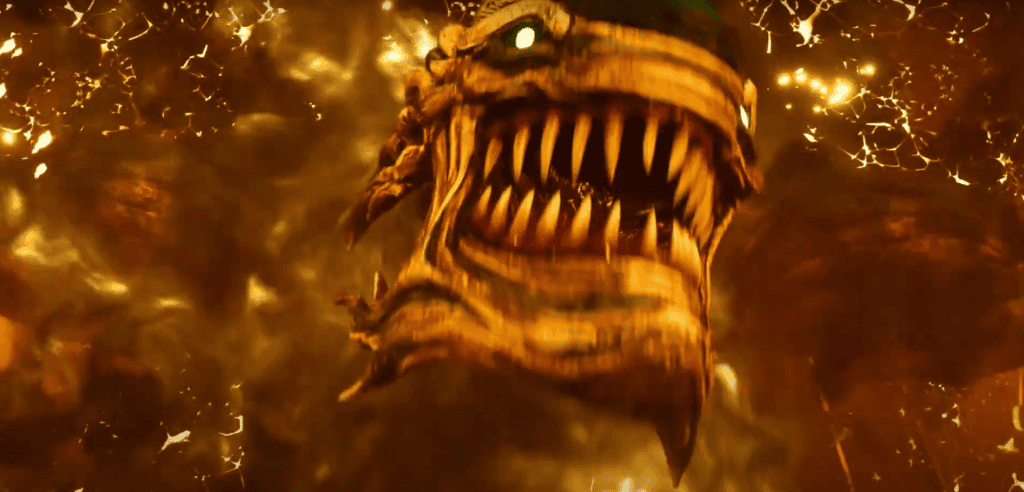
Upon defeating them, ascend the steps and pass through the automatic gate to reach a Rest Bench and vending/Folio machines for your use. Once prepared, descend the steps and proceed through the doors to confront a formidable foe - the Red Dragon.
Red Dragon Boss Fight
Red Dragon Weaknesses: Ice Lesser/Greater
Resistances: N/A
Immunities: Proportional Damage, Fire, Berserk, Stop, Slow, Poison, Silence, Sleep, Petrify, Stone, Morphable Items
Enemy Intel: Striking the scorched pillars and bringing them down on the dragon will pressure it. Destroying one of its wings while it is flying will cause it to plummet, pressuring it. Attacking its chest will reduce the range of Crimson Breath.
Prepare for a fiery encounter with the Red Dragon, armed with an array of fire-breathing and aerial assaults. In addition to basic bites and tail swipes, it employs "Incendiary Breath", unleashing a sustained stream of fire that tracks your movements. Blocking or swiftly reaching cover behind one of the arena's pillars is advisable to minimize damage.

"Tail Strike" involves a backward leap followed by a circular tail swipe, while "Flame Shot" launches explosive fireball projectiles, both of which can be blocked or evaded effectively.
Rearing onto hind legs, the dragon breathes fire in a circular pattern around itself, requiring swift movement to avoid or continued aerial attacks.
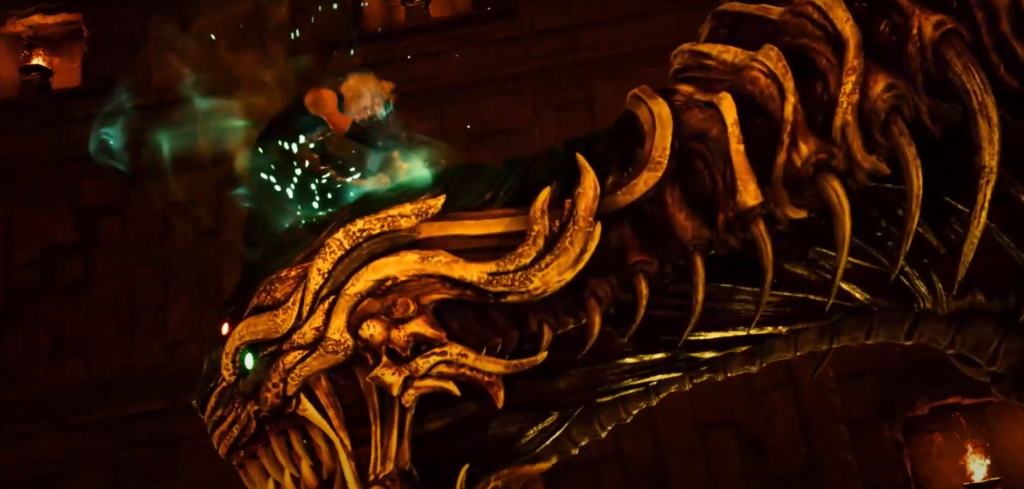
Focus your assault on the dragon's head to pressure it and expedite its stagger. At around half health, gravity flips, and combat continues on the ceiling.
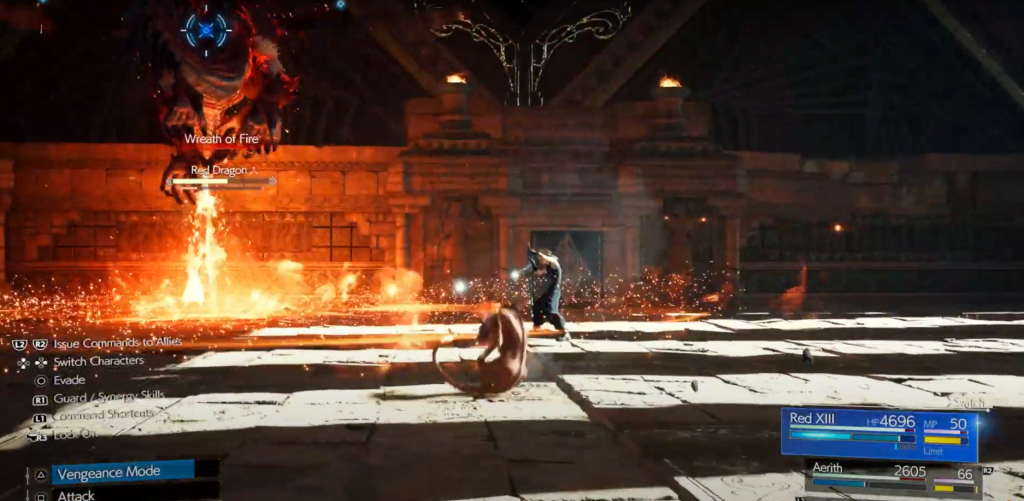
New aerial maneuvers include "Flaming Tail" and "Wreath of Fire", featuring fiery tail strikes and airborne fire breath. "Explosive Flame Shot" intensifies the fireball barrage, while "Linear Eruption" and "Strafing Flame" require nimble dodging.
Target the dragon's wings to ground it, exposing its chest as a vulnerable point. "Crimson Breath I" and "Crimson Breath II" unleash torrents of molten lava, necessitating strategic positioning to evade.

Upon victory, reap your rewards: 3,075 EXP, 10 AP, 2,050 Gil.
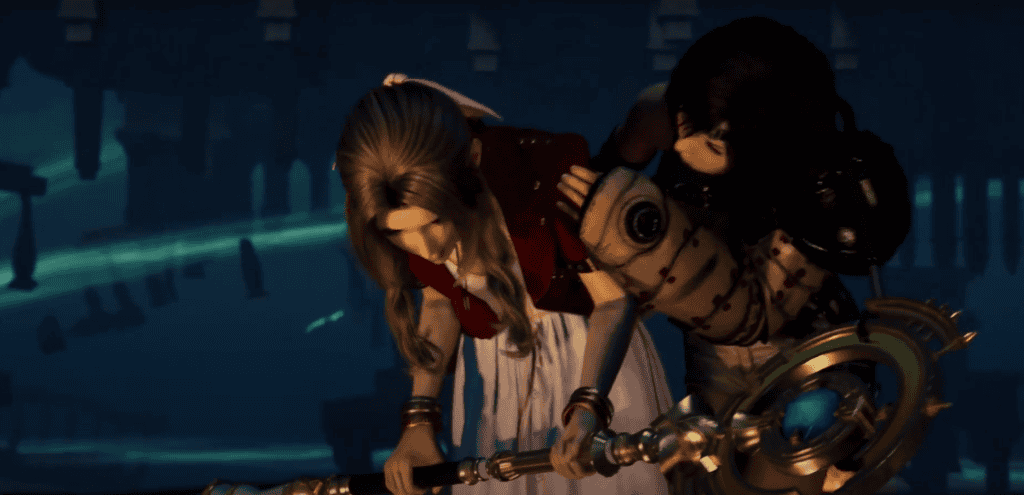
Upon overcoming the Red Dragon, proceed through the doors and activate the elevator at the bottom of the stairs. Descend into the Hall of Life, where Aerith senses the lifestream's agitation. Reno and Rude narrowly evade a lifestream blast in the distance.
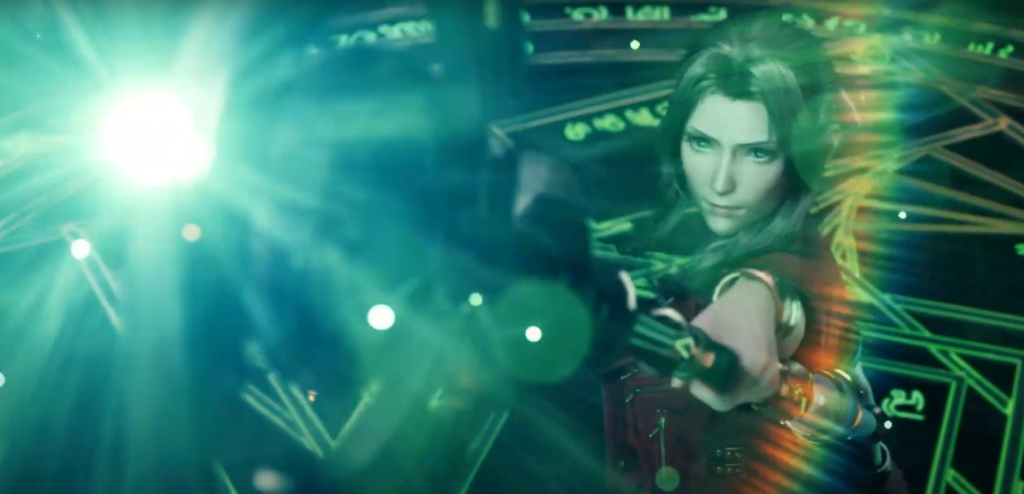
Aerith attempts to pacify the lifestream using her scepter, but the spatial dynamics shift, separating her, Yuffie, and Red XIII. Cloud emphasizes the importance of prioritizing the materia.
Rest and resupply at the nearby amenities before facing Berserker Bees to the northwest. After their defeat, enter the circular structure to the north, emerging to witness Shinra troopers being swept away by the lifestream. Dispatch the remaining foes, including Riot Troopers and a Type G Slug-Ray.
Proceed north, obtaining Tifa's Jarngreipr gloves from a chest to the west before descending the steps. The lower steps collapse, compelling you to navigate the vines on the wall to continue downward.
Upon reaching solid ground, maneuver along the outer wall and cross a collapsed beam. Confront Cthonilizards and Berserker Bees ahead before navigating past intermittent lifestream blasts.


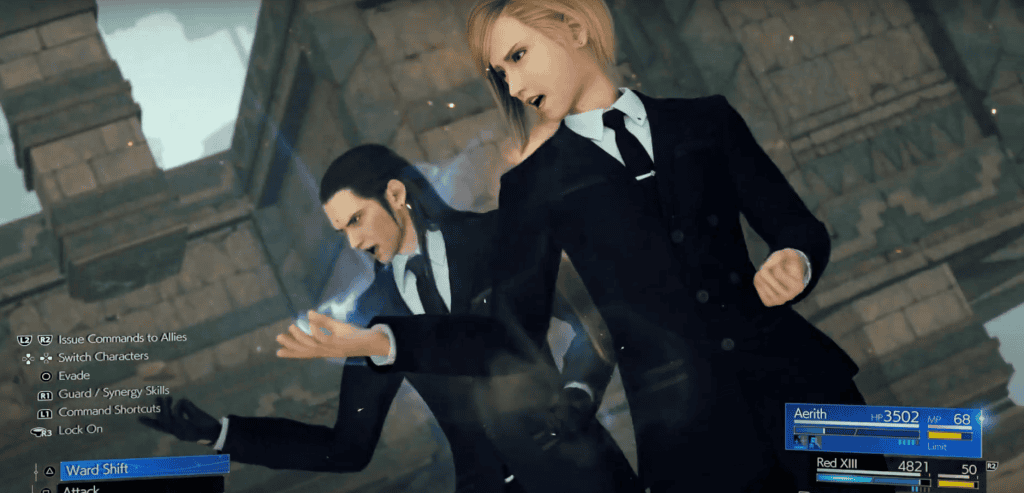
Elena and Tseng Boss Fight

Weaknesses: Elena - Lightning, Tseng - Ice
Resistances: Stop (G), Sleep (G)
Immunities: Proportional Damage, Slow, Silence, Stone, Morphable Items
Tseng, being a seasoned Turk, presents an array of seamlessly connected attacks that form extended combos capable of dealing significant damage if not countered effectively. While Elena's moveset remains largely unchanged from previous encounters, this guide will predominantly focus on Tseng's actions, while noting any new maneuvers Elena may execute.
Tseng initiates chains of attacks, starting with "Knifehand Swipe," a swift dash followed by a horizontal knife slash. This seamlessly transitions into "Furor," a rapid succession of slashes, and further leads into "Vortex Kick," where Tseng unleashes a kick accompanied by a small wave of energy.
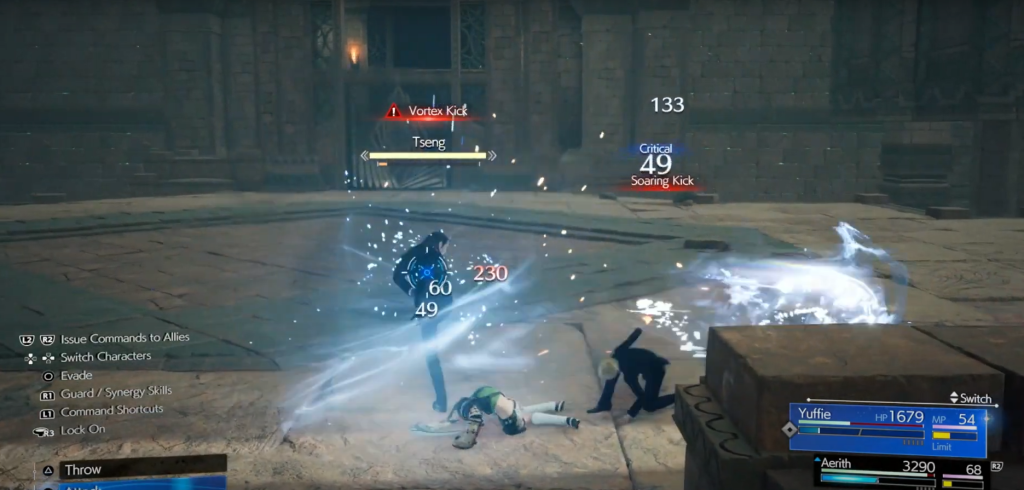
Perfectly timing a block or evading Tseng's combos is essential to avoid sustaining significant damage. "Shoulder Ram" allows Tseng to close the distance swiftly or knock opponents to the ground, particularly effective when attempting to create space.
Tseng employs "Chi Burst," projecting a ball of wind forward, followed by "Dive Punch," a leaping attack that propels opponents into the air. This sequence concludes with "Palm Strike," potentially stunning opponents upon contact. Dodging Palm Strike and swiftly retaliating can pressure Tseng.
As the Turks' health dwindles to around 50%, they join forces, introducing new collaborative attacks. "Sparkstrike" sees them leaping simultaneously to slam their fists, generating an electrical explosion. Subsequently, "Somersault Spray" involves a synchronized backflip while firing guns mid-air, followed by "Butterfly Kick," a spinning vertical kick aimed at the opponent.
While the attacks described above unfold swiftly, surprisingly, they can be entirely avoided with relative ease, even without exerting much effort. Maintaining constant movement and leveraging Yuffie's proficiency in throwing Kunai from a distance ensures that these combos pose minimal threat.
Subsequently, Elena and Tseng may retreat to one side of the arena to coordinate their next move, initiating the "Tag Team" assault. This sequence comprises consecutive punches and kicks aimed at the player, yet evading them is straightforward by simply moving backward, preventing them from closing the distance.
Rewards: 5,967 EXP, 20 AP, 4,730 Gil, 50 Party EXP

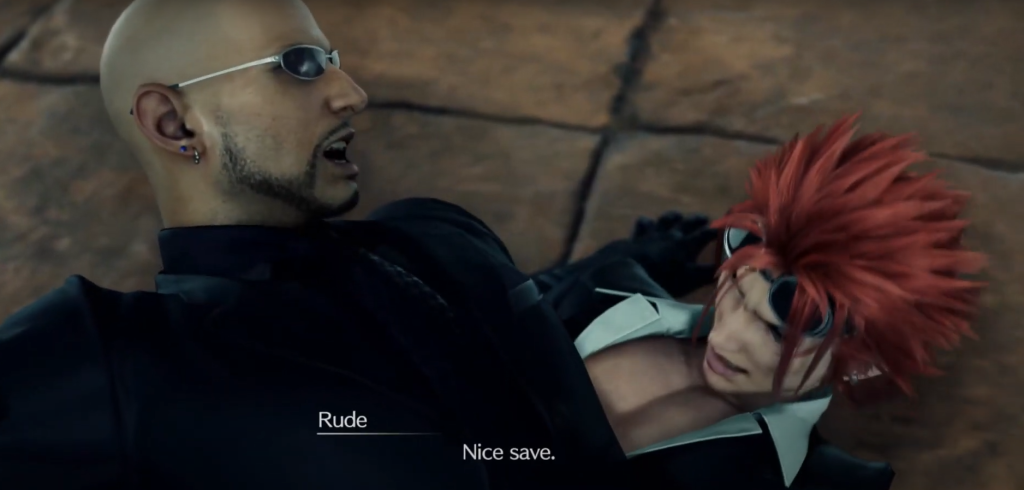
After prevailing against both Elena and Tseng, Elena shields Tseng's retreat, but their escape is thwarted when the ceiling collapses under the weight of Cloud and his comrades crashing down from their altercation with Reno and Rude. Cloud, consumed by a mindless frenzy, moves to strike Elena, but Tifa intervenes, pulling him back from the brink of his delusion.
Leaving the trapped Turks behind, the party presses onward, joined by Vincent, who arrives to mock their predicament. After availing themselves of the nearby Rest Bench and vending/Folio machines, they proceed along the path and descend via the elevator at the far end, arriving in the Hall of Resurrection. Entering through the doors ahead, they witness Tseng conducting an investigation before being impaled by Sephiroth, who materializes via one of the nearby robed figures.

As Sephiroth taunts the party, Tseng fires a shot at him, causing the apparition to vanish along with the robed figure. Taking control of Aerith, the player approaches Tseng, who elucidates that the nearby pedestal is a key accessible only to Ancients, before departing.
Upon activating the pedestal, it becomes apparent that each party member (except for Cloud) must undergo a trial to reflect on their past experiences.
The Trials
As Aerith, approach the red door ahead and descend the steps within. Upon reaching the bottom, direct your gaze towards the statue and press △ to initiate the trial. While the trials unfold linearly, the first involves Red XIII.
Evade the gunfire from the Shinra troopers as you ascend the walls in your path. Ascend a flight of stairs and find yourself in Hojo's lab, where two Shinra soldiers apprehend you. Follow the on-screen prompts to resist their attempts to drag you towards Hojo, though ultimately, Red XIII is subdued and branded.

Next is Tifa's trial, wherein she is transported back to Nibelheim, encountering a younger version of herself beckoning her to ascend the water tower.
Climb the tower and proceed around the corner to encounter a young, despondent Cloud. The scene then shifts to the attack on Nibelheim, prompting you to descend and follow Cloud as he departs. He directs you towards Tifa's father atop the steps leading out of the village.
Ascend the steps and interact with the door at the summit to arrive in the Nibelheim reactor. Proceed through the far door to find Tifa's father lifeless on the ground, igniting Tifa's emotions as she grapples with her grief and anger.

Yuffie's trial follows, as she descends the stairs only for the floor to collapse beneath her. Climb the metal bars and encounter a spectral version of Sonon, whom you must pursue upward and then to the right.
Continuing your ascent, follow the glowing kunai icons, each leading you closer to Sonon. Climb steadily until you reach the pinnacle, then step off the bars and enter a room. Utilize L2 to grapple and swing from the rafters, dropping into the room on the far side where Shinra corpses lie.

Approach the elevator and press the button, triggering a confrontation with Nero. Subsequently, Barret's trial commences, transporting him back to Corel before the reactor's explosion. Navigate through the village until reaching Myrna, hanging laundry at the far end. After an embrace, Barret is transported to the aftermath of the explosion, witnessing the devastation.
Proceed down the steps and crawl under debris, then head left toward Myrna lying on the ground. Prompted by △ and repeated L2 presses, Barret kicks down the metal grate to reach her.
Aerith's trial unfolds next, her younger self aboard the Midgar train with her ailing mother. Engage with spectral butterflies as they adorn the train car in vibrant hues. After disembarking, traverse the path, encountering obstacles until reaching a large crowd.
As Aerith is shoved by a rowdy citizen, Elmyra attempts to assist, but Aerith rebuffs her. Return to Ifalna, where reassurance is given before her passing.

With all trials concluded, the party returns to the Hall of Resurrection solemnly. Aerith delivers an uplifting speech, but Cloud abruptly halts her and urges the group to press forward. Proceeding north, they enter the Corridor of Effigies.
Midway, Cloud is teleported to Mako Reactor 1 for his trial. Cross the burning bridge to find Biggs, then ascend the spiraling staircase to encounter a grieving Tifa beside Jessie's body. After a confrontation with Sephiroth, Cloud strikes him down.

The trial concludes, and Tifa reassures Cloud of his differences from Sephiroth. Proceed through the corridor to arrive at the Spiral of Rebirth.
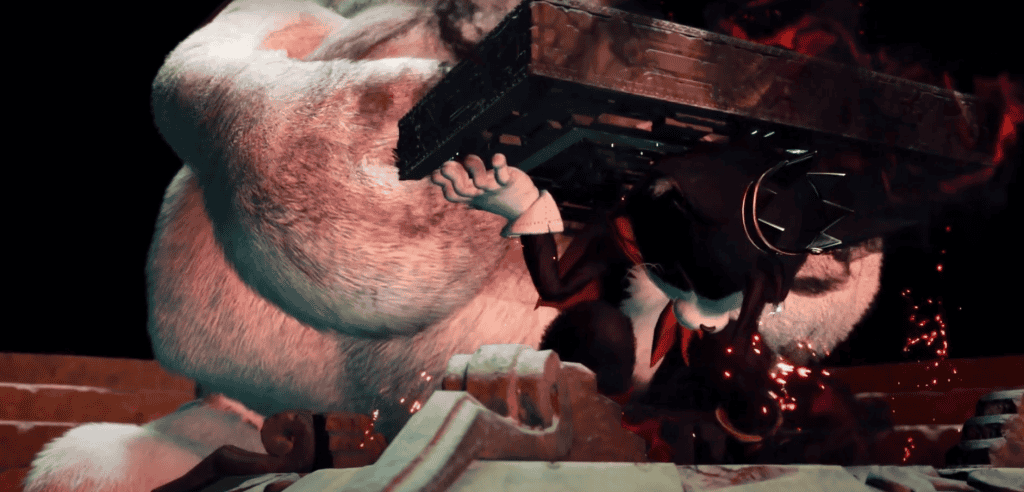
Descend the steps, confronting a Panthera Protector and Ancient Dragon. Dispatch them and proceed through the gate to face a Moss-Grown Adamantoise in the eastern arena. After defeating it, access the west gate for resources and a chest containing an x-potion.
Rejoin the spiral staircase, descending to the bottom and entering the Mural Chamber. As Aerith investigates the murals, they animate, depicting Cetra history. Combat ensues against a Panthera Protector and Floating Death before reaching a large chamber where a Panthera Protector and Moss-Grown Adamantoise spawn.

After vanquishing them, utilize the Rest Bench and vending/Folio machines. Progress through the corridor witnessing the Cetra's battle against the Gi, culminating in Sephiroth's appearance and the emergence of the Demon Gate from the wall.
Demon Gate Boss Fight
Weaknesses N/A
Lesser/Greater Resistances Fixed Damage (L)
Immunities Proportional Damage, Berserk, Slow, Stop, Poison, Silence, Sleep, Petrify, Stone, Morphable Items
Enemy Intel:The confrontation with the Demon Gate presents a distinct challenge, as it manipulates the battlefield to confine your movements. Its inability to move is compensated by its ability to alter the arena itself, demonstrated through its "Cave-In" attack. Glowing squares on the ground mark imminent danger, signaling an impending ceiling collapse. Swift evasion is imperative to avoid being crushed.

Periodically, the walls of the arena begin to encroach, restricting maneuverability. While unavoidable, vigilance regarding available space is crucial to survival.
From a distance, the Demon Gate employs "Petrifeye," a beam attack initiated by charging energy in its head. Its trajectory is telegraphed, affording opportunities for evasion. "Inexorable Orb" summons explosive projectiles, adept at homing in on targets. Maintaining distance facilitates evading these assaults with timely dodges.

Close quarters combat poses different challenges. Proximity triggers "Repulsion," a forceful burst that propels targets across the arena. "Crushing Grip" immobilizes victims before inflicting significant damage.
Midway through the battle, a second Demon Gate materializes opposite the arena, intensifying the threat. Despite the dual adversaries, focus on eliminating one to alleviate pressure. "Arcane Eruption" charges a devastating magical explosion, while "Beckoning" ensnares targets with gravitational force.
Adaptation and strategic coordination are paramount to overcoming this formidable foe.
Upon victory, the rewards include 2,150 EXP, 10 AP, 2,150 Gil, and 50 Party EXP.
After vanquishing the Demon Gate(s), Cloud dispatches the creature(s) with a few final, almost casual strikes, causing the walls to crumble under the force of his blows. Moving mechanically forward, Cloud proceeds while Aerith follows along the walkway towards the Black Altar. As they converge, Cloud seizes the Black Materia amidst the escalating turmoil within the temple.
Meanwhile, outside the temple's confines, Cait Sith and his moogle hasten up the steps in a bid to enter the structure, while Cid and Vincent detect the seismic disturbances in their respective locations. Aerith cautions that removing the black materia will trigger the temple's collapse.
Despite Barret's attempt to return the materia to its original position, Aerith reveals its insignificance, prompting skepticism from Cloud. Cait Sith intervenes, preventing the central tablet from descending and safeguarding the party's escape route.
While some express dissent, Cait Sith insists on holding the tablet in place, as Vincent leads them to an exit point. Cloud, however, seizes the black materia once more. Assuming control of Aerith, navigate through the collapsing corridor, emerging into the illuminated cavern adorned with murals. As Cait Sith struggles to maintain his hold, traverse to the opposite side of the central tree, exiting just as the temple's steps crumble behind the party.
Although they find safety, Cait Sith succumbs to the tablet's weight, and the moogle is struck by falling debris. The temple is then enveloped and subsequently explodes.
Remarkably, Cait Sith and the moogle reappear, elucidating that the temple's absorbed body was one of many. As Barret tosses the black materia to the ground in a bid to snap Cloud out of his reverie, Sephiroth seizes the artifact.
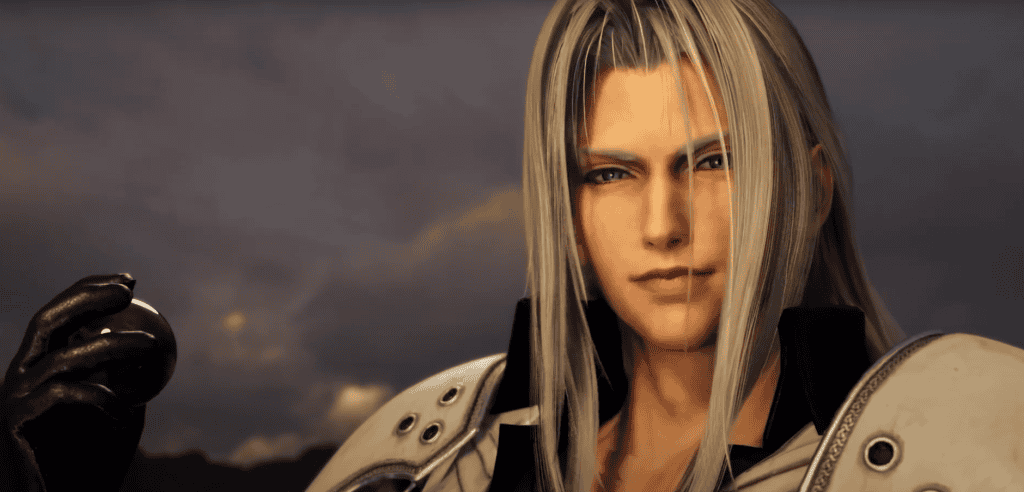
Elevating into the air, Sephiroth activates the materia, summoning a colossal vortex of Whispers. A massive tendril-like structure materializes as Sephiroth beckons Cloud closer. Progressing cautiously along the tendril, Cloud retrieves the black materia, but Tifa intervenes, causing Aerith to grasp the artifact.
Sephiroth demands its return, prompting Cloud to approach Aerith slowly as she edges along the tendril. Reluctantly, Aerith relinquishes the materia, affirming her unwavering support for Cloud. Returning the materia to Sephiroth, Cloud abruptly rushes to rescue Aerith from the encroaching Whispers. Sephiroth severs the tendril with his sword, plunging Cloud and Aerith into the abyss below.
Enjoyed this article? Share it with your friends on social media and spread the word!