FF7 Rebirth Walkthrough – Watcher Of The Vale
Journey to Cosmo Canyon
After departing the aircraft, Cid bids you adieu and advises to signal for transport when needed. Following Red XIII's lead, you encounter two Skeeskees. Defeating them, you progress and confront two Desert Sahagins. Beyond them, you reach a chocobo ranch where a side quest awaits to rescue a chocobo.
Whether you secure a chocobo or not, head southeast and encounter another Desert Sahagin and two Basilisks atop the slope. After dispatching them, proceed east through the cavern and face two Skeeskees on the other side.

Ascending the steps to the left, defeat two more Skeeskees and a Desert Sahagin further up. Proceed up the stairs, bypassing two Desert Sahagin at the top to glimpse Cosmo Canyon. Descend the winding path to the left and cross the bridge to reach the town.
Cosmo Canyon
Midway across the bridge, Red XIII races ahead and rejoins his people, recognized as Nanaki. Upon entering the town, follow the lower path and ascend the bridge past the Cosmo Canyon sign. Climb the steps to the left of the Weapons vendor and follow the path until reuniting with Red XIII.
He reveals his roots, born and raised here, and expresses his duty to become a Watcher of the Vale, a role stripped from him by Hojo. Bid farewell as his debt is repaid, and Bugenhagen summons him away excitedly.

Continuing to follow Red XIII, proceed up the slope directly ahead once you regain control. Keep straight on the path until you spot Red XIII taking an elevator in the distance. Cross the wide open area and interact with the same elevator to reach the path to the observatory.
Upon exiting the elevator, ascend all the sets of stairs to the left until reaching Red XIII and Bugenhagen outside the observatory entrance. After exchanging pleasantries, Bugenhagen invites you inside while Red XIII speaks with the villagers.

Explore the observatory's various floors, interacting with items prompting Bugenhagen to share information. Engage with the Recordometer, the pile of books, and the display area for minerals.
On the next floor, interact with the holographic display of Red XIII and the handheld mako detector device nearby. Upstairs, find the large yellow current generator, and on the top floor, inspect the giant telescope.
Returning downstairs, you'll hear the planetary phonograph activate. Bugenhagen confirms it's the planet crying out, but Tifa disagrees, identifying it as a Weapon. Bugenhagen offers to teach about planetology.

Enter the next room where Bugenhagen displays the solar system using a fantastical contraption. He explains how mako is the planet's spiritual energy, vital for its survival.
Bugenhagen then guides Tifa and Aerith to a nearby seminar room. Exiting the observatory, an assistant greets you and leads to a storeroom, conveniently close. After looting chests, open a door to use an elevator.

Back on ground level, an attendant interrupts you. Follow them to a nearby seminar where Tifa shares her lifestream experience. Afterward, head west to the Torch Elevator.
Ride it down to join the party and Cosmo Canyon civilians preparing for the River of Lights.
The River Of Lights

While preparations proceed, interact with each party member to strengthen bonds. When ready, approach Aerith at the bonfire to initiate the ceremony. Aerith, embracing her Ancient lineage, addresses the crowd, seeking support from Cloud:
Bugenhagen elucidates that behind the door lies Red XIII's trial to become a Watcher of the Vale, requiring assistance. Select "Yes" to undertake the trial. Venture into the cave beyond and descend via the elevator. Bugenhagen clarifies that only two may proceed: Red XIII and an observer, Barret being chosen.

Below Cosmo Canyon
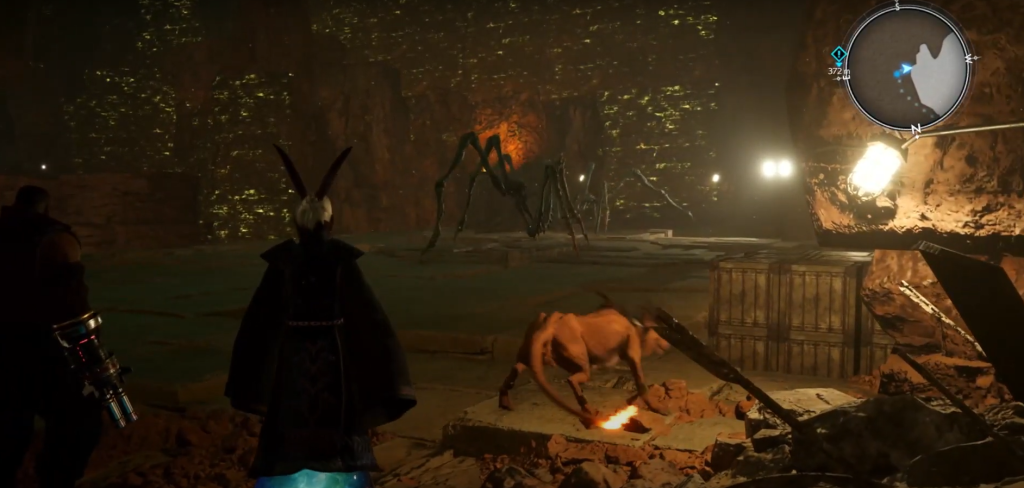
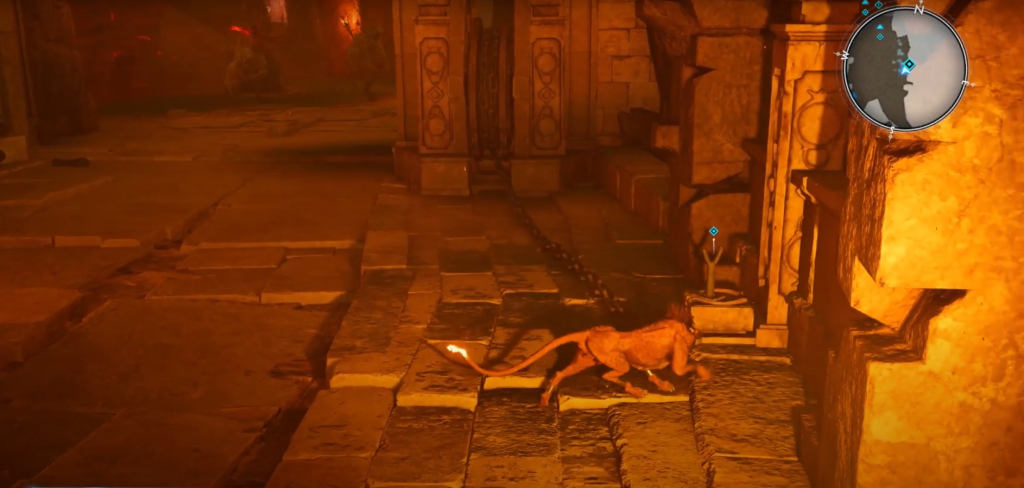
Upon regaining control, utilize the nearby Rest Bench and vending machines before advancing. Proceed down the tunnel to encounter 3 Nidhoggs. After triumphing, Bugenhagen highlights the walls infused with green/yellow energy, navigable by Red XIII—a crucial mechanic for upcoming challenges.
Continue progressing through the tunnel to reach another room housing two Stinger enemies. Note the monuments with glowing white text, guiding your path amidst the labyrinthine caves.
After dispatching the Stingers, head south along the platform edge. Engage a Nidhogg and a Stinger at the room's far end. Defeat them, then ascend the wall opposite the sealed door and cut the rope to drop it.
Enter the cavernous room beyond, descending the spiraling stairs. Battle the encountered Nidhoggs as you descend before proceeding southeast at the bottom.
Upon entering the room, you'll find a Gi statue at its center, marking Red's first trial. Retrieve a specific item and bring it to Bugenhagen by pressing and holding L2. The item you seek lies on the upper-most platform to the south/east.
Return to Bugenhagen with the item to awaken the Gi statue, initiating a battle against the Gi Lancer. Defeat it, retrieve the statue, and descend the stairs to the southeast. Dispose of the two Nidhoggs on the way.
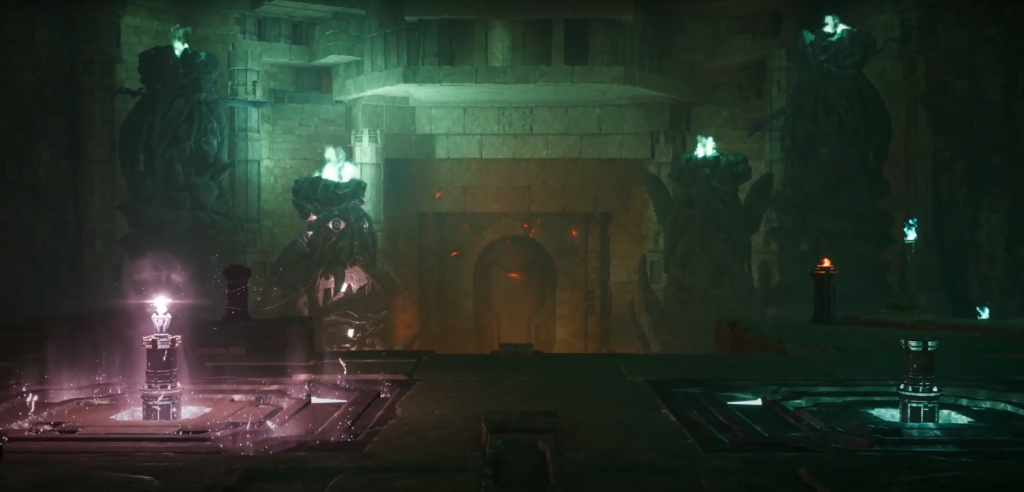
In the Chamber of Observance, place the statues on the color-coded altars. Match the statue to the left-most (red) altar to proceed.
Retrieve the amber Gi statue located just north at the top of the steps leading down. Place it on the right-most (yellow) altar. Proceed to the final Gi statue by heading down the steps to the north and crossing over the gap along the wall.
Ascend the steps and turn right to locate the Gi statue on a podium across the room. After defeating another Gi Lancer, retrieve the statue and place it on the middle-right (blue) altar.
As the doors ahead open, Bugenhagen encourages you to press onward and explore both yourself and the Gi. Follow Bugenhagen's guidance until you reach a vantage point overlooking the gates Red XIII must traverse to complete the trial.
Descend the steps and cross directly over at the bottom to confront 2 Two-Faces. After defeating them, descend the stairs to the northeast. After two flights, you'll encounter a large gate on your right. Approach the chain wheel on the right side of the gate and hold L2 when prompted. Pull back on the left analog stick to open the gate fully.
Upon passing through the gate, a Gi Lancer and a Gi Archer will spawn, both of which you must defeat to progress. Descend the steps on the left-hand side and cross the gap using the narrow pillar to battle two Nidhoggs. Afterward, pull another chain to create a bridge.
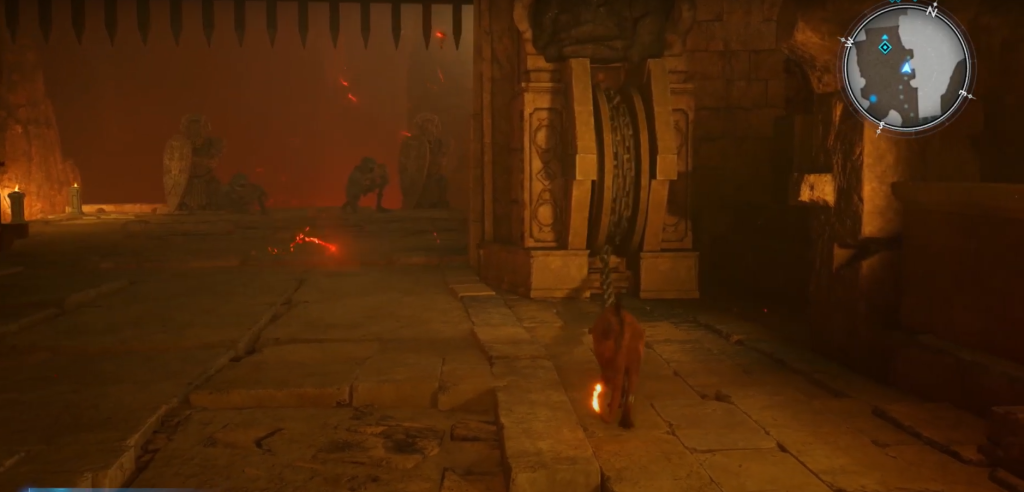
Follow the path ahead and ascend the wall to confront two additional Nidhoggs and a Two-Face. After dispatching them, proceed to the next gate and start pulling the chain on the right-hand side, similar to the previous gate. This time, however, you'll need to drag it slightly to the right and press △ when prompted to hook the chain over the small metal pole to keep the gate open.
Upon passing through this gate, a Gi Lancer, Archer, and Sorcerer will appear. Prioritize eliminating the Sorcerer first, followed by the Archer, to eliminate the ranged threats quickly. Once they're defeated, continue along the path and defeat the Two-Face and Stinger at the top of the steps.
Next, climb the wall ahead and approach the next chain wheel and large gate. Pull the chain and then jump onto the horizontal beam extending behind the chain wheel. Walk along it and ascend the wall to the right.
Once at the top, pull the chain to your left, then descend the wall, jumping across to the next horizontal beam, and from there, leap to the next gateway. Move to the left-hand side to locate the metal fork that will hold the chain in place.
Retrieve the fork and insert it into the slot on the right-hand side. Pull the chain and secure it using the fork. Proceed through the gate and follow the path to the right, where you'll find a Rest Bench and vending/Folio machines for your convenience. When prepared, ascend the nearby stairs, where Bugenhagen will caution you about an imminent threat—an angry apparition named Gi Nattak.

Gi Nattak Boss Fight
Gi Nattak Weaknesses N/A Lesser/Greater Resistances Fixed Damage (G)
Immunities Proportional Damage, Slow, Petrify, Stone, Morphable Items
Enemy Intel: Inflicting sufficient damage will pressure Gi Nattak. A curse activates when the soul flames possess a statue (Ruby: Halve HP, Amethyst: Halve MP, Emerald: Deplete ATB, Amber: Shrink Battlefield). Staggering Gi Nattak will undo the curse. Doom inflicts instant death after a certain amount of time.
Gi Nattak, a malicious spirit, employs various magic and ranged attacks to keep you on edge. Its basic melee combo is formidable, starting with a horizontal sweep, followed by a vertical swipe lifting you into the air, and concluding with a 360-degree spin attack upon your descent, all difficult to evade if the initial sweep connects.
This combo progresses into "Anguished Thrashing," climaxing in an overhead slam with its weapon. Another version of the 3-hit combo consists of two consecutive horizontal sweeps, followed by a forward stabbing thrust.

"Withering Grip" serves as a dual-purpose attack for Gi Nattak, immobilizing you while draining your health to replenish its own. Swiftly switching to your other party member and utilizing all available abilities is crucial to breaking free from its grasp.
"Drain" is a broader manifestation of this health-draining ability, where Gi Nattak extends its hand, generating a green aura that steadily siphons your health while restoring the boss's own health as long as you remain within its range.
In "Spectral Flames," Gi Nattak summons five blue flaming orbs that rapidly home in on your position, one after the other. It's vital to either block or evade the initial projectile, as being struck by the first ensures subsequent hits.

"Phantasmal Scourge" sees Gi Nattak raise its staff, summoning several red flaming projectiles that spiral down from above and crash into the ground. While not as precise as Spectral Flames, these projectiles will still home in on you as they approach, requiring constant movement and last-second dodges.
When Gi Nattak's health drops to around 75%, it summons numerous floating Skull Flames, each capable of independent attacks. Prioritize area-of-effect damage to handle them efficiently. If you have Summon abilities, now is an opportune moment to utilize them while Gi Nattak is momentarily occupied.
Despite their individual frailty, the Skull Flames can overwhelm if not managed properly. Keep them from swarming you, and dispatch them swiftly to maintain control of the battlefield.
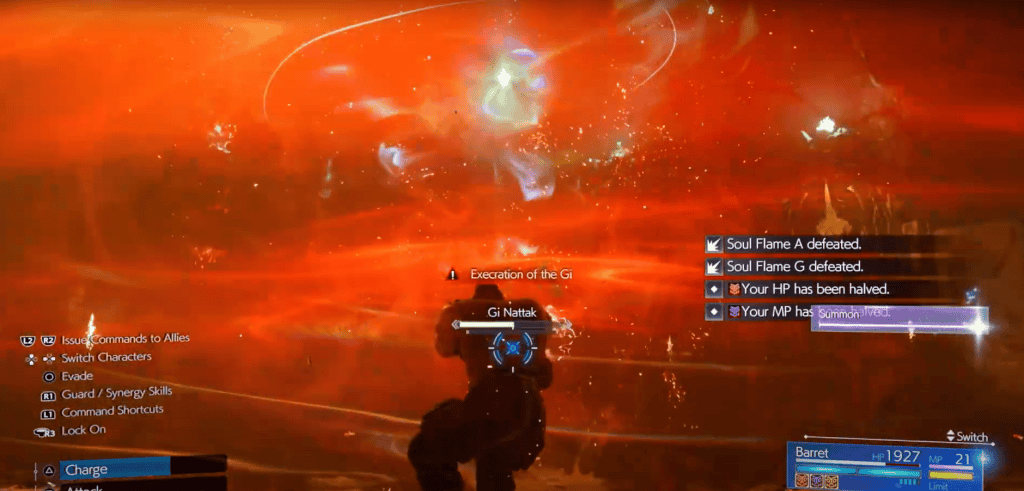
After dealing with the Skull Flames, Gi Nattak returns to the fray with "Execration of the Gi," halving your HP and depleting your ATB gauge, intensifying the challenge of the encounter.
When Gi Nattak's health dwindles to about 25%, it unleashes "Doom," placing a rapidly ticking timer on both Red XIII and Barret. If this timer hits zero, the battle ends in defeat. It's crucial to unleash all available offensive strategies and give your all to swiftly conclude the fight.
Similar to Drain, "Soul Drain" targets your MP instead of your HP, depleting your magical reserves.
Victory yields 3,300 EXP, 10 AP, 1,650 Gil, and 50 Party EXP, rewarding your efforts with valuable resources for your journey ahead.

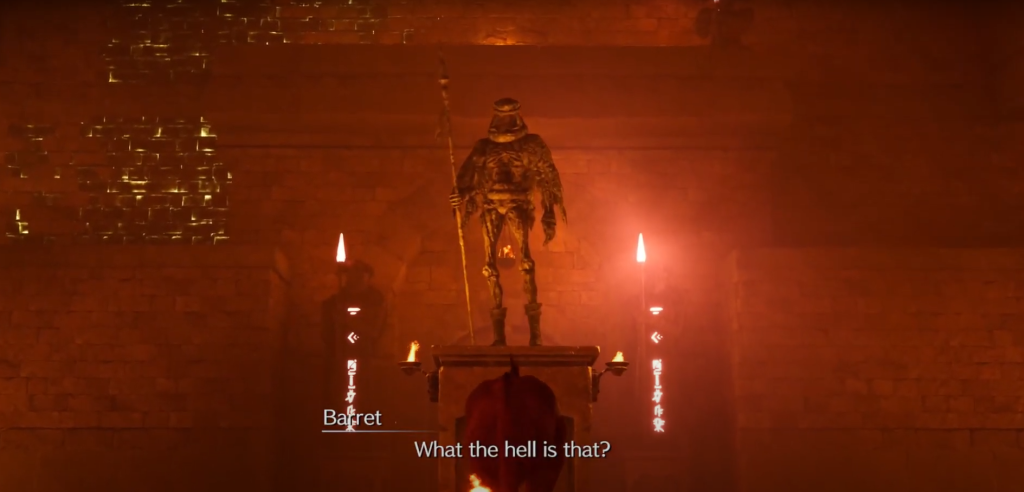
Seto, Watcher Of The Vale
After vanquishing Gi Nattak, Bugenhagen commends your victory but suggests consulting someone else before Red can conclusively pass the trial. Proceed through the now-open passage and ascend the slope beyond, where Red's father, Seto, stands encased in stone high above.
Bugenhagen reveals that a Gi arrow petrified Seto, a truth known to Red's mother, who kept it secret to prevent a similar fate for Red. He emphasizes that Red XIII must depart the vale once more, as his destiny intertwines with the party's quest to save the world.
As the party prepares to depart, a mysterious entity materializes, introducing itself as Gi Nattak and demanding the group's compliance. After vanishing in a puff of smoke, Cloud glimpses Sephiroth in his place but remains silent. Proceed down the path through the tunnel until reaching the dock, where Gi Nattak awaits with his boat.

Gi Homeland
Informing the group of their imminent journey to the Gi's homeland, they all board the vessel and set sail across the water. Meanwhile, in Sector 5 Undercity, Zack engages in a conversation with Biggs, sharing their respective near-death encounters and the inexplicable circumstances of their survival, likely involving Whisper interference. Biggs confides in Zack about his survivor's guilt and urges him to follow outside.
Accompany Biggs to the right and navigate through the gap in the fence, sticking close as he leads the way past the Station. Along the route, Biggs points out an Avalanche recruitment poster, acknowledging the risk but deeming it necessary.
Continue trailing Biggs through Sector 5 into the Center District until arriving at an empty lot.

Nearby, Kyrie appears, taunting the duo for being stood up by others, before swiftly departing, seemingly leaving a backpack of supplies behind. Despite Biggs questioning his purpose, Zack boosts his spirits with an encouraging pep talk, leading Biggs to promise a visit to Cloud before parting ways.
Exiting the empty lot, turn right through the gate and follow the path back to Elmyra's home.
While Marlene is thrilled at the idea of Biggs's visit, she expresses disappointment that Zack didn't inquire about her father or Tifa. Meanwhile, Zack checks on Aerith, tenderly holding her hand, while Aerith on the boat senses something amiss.
Upon disembarking at the Village of the Gi, Gi Nattak announces your arrival. Ahead, a Rest Bench and vending/Folio machines stand, with a chest to the left containing a Ceremonial Staff.
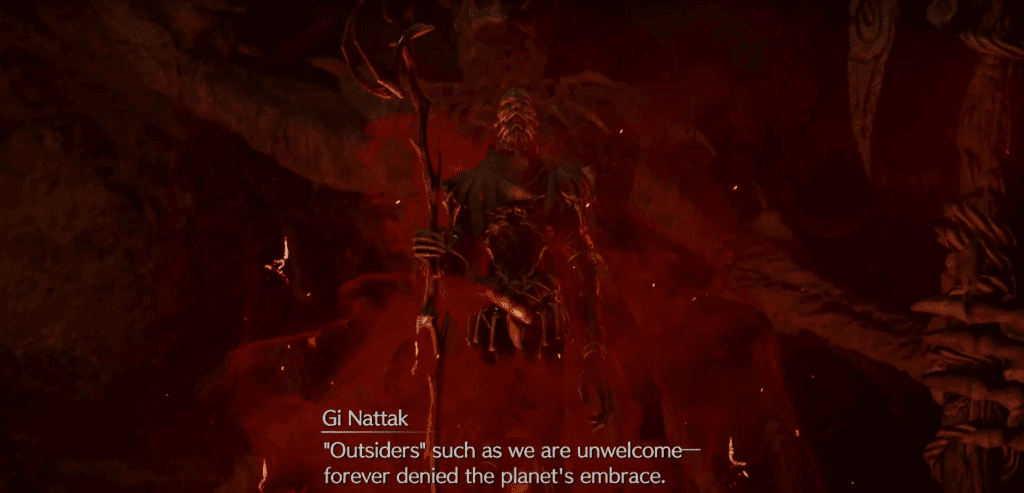
When prepared, ascend the steps to hear an ethereal voice as Gi Nattak materializes and elucidates that his kin are ensnared within the various effigies nearby, urging you to heed their voices. The party realizes that because the Gi did not originate from the Lifestream, they are immune to its influence, rendering them invulnerable.
Accompany Yuffie up the path ahead where you'll confront 3 Gi Lancers. Despite their formidable nature, focus on one Lancer and swiftly dispatch it, triggering the automatic defeat of the remaining adversaries.
Continue following Yuffie as the Gi divulge information about a materia capable of liberating them from their eternal anguish. Upon reaching another arena at the path's end, face off against two Gi Lancers and a Gi Archer. Prioritize your attacks on the Archer, although it may prove elusive, as defeating it is crucial. With the Archer dispatched, deal with the Lancers individually, maintaining your lock-on to minimize evasion.
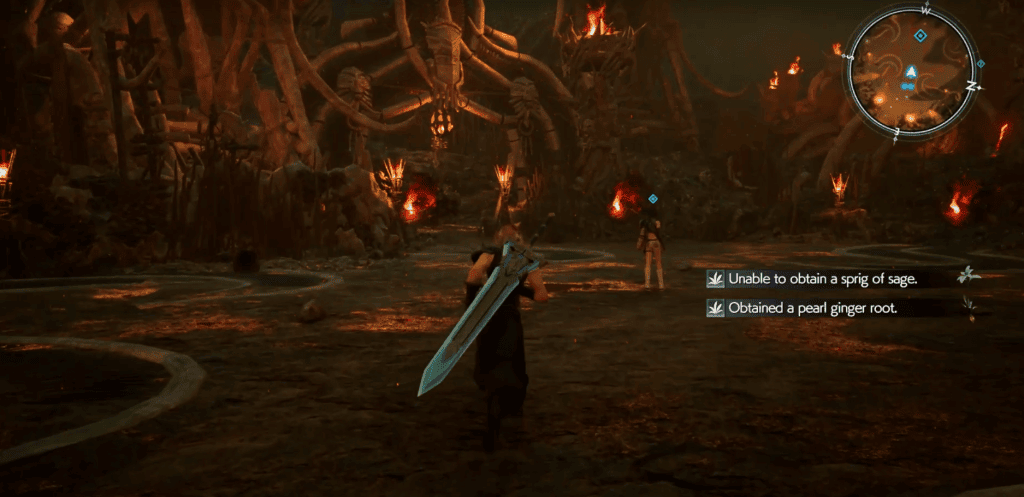
After their defeat, continue trailing Yuffie up the path as the Gi express their desire to cease existence. Upon reaching the apex of the slope, you'll enter a vast cavernous area where the party deliberates on intervening with the Gi. However, Gi Nattak interjects, revealing their quest for the black materia.
Cloud, haunted by a vision of Sephiroth, resolves that while they may feign cooperation for now, they cannot allow the Gi to obtain the black materia and fulfill their objective. Veer right and brace yourself for an imminent skirmish against a Gi Sorcerer, a Gi Archer, and two Gi Lancers.
Swiftly target the Sorcerer and the Archer, aiming to incapacitate them swiftly, as they possess the ability to cast "Arise," which can revive fallen comrades and protract the battle.

Having vanquished the foes, ascend the steps to the northeast and continue leftward. Upon reaching the Shrine to Oblivion at the summit, Gi Nattak divulges that the black materia resides in a location associated with Cetra worship. Cait Sith deduces the existence of a temple from this clue.
With Gi Nattak's departure, the party finds themselves back in the Cave of the Gi the next morning, as if transported. Descend the slope ahead and heed the call of an assistant directing you along the rightward path leading to an elevator. Ascend via the elevator and converse with Bugenhagen at the summit, who elucidates that the Cetra wouldn't have a conventional temple but rather a clandestine and significant site.
Bugenhagen's explanation is cut short by the sighting of another robed figure at the village gate. Approach the guide beside Bugenhagen and opt to travel to the 'Entrance'.

Upon arrival, take a few strides forward to encounter the weakened robed man sprawled on the ground, murmuring "Nibelheim" repeatedly. Recognizing the necessity of reaching Nibelheim swiftly, traverse the bridge and set course for the airstrip.
If you've unlocked chocobos for this area, utilizing them can significantly hasten your journey. Along the way, opt to engage in battles with roaming creatures or bypass them altogether. Upon reaching the airstrip, approach the blue telephone booth and activate it to summon Cid and his aircraft. Pay the 300 Gil fee to secure passage to the Nibel Airstrip.
Following a brief flight to Nibelheim, Cid bids you farewell on the airstrip as Cloud experiences a flashback to the Nibelheim mission five years prior. In the haunting recollection, Sephiroth's spectral presence implores Cloud to retrieve the black materia.
Enjoyed this article? Share it with your friends on social media and spread the word!