FF7 Rebirth Walkthrough: Chapter 7 – Those Left Behind
The Journey to Corel in Final Fantasy 7 Rebirth
From now on, you can use the Shinra-8 to travel between Costa Del Sol and Under Junon whenever you want. The goal remains heading towards Mt. Corel, so head back into town and start heading south. Just before leaving town, you'll come across the Chocobo Rentals. Purchase a Rent-a-Bird Membership for 300 Gil from the woman in the stall to the left of the stables.
Summon your Chocobo and begin your journey westward towards the mountain. As with other areas, this region offers ample space for exploration, but to advance the main story, stick to the main road. At the initial fork, opt for the right path, traverse the bridge, and veer upwards to the right.
Keep following the road, and at the subsequent fork, again choose the right path (you can confirm the direction towards Mt. Corel with the road signs ahead). Eventually, you'll reach the starting point of the Mt. Corel Hiking Trail.
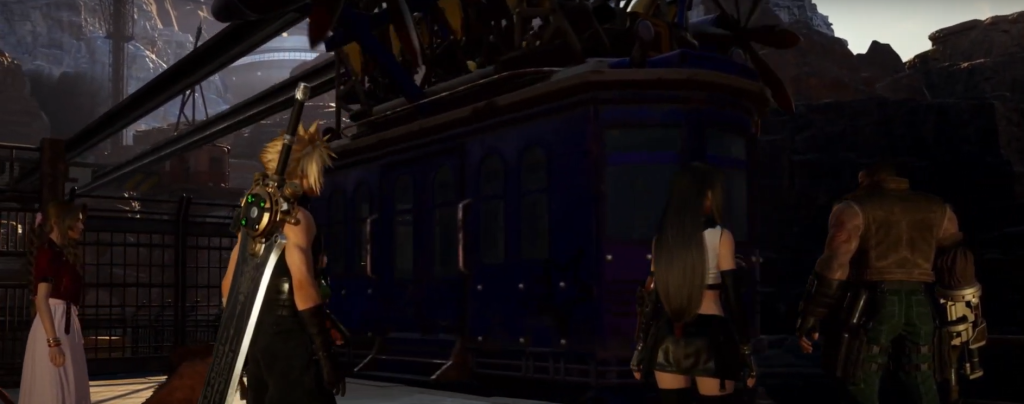
With the gondola system out of commission, the party decides to trek uphill. As they ascend, they engage in casual conversation. However, Aerith begins to lag behind, feeling fatigued. Despite Cloud's offer to take a break, Yuffie insists on pressing forward and volunteers to scout ahead. Barret rushes after her, with Tifa trailing behind to keep watch.
Upon regaining control, you'll find a Rest Bench and vending/Folio machine nearby, providing an opportunity to replenish supplies if needed. Once prepared, continue up the slope to the right, where you'll encounter two Sandhog Pie enemies. Dispatch them and ascend the stairs to face three more Sandhog Pies as you curve around to the right.
Navigating this area can be challenging, but watch for small painted arrows on specific rock faces featuring a drawing of Barret. These arrows serve as guides, indicating the general direction you should follow.
Following the defeat of the second group of Sandhog Pies, ascend the steps to the right, marked by the collapsed Corel Ropeway sign. Proceed up the sloping trail ahead, where you'll encounter two Heatseeker enemies on the slope. However, they present minimal threat and can be easily dealt with.
Past the steps leading up to the right, you'll want to veer left and follow the path that leads past a small mine tunnel entrance. Along this path, you'll encounter two more Heatseekers. Once you've dealt with them, immediately look to your right for handholds to climb up the rock face.
Upon reaching the top, head right to confront two Spearhawks. Beyond them, you'll notice another set of climbing handholds on the metal structure attached to the rock face. Climb up and follow the path to the right, where you'll encounter four Heatseekers.
Ascend the stairs and cross the bridge. In the open area ahead, you'll face two Sandhog Pies and a Spearhawk.
Continuing further down, near the large defunct machinery, you'll spot multiple Spearhawks. You can avoid them by keeping to the left and looping around the rocks. Around the corner, you'll encounter two Bagnadrana creatures with tough hides, requiring frontal attacks.
After defeating them, continue along the path to the south and eliminate the two Sandhog Pies around the corner. Then, press onward. Approach the Shinra gateway on the left and observe a helicopter flying overhead. Proceed through the gate, dispatch the three Heatseekers at the cave entrance, and utilize the handholds on the left wall to climb up. You'll reach a Rest Bench and vending/Folio machines.
Take advantage of these amenities as needed, then ascend the two sets of stairs to the west to reach the Shinra helicopter as it lands. Elena emerges alongside a group of robed figures, allowing them to proceed further up the mountain. However, before departing, she summons a giant flying Valkyrie robot as the arena gates lock behind you.
The Custom Valkyrie presents a daunting challenge, capable of enduring substantial damage, and its attacks possess formidable range. One such attack, "Modified Mk. 98 Rotary Cannons," involves the Valkyrie firing miniguns while tracking your movements.
You can opt to block the shots for minimal damage or dodge them if you maintain distance from the Valkyrie.
Flame Jet comes in various forms, including single or dual streams of fire from each "arm" or a sweeping horizontal stream. When faced with vertical streams, dodge to the side; for horizontal ones, seek refuge behind the Valkyrie or retreat to the arena corners.
Firewheel involves the Valkyrie spinning while emitting expanding streams of fire. Sprint away to avoid significant health loss.
Aileron Roll sees the Valkyrie spinning rapidly and charging towards you. Evade to the side or attempt a well-timed block.
Antipersonnel Gas blankets a section of the arena with poison gas. Retreat to the unaffected area to avoid poisoning.
In its second phase, the Valkyrie unveils a large cannon/laser underneath, introducing new attacks. "Modified Particle Cannon" fires a series of blue beams, dodge as the beam fires to evade.
"Mark 100 Particle Beam" launches electric projectiles that linger on the ground briefly. Keep moving in one direction to evade them and mind your footing.
Upon vanquishing the Custom Valkyrie, the trio redirects their focus toward locating the other members of the party. Meanwhile, in the executive boardroom of the Shinra Building, Rufus delivers a presentation on the Magnus Materia Project. He discloses that the recent energy surges in mako reactors worldwide are attributed to the emergence of colossal lifeforms—identified by Hojo as Weapons.
Each Weapon houses a massive materia orb, underscoring the imperative for Shinra to capture and dissect them. Despite Scarlet's objection, citing the imminent production of their own materia, Rufus emphasizes the necessity of obtaining natural specimens, especially with Wutai also vying for them.
Scarlet seeks troops from Heidegger, who complies. Reeve confronts Rufus regarding the Neo Midgar Project but is rebuffed, as Rufus asserts that Shinra has evolved and demands unwavering loyalty from everyone before departing.
Meanwhile, in an abandoned house in Sector 5's Undercity, Zack is roused by a knock at the door. Answering it, he finds Elmyra seeking entrance. After a brief exchange, follow her upstairs to discover Cloud and Aerith incapacitated in their beds.
As Elmyra insists on taking Aerith out of the shack in a wheelchair, Zack opts to carry Cloud on his back. Elmyra grimly narrates the world's impending doom, pointing out a large rift-like stream in the sky to Zack's observant eyes.
Back at Mt. Corel, Aerith ponders the whereabouts of Midgar and her mother's well-being. Use the lever on the left to open the gate and ascend the steps beyond. Upon reaching the summit, you'll reunite with Yuffie, Tifa, and Barret. Proceed northward along the path, veering left to overlook the Corel Reactor.
Descend multiple times, utilizing your Terrain Action (O) as needed. Yuffie reflects on the robed figures' plight, paralleling it with the party's struggles against Shinra, and recounts the formation of the Wutai interim government after Shinra's aggression. Once Yuffie concludes her reminiscence, follow her along the fractured pathway to a vantage point near the edge.
As the water roils below, a colossal Weapon emerges from the depths, prompting recognition from Red XIII and excitement from Yuffie about the giant materia within. After Cloud persuades Yuffie to abandon the Weapon, Barret emphasizes the gravity of Shinra's threat to the world, compounded by Sephiroth's danger.
Accompany Barret further into the tunnel on the far side. Upon reaching the elevator, press the button on the rear wall to descend. Upon arrival, head right to emerge into daylight, dispatching the two Heatseekers along the way.
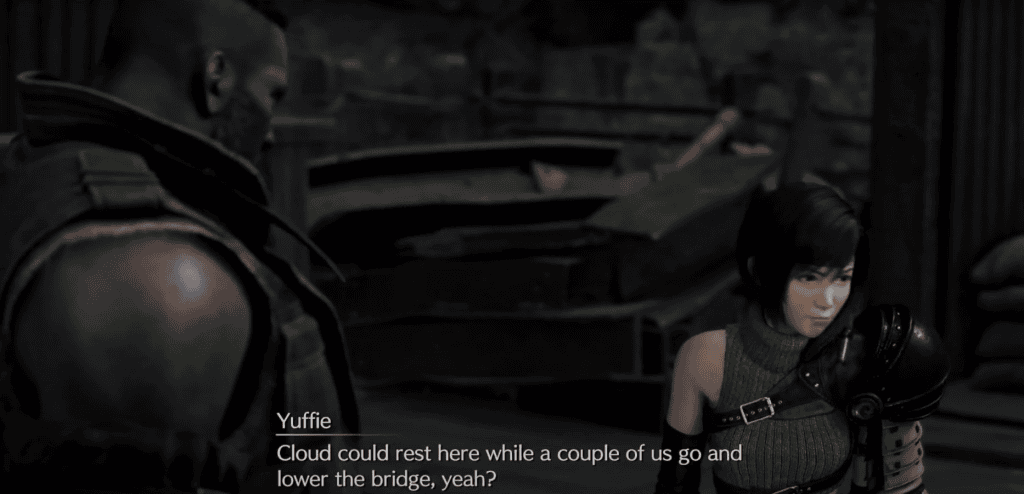
Outside, ascend the stairs to the right, where the party discusses the raised bridge nearby, realizing it must be lowered to proceed. Barret directs attention to the control room atop the nearby cliff, accessible via the mines. As nearby robed figures plunge into the waters below, Cloud nearly follows suit but is roused from his trance by Barret. With Cloud incapacitated, Yuffie proposes advancing with Barret and Tifa to lower the bridge while Cloud recuperates.
Now in control of Yuffie, make use of the Rest Bench and vending/Folio machines behind you before proceeding along the tracks opposite the raised bridge. Engage in a battle against the Sandhog Pie and Bloatfloat at the far end. Once victorious, you'll notice a prompt to throw your kunai and cut a cord, opening the large doors ahead.
Inside, turn left to locate the generator lever across the gap. Barret will point out a grappling hook on the nearby table, which you should retrieve. Look up to spot a grapple point near the generator.
Press L2 to start swinging, use the left analog stick to swing back and forth, and press O to jump off and land on the far side. Open the chest to obtain a Twin Viper, then pull the lever by holding △. With the water flowing, swing back across the gap and head left towards the yellow zipline, which Yuffie will ride up to the next floor.
Here, face another two Sandhog Pies in battle. After their defeat, explore the area to open several chests, but to progress, head southwest and look up to spot another grapple point at the edge of the path.
Grapple up and swing to the left to reach another two grapple points. Drop down onto the platform below to loot a chest containing 5 zinc ore, then turn around and look up to see handholds. Use the grapple point you just swung from to return.
At the top, head right to battle a Spearhawk. After its defeat, use the red terminal next to the elevator to power it and have Tifa and Barret rejoin you.
Proceed down the narrow passageway and curve left to encounter two Sandhog Pies and a Bloatfloat. With the enemies vanquished, ascend the steps in the northwest corner, then take the small wooden slope on the left.
Walk to the far end of the platform and use the zipline to descend into the tunnel below. Prepare for enemy encounters, starting with two Spearhawks and a Bloatfloat. Just ahead, you'll find a Rest Bench and vending/Folio machines.
After dealing with the Heatseekers, head west to confront a Cockatrice. After defeating it, turn around and approach the stairs leading south. Utilize the pole at the top to slide down.
Follow the path to battle two Cockatrices. After their defeat, take the other path and locate the next generator lever. Look up and to the left to find a grapple point that you must cut down with △ first.
Grapple to it, swing from point to point, and reach the pillar structure. Swing and push the left analog stick to rotate the crank. Eventually, jump off onto the platform below and pull the lever.
Before rejoining Barret and Tifa, loot the chest by the lever for 3 exquisite beast spines. Then, drop into the water and swim back to the others.
Return to the left and use the yellow zipline to reach the Rest Bench area. Then, ride the other zipline to a higher level.
At the top, face a Cockatrice and two Spearhawks. After their defeat, head outside and follow the cliff edge to the left. Throw your kunai past the elevator to hit the lever on the green-lit battery.
This action lowers a grapple point from above, which you must latch onto before it rises back up. Swing to consecutive grapple points to the left, then jump onto a wooden platform before the next lever.
Throw your kunai to trigger the lever, then wait for the grapple point to lower before latching on. Ride the next grapple point as it moves down the track, smashing into boxes to collect various items and consumables.
Upon reaching the end, grapple to the next point and repeat the swinging process. Kick the lever on the green-lit battery, lowering the next grapple point. Jump off onto the wooden platform to the southeast and enter the building.
Defeat the Bomb enemy inside, then interact with the red terminal to reunite with Barret and Tifa. Use the Rest Bench and vending/Folio machines before exiting through the red door in the southeast corner.
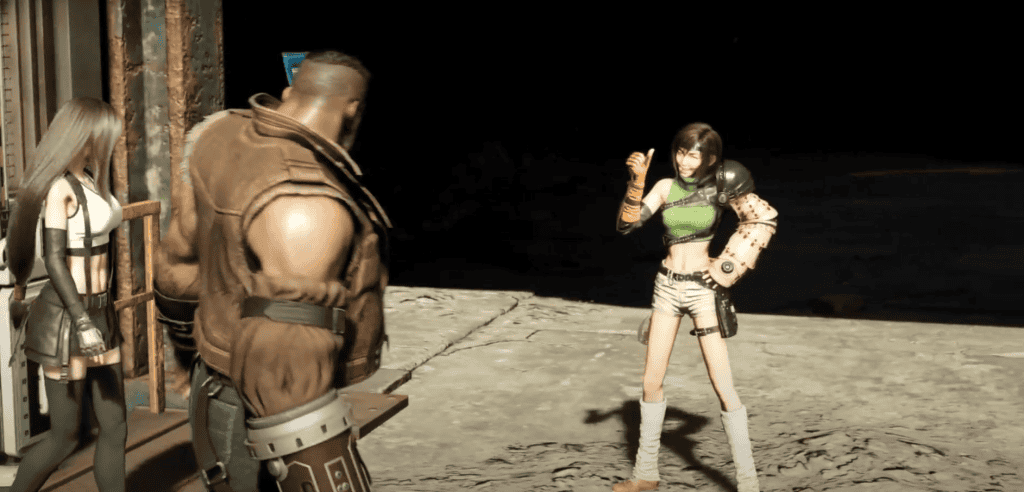
Outside, you'll see baby chocobos in a nest threatened by a monstrous bird. Get the creature's attention as Yuffie, initiating a fight.
Gigatrice Boss Fight
Weakness: Fire
As a colossal bird-like creature, the Gigatrice predominantly takes to the air, relying on aerial assaults. One of its frequently used attacks is the "Double Talon Rake", where it swoops down with both claws.
This move is relatively easy to dodge by timing your roll just before the claws descend. Even if you're caught or opt to block, the damage isn't overly severe.
Similar to the Double Talon Rake is the "Talon Assault", which is slightly more potent and features a longer windup, aiming to throw off your dodge/block timing.
When the Gigatrice freezes in place and extends its wings, it's preparing for "Aero", creating a wind orb that explodes near you. While the timing can be unpredictable, staying mobile during the attack minimizes the risk.
Another wind-based attack, "Aerora", involves the Gigatrice firing the projectile directly at you, requiring swift movement to avoid.
For ranged assaults, it employs "Petrifying Breath", shooting a stream of petrifying breath. While it doesn't spread and dissipates quickly, rolling to the side easily evades it.
There's a variation where it fires the beam straight down, spreading out in a circular radius. Clearing the area within a few seconds avoids damage.
An attack akin to other flying foes' moves is "Gliding Harrier", where it swoops down in a vertical line and drags across the ground. Dodging depends on your positioning relative to the Gigatrice.
With "Rough Landing", it hovers over you or a party member, crashing down to the ground. Mobility is key, and blocking is a backup if needed.
On the ground, it can execute "Bite", launching two consecutive biting attacks that can be perfectly blocked. "Tail Swing" is self-descriptive, but can also be dodged or blocked.
At around 75% health, it gains additional attacks like "Conjure Cyclones", spinning around and summoning dusty wind cyclones around the arena. Staying mobile and watching for their appearance is crucial.
"Dust Devil" charges up and unleashes a giant tornado, applying effects like Petrifying Breath. Keep your distance until it dissipates.
Rewards: 1,100 EXP, 10 AP, 1,100 Gil, 50 Party EXP
MineTrack in Final Fantasy 7 Rebirth Chapter 7 Those Left Behind
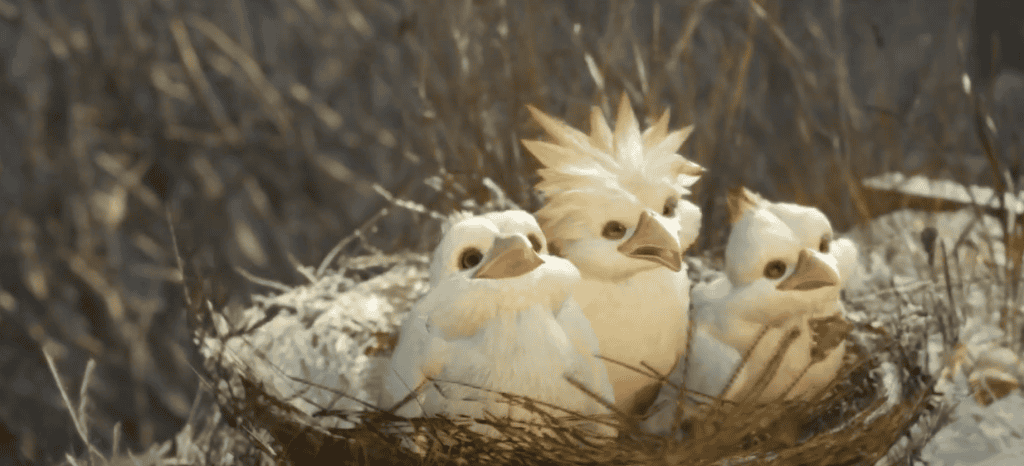
Upon defeating the Gigatrice, it gracefully flies away, leaving the party to marvel at the baby chocobos. They affectionately nickname one chick Cloud Jr. due to its similar hair quiff. Barret suggests using the nearby minecart to save time, and the party agrees to lower the bridge and reunite with the others.
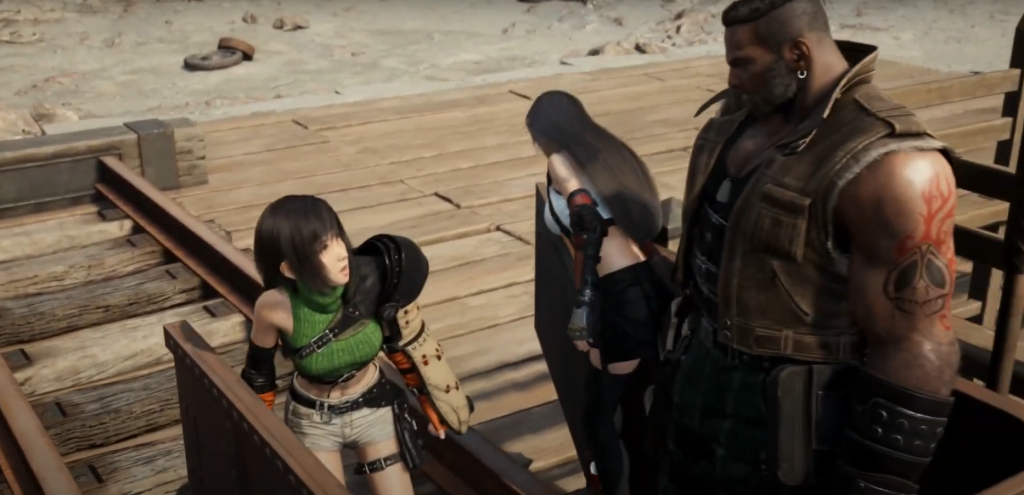
Approaching the terminal, Barret powers up the bridge below. Using the nearby PHS Terminal, they communicate with the others, informing them to travel along the tracks toward the town. Cloud takes control again, heading southwest along the tracks. After dispatching a Spearhawk and two Bloatfloats, they reach a fork in the tracks with a lever on the left-hand side.
The decision here will deepen either Barret's or Yuffie's relationship:
Leaving the tracks as they are deepens the relationship with Barret. Switching to the safer route (to the right) deepens the relationship with Yuffie.
Choosing the path, they head down the right set of tracks, encountering a Bomb before reaching a small shack. Inside, they interact with the PHS Terminal and switch control to Yuffie.
Yuffie heads southwest and boards the minecart to join the others. During the ride, Barret shoots and destroys crates while Yuffie throws kunai to destroy larger boxes. Upon reaching the bridge, Cloud Jr. is reunited with its mother. Crossing the bridge, they arrive at the town of North Corel.
The town's residents are hostile towards Barret, but he insists on enduring the harassment. Moving forward, they encounter more disgruntled civilians until Tifa requests to visit the nearby clinic. Inside, Doctor Sheiran reveals unsettling findings about the robed figures, speculating they might be degraded SOLDIERs heading to the Gold Saucer.
Exiting the clinic, Yuffie expresses eagerness to visit the Saucer. Barret mentions the nearby Ropeway as a means to get there. As they head to the terminal, Barret reveals the tragic history of the town, implicating Shinra in a devastating event.
Boarding the Ropeway, Yuffie tries to lift the mood as they head towards the Gold Saucer.