FF7 Rebirth Walkthrough Fool’s Paradise
The next day dawns, and the Shinra-8 docks at Costa Del Sol. Passengers disembark to a warm welcome from locals. Yuffie rushes over after bidding farewell to the ship, sparking debate within the party about watching the robed figures nearby. Mayor Kapono greets them, each receiving a lei. Aerith suggests sightseeing, hinting at beach plans, much to Barret’s dismay.

While exploring Costa Del Sol, head to the promenade's far end and ride the Wheelie for quicker travel. Go north, cross a bridge, and descend a slope to find two Travel Bureau Employees.
Inquire about hotels, then head northwest along the coast to the Gold Coast and Costa Del Sol Resort hotels. Both full, but visit Costa Del Sol Resort's lobby for assistance.

Engage in conversation with one of them and inquire about accommodations nearby. Armed with this knowledge, proceed northwest along the coast to reach the Gold Coast hotel and the Costa Del Sol Resort hotel. Unfortunately, both establishments are fully booked, but you can streamline your search by heading directly to the Costa Del Sol Resort and consulting with the receptionist in the lobby.
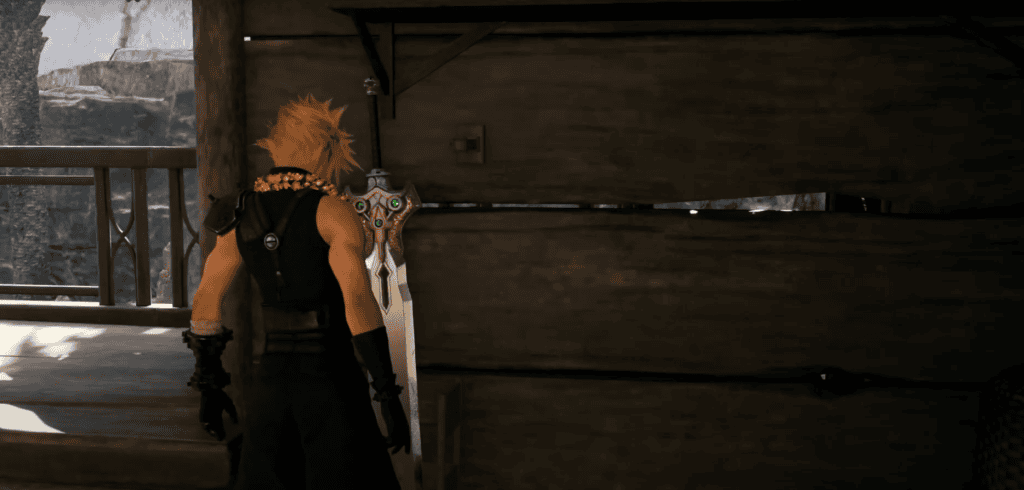
Exit the hotel and witness Johnny welcoming Tifa. Follow him to Johnny’s Seaside Inn, where he provides rooms. While Aerith and Tifa shower and Barret wanders, interact with your hotel room's door, placing your Buster Sword in its holster.
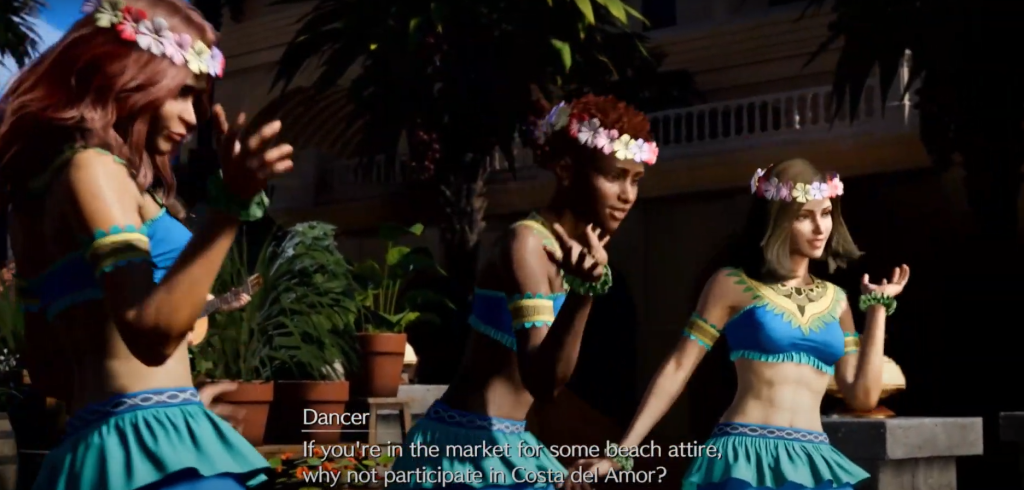
Return to town, where two dancers mention dealing with the robed figures, requiring a wardrobe change for the beach. Obtain Companion Cards nearby for beachwear.
Cloud’s Companion Cards
Head northeast to Pirate’s Rampage minigame, earning points to exchange for a Companion Card. Aim to reach 10,000 total points over the course of 4 rounds and you’ll successfully earn a companion card.
Then, head southeast to Card Carnival minigame. Speak with Regina and she’ll agree to partner up with you for a special variation on the usual Queen’s Blood game.
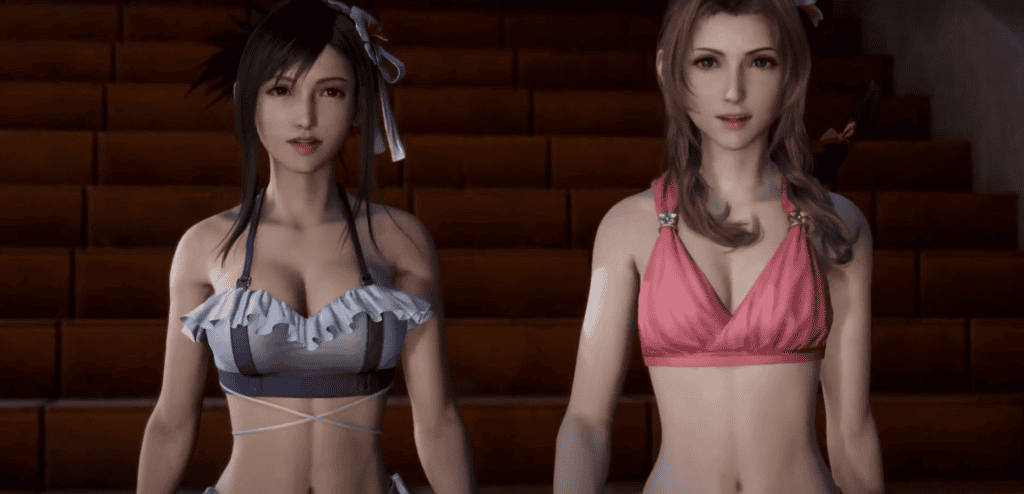
With Companion Cards in hand, purchase beachwear and change in a nearby hut. Agree to hit the beach.

On the shoreline, Cloud engages in conversation with Barret, who intimidates several locals bothering the robed figures. Simultaneously, at Johnny's inn, Aerith confers with Red XIII regarding a materia of hers that has faded. Red XIII elucidates that materia, originating from the lifestream, absorb knowledge and memories, implicating the Whispers in Aerith's memory loss.
Tifa & Aerith’s Companion Cards
Switch to Aerith and recruit Tifa. Complete challenges to earn Companion Cards for beachwear.
Heading away from the hotel and toward the town, the dancers will once more break in and present you with various activities to earn Companion Cards. Once their spiel concludes, proceed to the right, where you'll encounter the Run Wild stall a short distance down the street on the right-hand side.
Engage with the Animal Handler stationed behind the counter to initiate the Free-for-All challenge. This activity mirrors a soccer/Rocket League-style game where your objective is to score goals while preventing the opposing team from doing so. Each team possesses 5 "lives", which decrease by 1 whenever a ball enters a goal. To emerge victorious, ensure your team is one of the two with the most lives remaining when the timer expires.
Adopt an aggressive approach early in the match, aiming to score in at least two different goals. As the game progresses and a second ball appears, prioritize defensive tactics, deflecting incoming balls to maintain your advantage.

Upon successfully completing the minigame, you'll acquire a Companion Card for Aerith. As Johnny zooms past on a Wheelie, proceed in his direction as intended.
To obtain the next Companion Card, head south and engage in conversation with a woman named Jenny, who harbors jealousy over a perceived bond between Johnny and Tifa. The Wheelie Manager intervenes, seeking your assistance in relocating misplaced Wheelies to their designated color-coded areas within the town.
You'll need to locate two Wheelies of each color, situated as follows:
Red: Positioned behind the manager at the mission's starting point. Blue: Found to the right of the hut leading to the beach. Yellow: Located to the right of the stage where the dancers perform, near the path to Johnny's hotel.

The Wheelies themselves can be found at these spots:
Red: Outside the Costa Del Sol Resort and the Gold Coast hotel. Blue: Adjacent to the Costa Del Sol Resort and the Gold Coast hotel. Yellow: Next to the Run Wild stall, up the slope to the left of the Costa Del Sol Resort.
Once all Wheelies are returned to their respective zones, revisit the red zone where the task originated. Jenny will reward you with two Companion Cards (for Tifa), although Tifa will relinquish one to enable Jenny and Johnny to form a partnership.
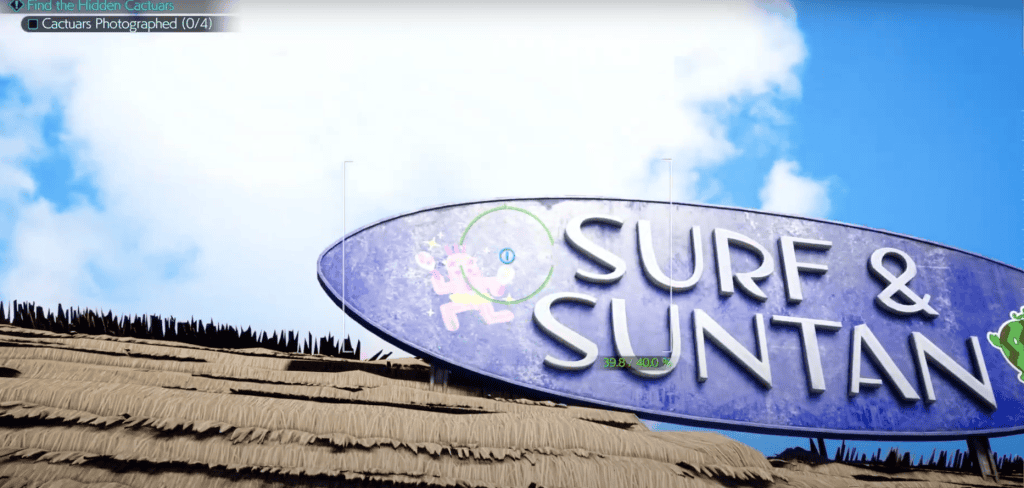
Another opportunity to obtain a Companion Card awaits on the shoreline, where a Shinra manager is engaged in a dispute over photographs near the beachwear stall. Following a conversation, the woman will entrust you with a camera and a map detailing the locations of 4 Cactuar paintings that must be captured.
Utilize the controls: Press Left on the D-Pad to access the map and Up to retrieve your camera. The presence of a diamond-shaped Camera icon on your HUD indicates proximity to a Cactuar. Adjust the zoom appropriately, ensuring the numbers are highlighted green before taking the shot.
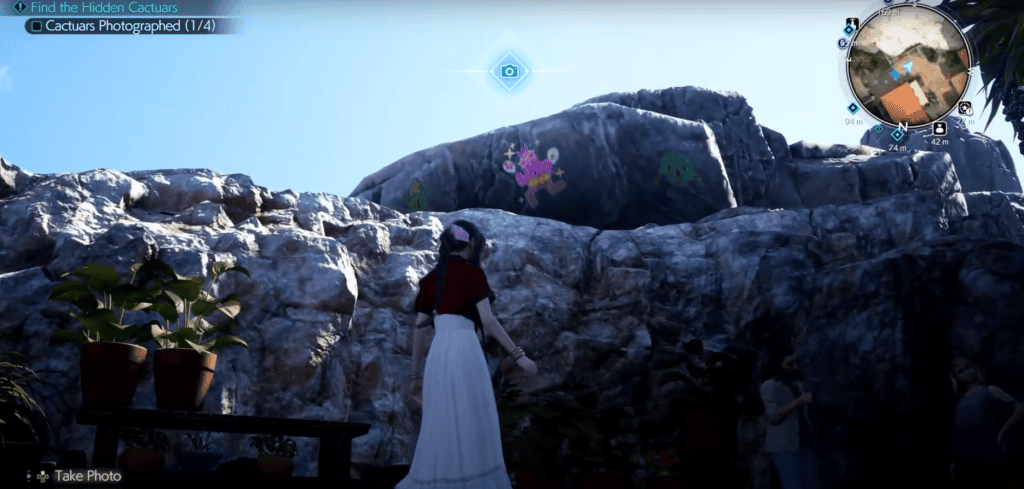
The paintings are located:
- On the sign above the hut leading down to the beach.
- At the end of the Card Carnival wooden dock, atop a stone wave-breaking structure protruding from the water.
- On a high rockface near the Run Wild stall.
- Near the Shinra-8 ship, featuring a small Cactuar painting on a red fire hydrant.
After snapping photos of all 4 locations, return to the woman on the shoreline to claim a second Companion Card for Aerith.
Tifa's Piano
For the ultimate minigame, venture into the Gold Coast hotel nearby and proceed to the right-hand side, where Madam M and Andrea are discussing the absence of the piano player due to elopement. They urgently seek a replacement performer. Approach the piano, presented with the option to either commence the performance straight away or practice beforehand.
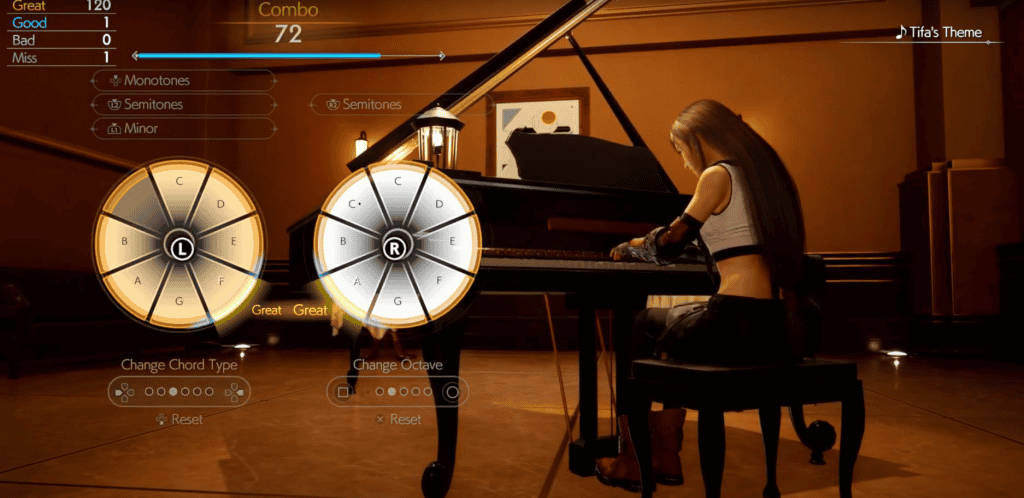
Prepare to play Tifa’s Theme, using the left and/or right analog stick to align with the notes as they converge on the outer golden circle. A flawless rendition will secure the final Companion Card!
Redeem beachwear from the same stall used to redeem Cloud's outfit, then agree to hit the beach.
After choosing the outfits, descend the steps and agree to join the girls on the beach, immediately attracting the attention of dozens, even startling Red XIII and Cloud.
Before any relaxation sets in, Hojo makes an entrance, teasing the beginning of a show. Follow Hojo to the sheltered pavilion area across the beach, approaching him on the sunbed to the right.
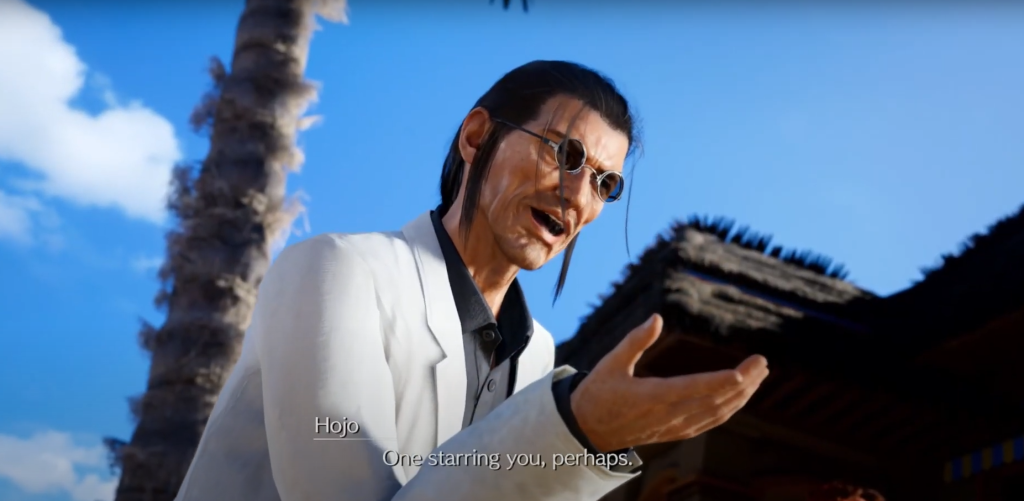
Hojo orchestrates the lining up of the robed figures on the beach before summoning a large mechanical octopus-like Grasptropod from the water. From this contraption, several Experimental Varghidpolis spring forth, transforming the robed figures into various monstrous forms. While a couple are detained inside the Grasptropod, the others require immediate attention.
Grasptropod Boss Battle
The Grasptropod is formidable, utilizing its tendrils, drills, and technology for diverse attacks. One such move is "Pulse Blaster," where it unleashes electric bolts from its front tendrils. Blocking is often the best defense against this onslaught.
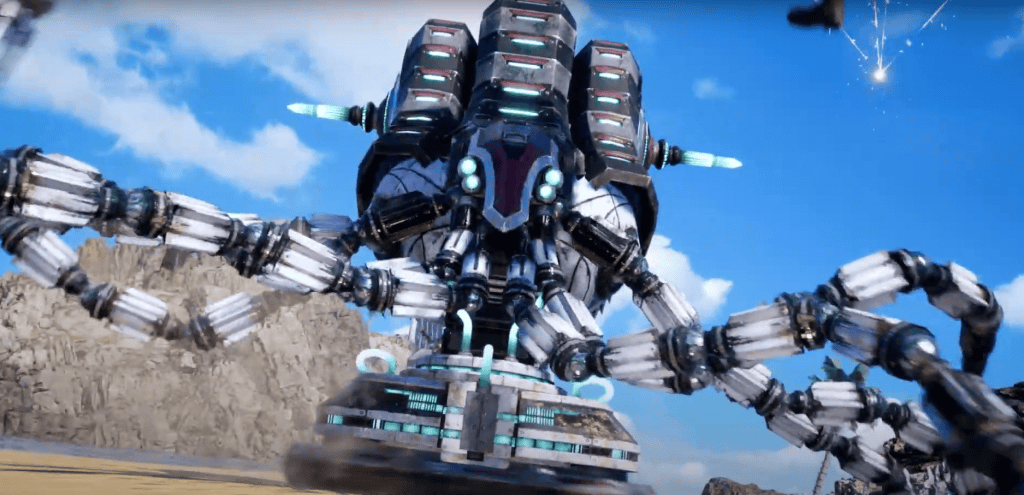
In close quarters, it employs "Drill Run," charging straight at you with spinning drills. Dodge sideways to avoid being caught.
With its "Tentadrill" attack, the Grasptropod stabs downward with its drills. If nearby, dodge backward to evade.
- Laser Saber emits spinning blades, demanding constant blocking during its spin. Time perfect blocks carefully.
- Sublimated Toxin disperses a damaging gas cloud. Maintain distance or dodge backward to avoid.
- Silencing Solvent sprays poisonous liquid, dodge backward if far, or maneuver behind if close.
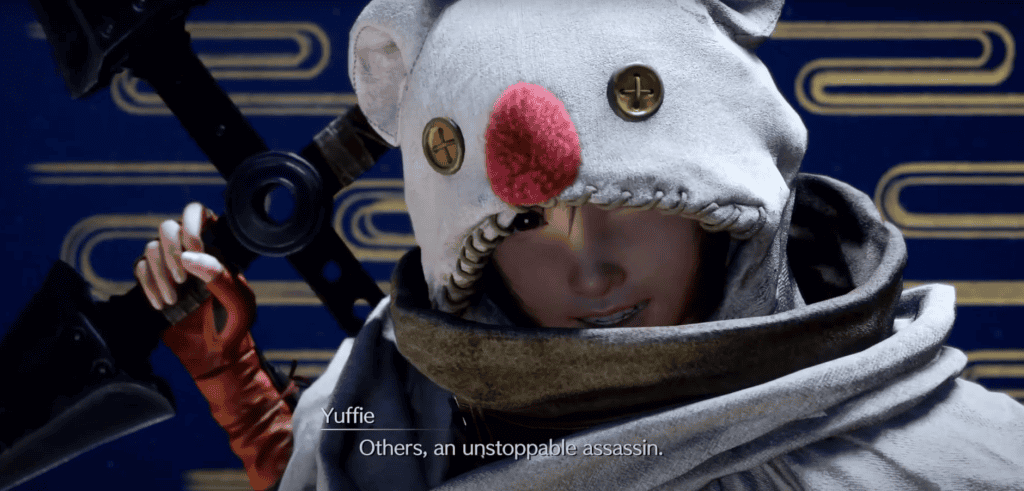
- Subject Retrieval removes party members, culminating in Cloud's capture. Yuffie's intervention aids in the battle.
- Disarming Ammo launches explosive projectiles, necessitating constant movement to evade.
- Breakneck Spin emits burning blades with extended range, demanding vigilant blocking unless far away.
Enjoyed this article? Share it with your friends on social media and spread the word!