FF7 Rebirth Walkthrough – Dawn of a New Era


Chapter 4 - Dawn of a New Era

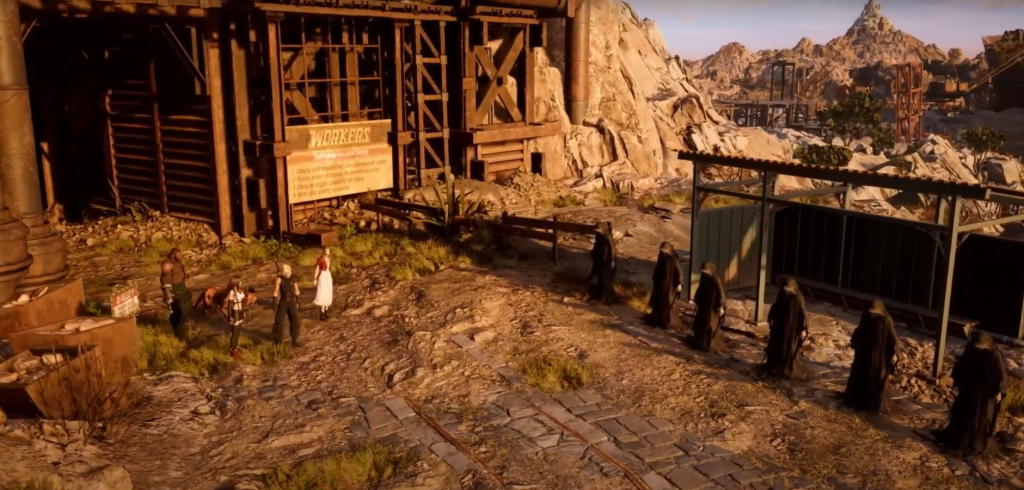
Encountering a group of robed individuals, a colossal bird swoops down, seizing one in its talons before soaring away. With the remaining figures advancing towards the city, the decision is unanimous to trail them in the hopes of locating Sephiroth.

black robed figures

Journeying Towards Junon

While you have the option to explore along the coast to the right, the priority is to head towards Junon for progress. Veer slightly to the left off the main road to discover a weather-beaten shack.

Although the objective marker directs you towards the wooden Junon sign, opt to traverse left into the passageway adjacent to it, following the cliff until reaching Under Junon.

Just before entering the town, Rhonda, assuming the roles of mayor and sheriff, identifies you as members of Avalanche. She assures confidentiality and advises seeking refuge in the nearby inn.

rhonda

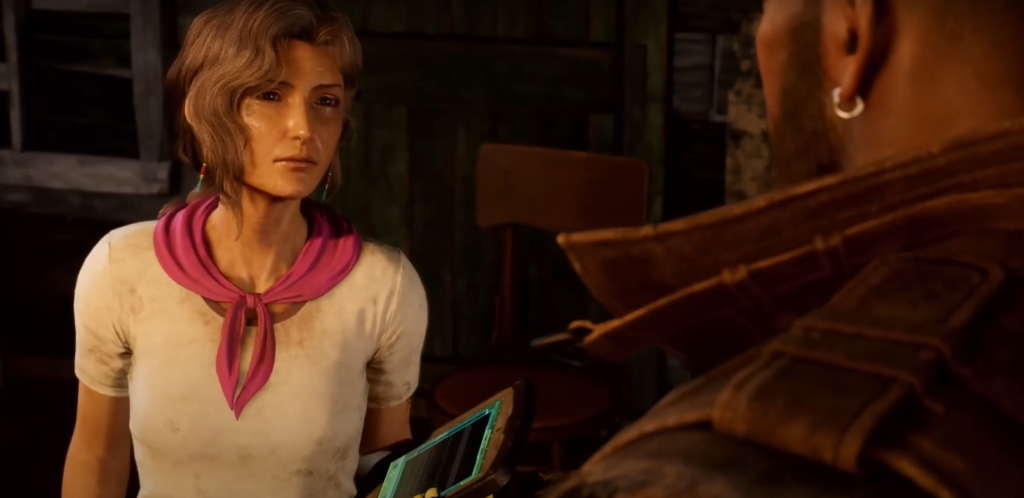
Although she hasn't personally encountered the hooded figures, Rhonda mentions the Turks passing through and heading for the heavily guarded elevator. Upon advancing further into town, Barret halts you, seeking information on the figures. Choosing to divide and gather information, Aerith suggests regrouping at the inn later.

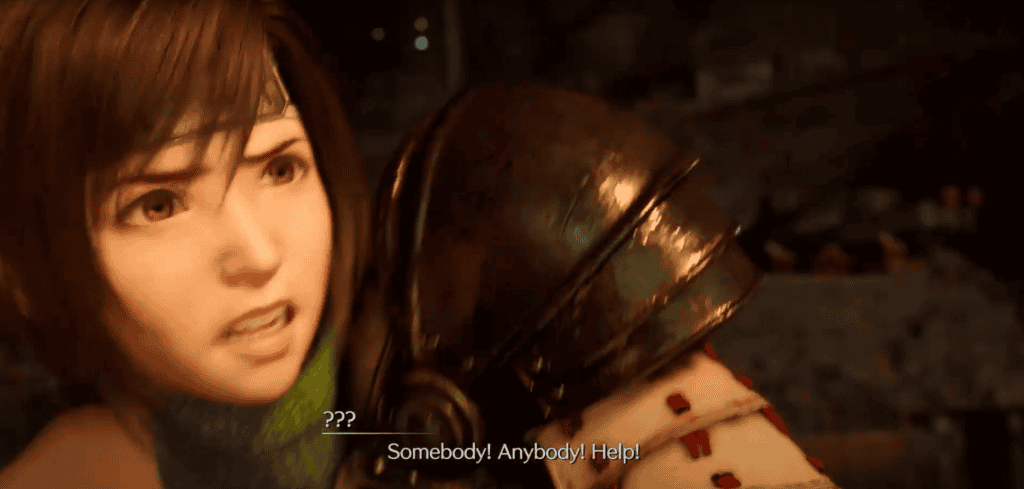
Explore the town, engaging with vendors and QB opponents, but proceed directly to the inn situated in the main square. However, before conversation ensues, a cry for help disrupts the moment.

Outside, a concerned citizen leads you towards the dock, where Yuffie finds herself trapped in a rowboat by a sea creature. Knocked into the water, Yuffie is saved by a dolphin but rendered unconscious before reaching shore.

yuffie on a boat

Battle Against the Deep Terror

Engage the serpent-like creature, relying predominantly on ranged attacks. Lightning-based spells prove particularly effective. Dodge the "Water Jet" and "Tail Lash" attacks, and remain vigilant for the "Spiral Surge" divebomb.

During the battle, the creature initiates the "Oceanic Tornado" attack, prompting you to dodge the smaller spouts while focusing on the main tornado. Upon victory, Cloud delivers a final blow with the aid of the dolphin.

sea monster

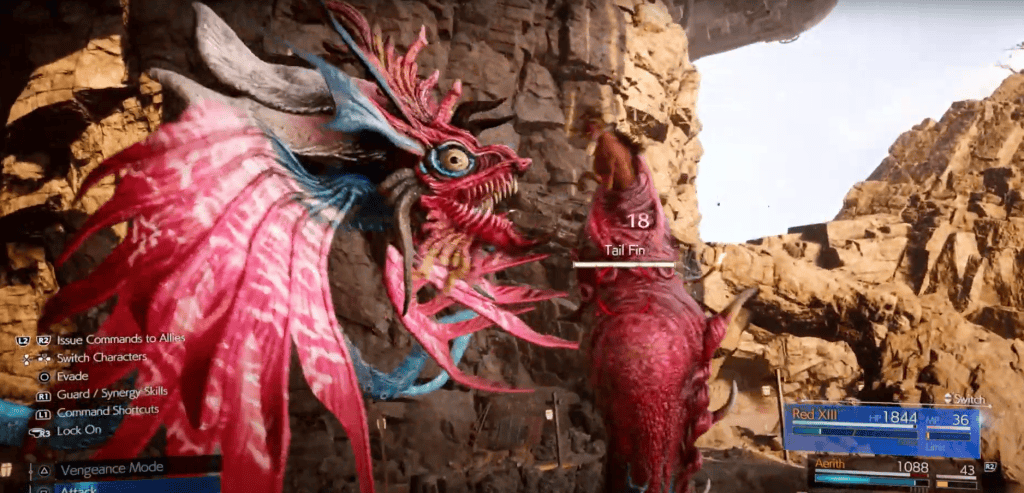
Following the creature's defeat, Cloud teams up with the dolphin to land a decisive strike. Upon returning to shore, Rhonda revives Yuffie, who recognizes Avalanche members.

Back at the inn, Yuffie reveals her request for assistance in assassinating Rufus Shinra during his inauguration parade. Rhonda offers a contract, intending to pay with Avalanche's bounty. However, before further discussion unfolds, a disturbance prompts Yuffie to hastily depart.

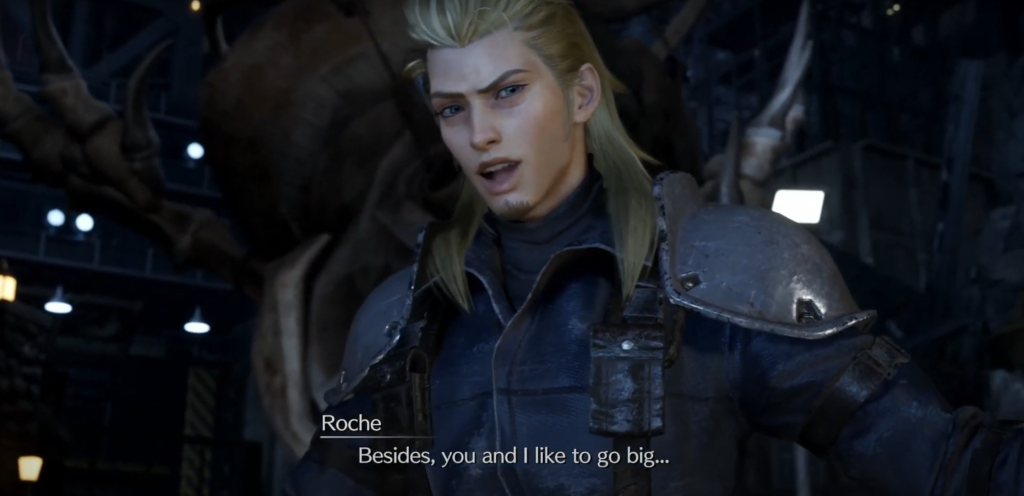
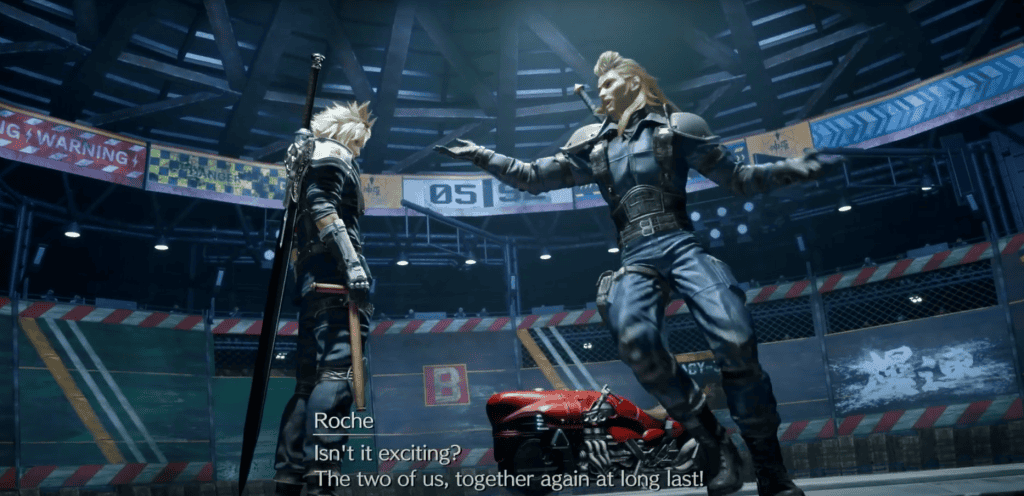
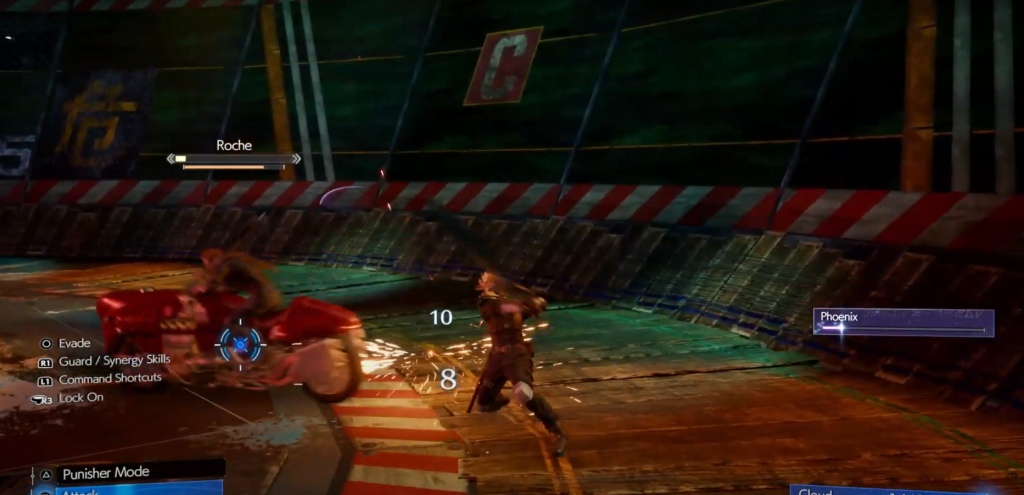
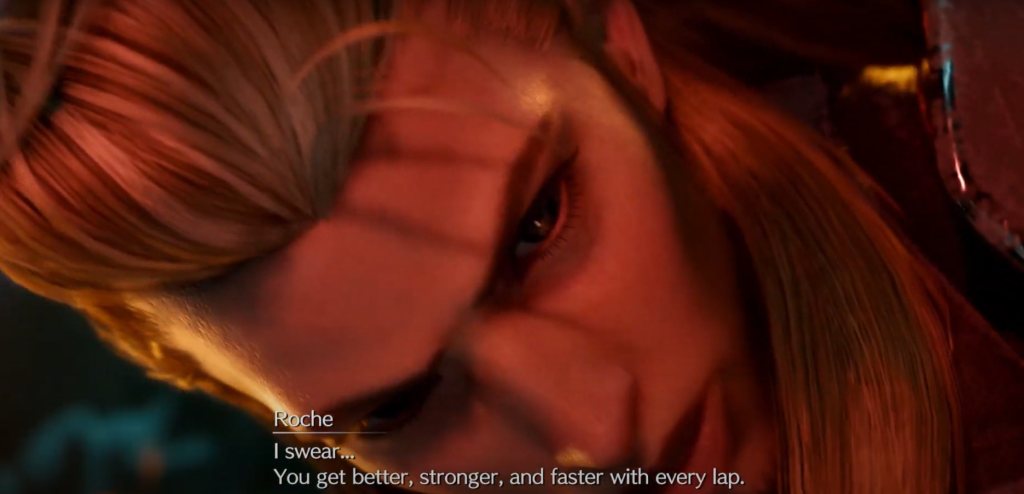
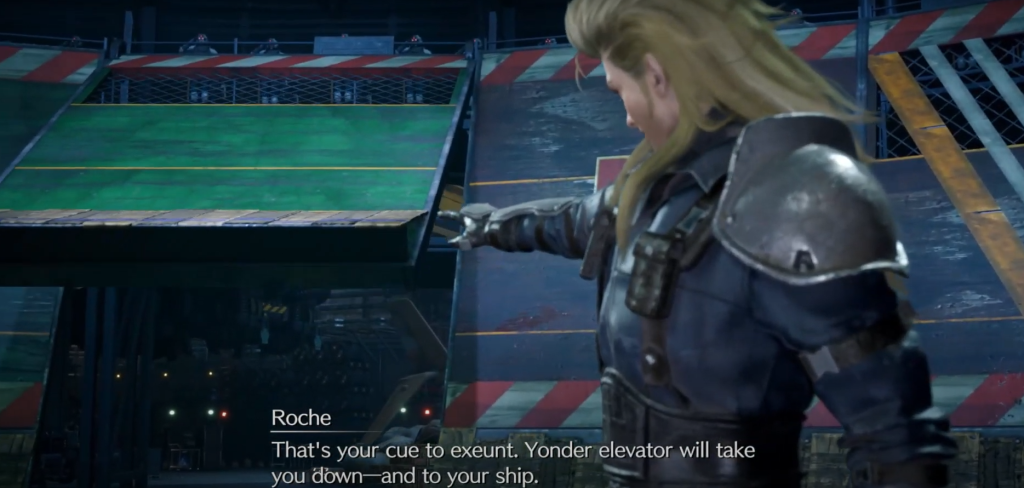
Exiting the inn, you encounter Roche, who challenges Cloud to a fight. Roche explains he is there to retrieve Aerith but decides that an inevitable showdown with Cloud needs a bigger stage - the city up above!

As Roche rides away, the group agree that it’s time to leave but Rhonda interrupts and gives the group 5,000 Gil as part of your bounty, claiming her plan worked perfectly as Roche left the town without violence

roche

Upon regaining control, make your way down the nearby steps to the docks and approach Priscilla, a young girl interacting with a dolphin.

Priscilla shares that the most efficient route to the city above is via the suspended tanker nearby. She explains that "Mr. Dolphin" can assist in propelling you up to the controls.

Submerge into the water and follow the dolphin to the starting point of the nearby race track. When prompted, grasp onto the dolphin and navigate it through the track. Aim to collide with as many beach balls as possible to maintain maximum speed.

cloud on a dolphin

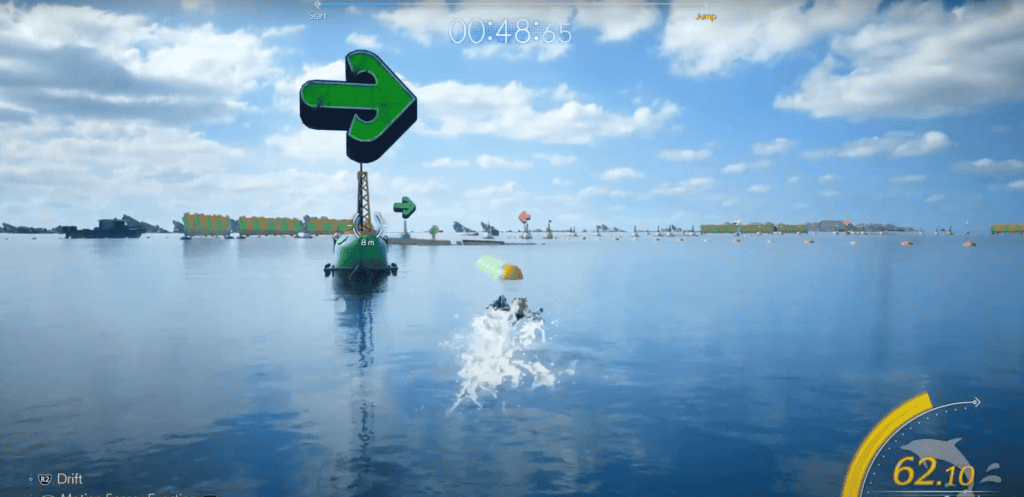
Upon reaching the track's end, press the two button prompts (X then △) as the shrinking circle aligns with the inner circle. Successfully executing this maneuver will launch you onto the tanker platform. Ascend the steps and access the control room, interacting with the controls on the far end. Use the right analog stick to gradually lower the tanker into the water, allowing the rest of the party to board a rowboat on the shore, towed to the tanker by Mr. Dolphin.

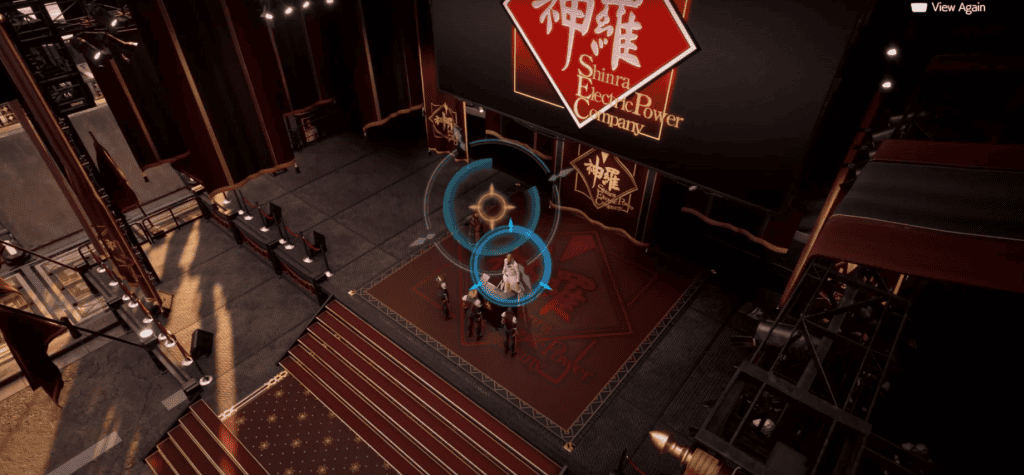
With the party now aboard the tanker, manipulate the right analog stick to raise it. Meanwhile, a helicopter lands in the city above, welcoming Rufus Shinra amidst a grand military reception.

Upon returning to Cloud, leave the room through the door opposite and descend the steps in the next area to rejoin the party.

Junon Level 3

Proceed down the left corridor, ensuring to collect the hi-ether from the chest tucked near the vending machine at the end before turning right down the passageway. At the far end, the party marvels at the massive cannon above before moving forward. Ascend the stairs ahead to witness the military procession and the Highwind airship. Then, follow the path to the left, tracing the red carpet until reaching an open hangar on the left side.

the highwind

Inside, interact with the terminal to ride the elevator down, initiating a cutscene. In the command center, Tseng informs Rufus about the arrival of Colonel Glenn Lodbrok, a Wutai emissary, whom Rufus recognizes. Glenn questions Rufus about honoring his father's commitments to the battle for the magnus materia, to which Rufus reaffirms his dedication.

After returning to Cloud's perspective, ascend the stairs across and operate the terminal on the elevator to descend to Junon Level 3.

Upon arrival at Junon Level 3, Barret inquires about the plan regarding Rufus, suggesting a confrontation, which Aerith agrees with. Cloud proposes infiltrating the parade in disguise to reach Rufus, a plan deemed unfeasible for Barret and Red XIII.

With Tifa and Aerith insisting on joining, follow them down the nearby corridor to the locker room. As Aerith and Tifa change in their cubicles, pick up the storage crate on the counter to regroup the entire party, now disguised as Shinra troopers.

tife & aerith shinra soldiers

Exit the locker room and encounter a commander adjutant demanding a form check for the commander in the next room, initiating a minigame. After practicing, decline to continue, and the commander appoints you as parade captain, instructing to gather five units for a complete drill team.

Recruiting Seventh Infantry

Leave the room, turn right, and converse with Tifa and Aerith before proceeding right to Larboard Junon's main street. Recruit at least five Seventh Infantry units, with a maximum of ten available in the area, and meet with the commander at the far end to initiate the parade.

During the parade, perform formations based on selected units, earning points from the audience. Following the performance, Rufus addresses the crowd and recognizes Cloud and the party, proposing a deal to eliminate Sephiroth. Agreeing to the bargain, Rufus shares information about robed figures linked to Sephiroth.

rufus and the trio

Switching to Yuffie's perspective, climb the scaffolding and prepare to attack Rufus, engaging in a QTE. Despite Rufus surviving, he accuses Cloud and the party, calling off the deal. As chaos ensues, the party flees, and Cloud stays behind to distract the Seventh Infantry.

yuffie shooting rufus

Roche's Battle Encounter

Throughout the battle, Roche remains mounted on his motorcycle, granting him unparalleled speed and agility. As a result, mastering Perfect Blocks becomes crucial for success. Successfully executing Perfect Blocks will momentarily halt Roche's movement, creating an opportunity for counterattacks.

roche and cloud

Roche employs a few primary attacks during the fight. He often slashes at you with his sword as he speeds past, or launches waves of energy from his sword when at a distance. Both attacks are relatively manageable if you remain focused and locked onto him.

One of Roche's abilities, "Loose Voltage," involves him riding around the arena walls while summoning circular AoE patches on the floor. These patches explode with electricity, posing a threat to anyone within their radius. Constant movement and careful observation of the floor are key to avoiding these hazards.

rcohe and cloud fight

Another attack, "Crash and Burn," sees Roche launching into the air from the walls before crashing down in the center of the arena. While challenging to dodge, a well-timed Perfect Block can mitigate the damage.

As the battle progresses and Roche's health drops below 75%, he introduces the "High Voltage Ride." This attack combines the launching and crashing of "Crash and Burn" with a powerful electrical explosion upon landing. Roche becomes more aggressive and his attack patterns become faster and more extended during this phase.

Additionally, Roche unleashes a new attack called "Blitz," where he fires homing projectiles that arc toward you while riding around the walls. This attack often leads into a "Crash and Burn" assault.

roche defeated

Upon defeating Roche, Cloud slices his bike in half, prompting Roche to acknowledge your victory and reward you with the Speed Demon keychain, an elixir, and a stuffed Stamp. Roche allows you to leave the arena, after which you can explore the room for chests and Shinra crates filled with valuable items and consumables.

roche lets cloud leave

All Aboard

Proceed to the western side of the chamber to exit onto the deck. Proceed ahead to the crimson terminal located across the way, enabling you to descend via the elevator to the ship. The surviving members of the 7th Infantry bid you farewell, oblivious to your true identities.

Upon reaching the lower level via the elevator, head towards the right and then turn left to locate your companions further down the dock. Observing passengers undergoing screening at the main entrance of the vessel, take control and cross the slightly elevated yellow bridge to the left. Here, you encounter Captain Titov.

ct titov

Aerith persuades Titov that Rufus's commendation entails a journey to Costa Del Sol. As several robed figures emerge behind the party, Titov is distracted by a disturbance on deck, urging everyone to maintain a low profile. With that, the ship departs from the port, leaving a passenger named Kyrie just moments too late to embark.


Share On Your Social Page

Posted in
Article Contents
    Add a header to begin generating the table of contents