As the party approaches the Gold Saucer, they are greeted by a dazzling spectacle of holograms, flashing lights, and fireworks. Stepping off the Ropeway, they are met with the sight of a staff room ahead, where a shimmering orb of healing materia awaits discovery.
Navigating the outer corridor, they descend steps to find themselves amidst landing helicopters. Cloud gazes skyward, observing another chopper's arrival, piloted by Elena and Rude, transporting Palmer to the venue.
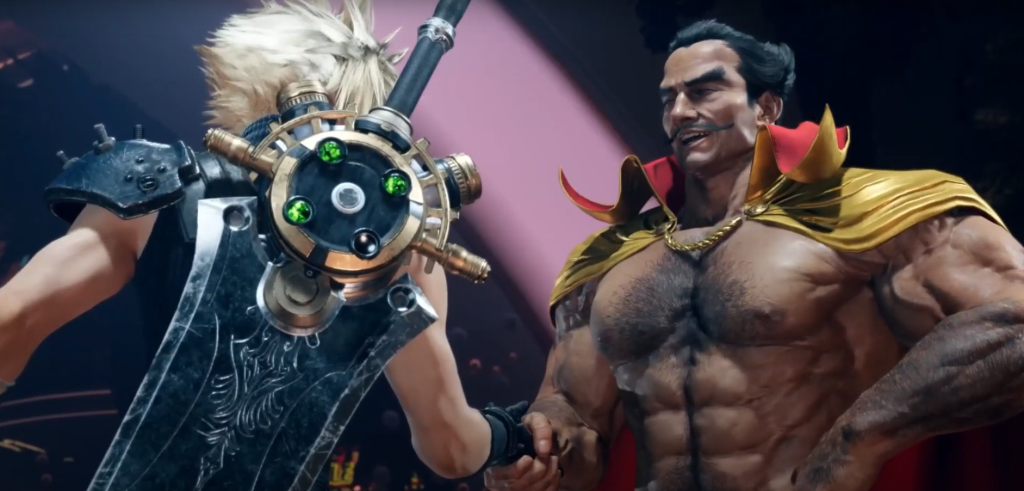
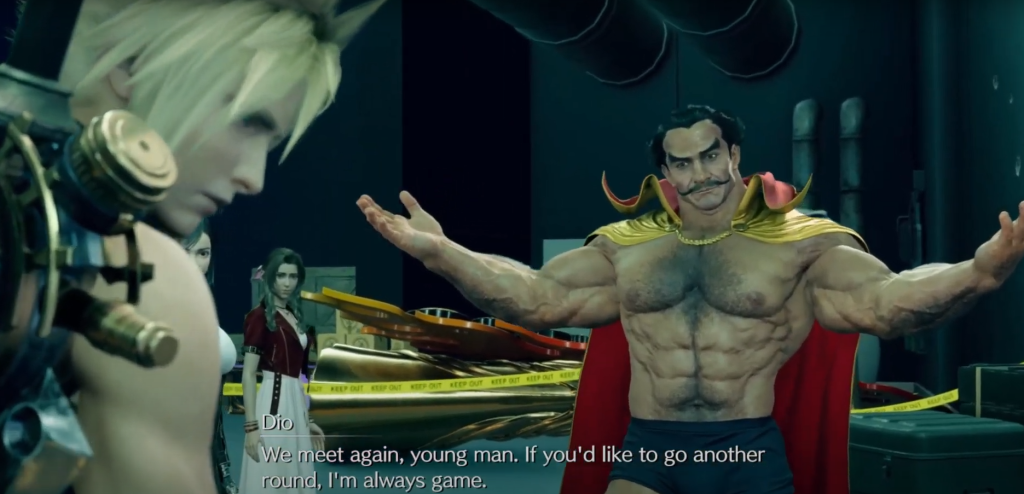
Crossing a bridge, they join a bustling crowd, drawn to a captivating performance unfolding before them. Yuffie, Aerith, and Tifa take center stage, their movements enthralling the audience. The performance culminates with the arrival of Dio, the esteemed park director, who issues a challenge to Cloud, igniting a retro-styled fighting game.
To succeed, you must land 3 punches, dodge 3 attacks, and string together two consecutive hits flawlessly.
After completing the tutorial, engage in the actual fight, aiming for victory and activating your Limit Break when prompted. Upon triumph, Dio will commend your prowess and reward you with a coveted golden passport.
Checking In
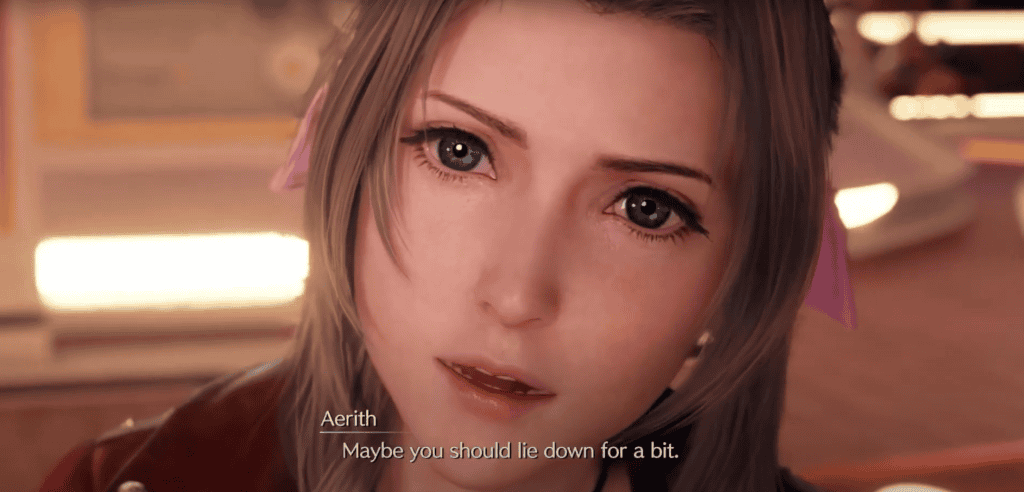
Follow the party into the park, veering left near the map. While the others opt for leisurely exploration, Cloud, disturbed by a vision of Sephiroth, is reassured by Aerith. Barret suggests they retire to find lodging and rest, a proposal met with agreement as they seek respite from their adventures.
Accompany Barret as he ascends the stairs ahead, then head towards the right-hand path within the Ghost Square tunnel for automatic transportation. Proceed along the eerie path until you reach the Haunted Hotel.
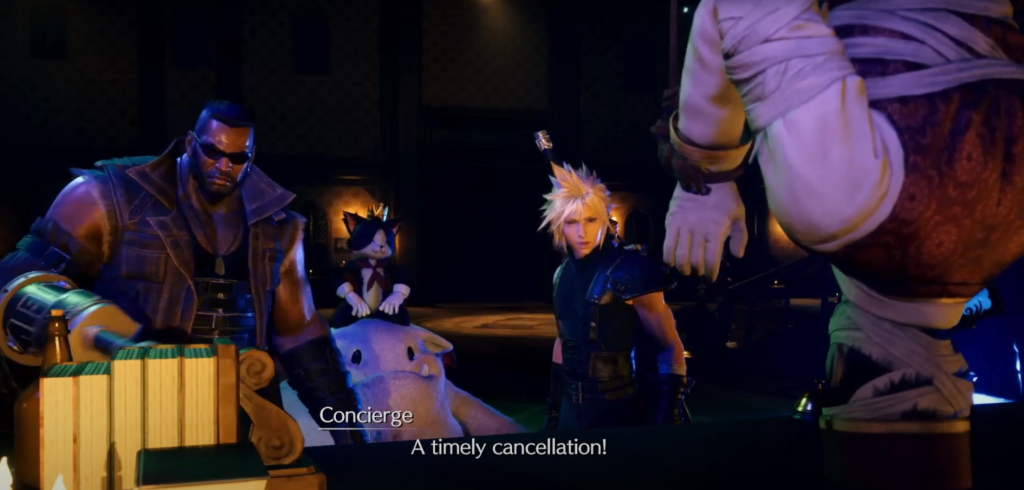
Barret, visibly angered by the frivolous attractions and the draining of the lifestream for trivial purposes, vents his frustration by causing some damage. Amidst the chaos, Cait Sith makes a formal introduction - a robotic cat atop a plush Moogle toy.
Upon entering the hotel, approach the counter to converse with the concierge. Upon learning of the fully booked status, Cait Sith intervenes, utilizing his technology to cancel a reservation manually. As you ascend the stairs, Cait Sith offers a fortune, the third of which carries a particularly ominous tone.
Approach the elevator located against the back wall, where the operator inside will escort you up to the fourth floor. Meanwhile, Elena, Rude, and Palmer enter the lobby, only to discover that their suites have been canceled.
Upon reaching the fourth floor, proceed to the third door on the left and enter. Subsequently, after Barret departs for a walk, interact with the bed to rest.
Sector 5 Slums
The scene transitions to Zack at Aerith’s house in Sector 5. Although initially disorienting, you'll find yourself controlling Zack while observing him through Cloud's perspective.
Move left and interact with the door, then descend the stairs to join Marlene and Elmyra. Elmyra reveals that Biggs visited the previous night but remains on the run from Shinra. Marlene expresses sadness over the likelihood of no one ever returning, but Zack reassures her, promising to locate Biggs immediately, lifting her spirits.
Exploring The Gold Saucer
The party member joining you for this Gold Saucer date is determined by the depth of your relationship with them. For more details, refer to our Romance Guide!
Returning to Cloud, he awakens from his slumber two hours later to a knock at the door. Answering it, he finds the closest party member inviting him to explore the Saucer’s activities. Afterward, return to the corridor and utilize the elevator once more.
Meanwhile, in the central hub of the Saucer, Barret spots a robed figure with a gun for an arm lurking about and decides to tail them.
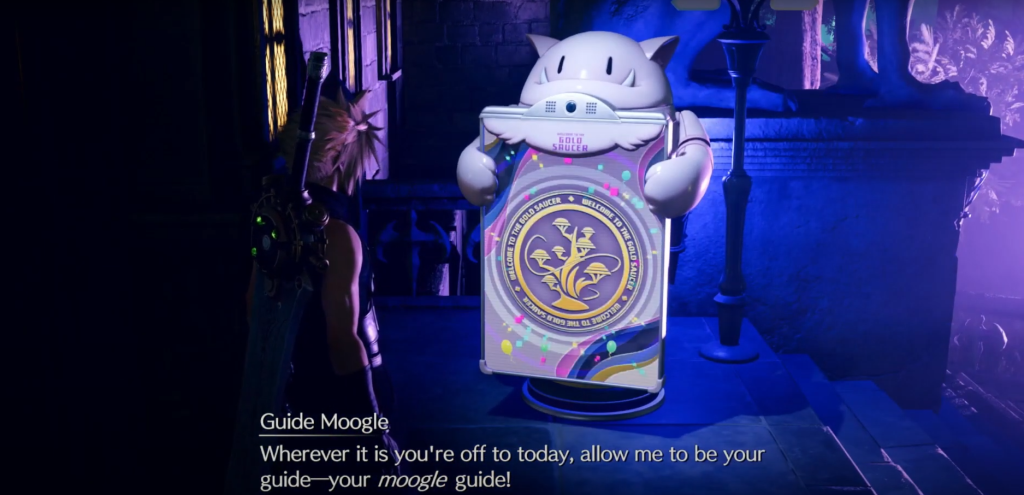
Continuing as Cloud, step out of the hotel, where the Guide Moogle interrupts, introducing a Fast Travel method to navigate the Saucer quickly.
Activities in the Gold Saucer
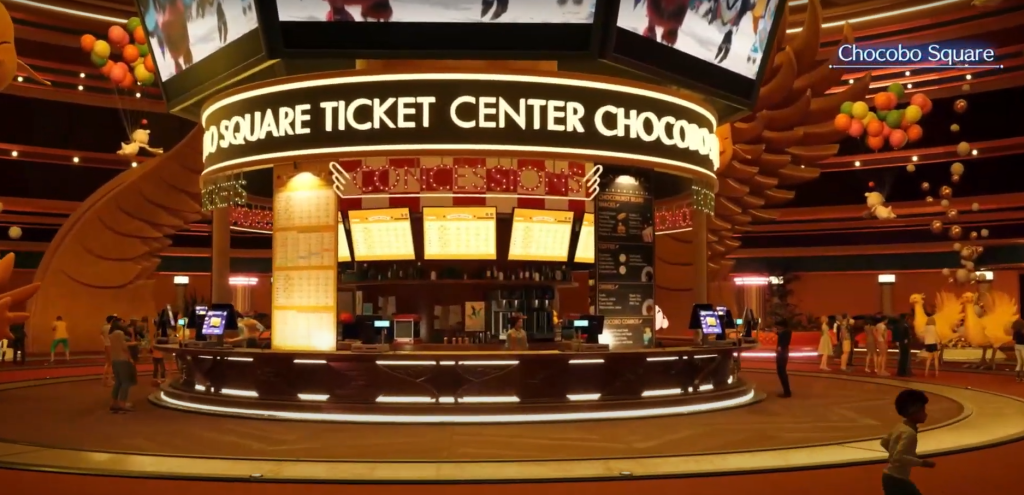
Chocobo Square
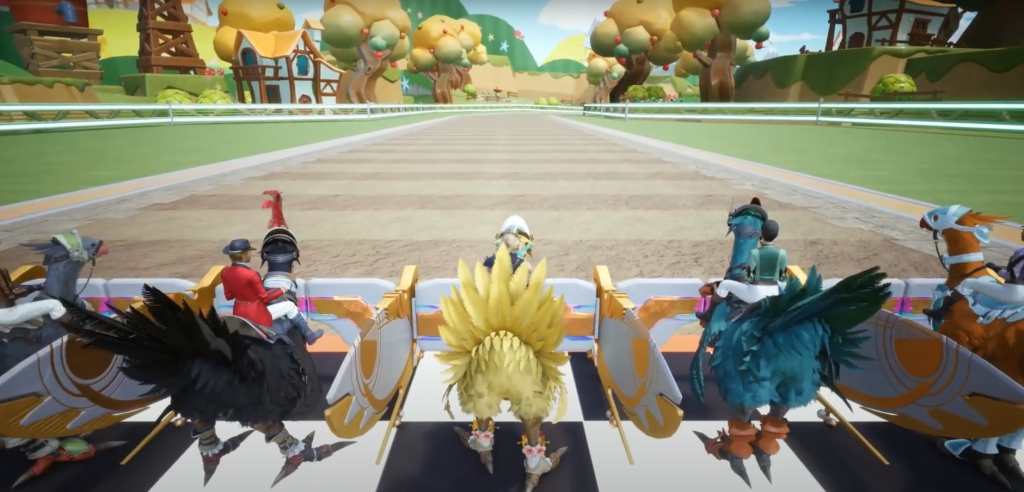
Accessible one floor below after journeying to Adventureworld, traverse through the tunnel to spectate chocobo races, although participation is unavailable.
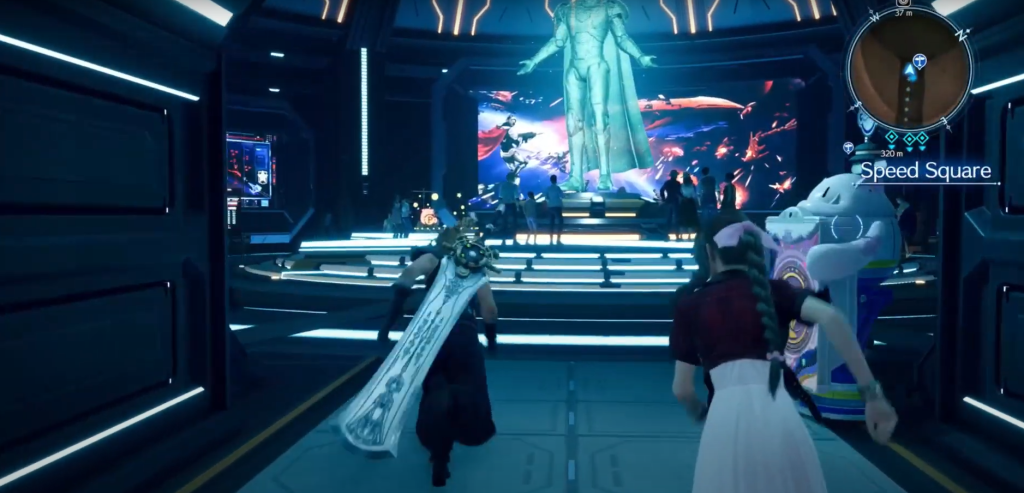
Speed Square
Located just above Adventureworld, proceed through the tunnel to reach Space Ranger HQ. Enter the door on the right beneath the Galactic Saviors sign and converse with the crew member up the initial slope to the left.
Engage in an on-rails space shooter, aiming to destroy as many incoming ships as possible. Utilize your Proton Bombs (△) and Restorative Charge heals (O) frequently for optimal performance.
Battle Square
Situated adjacent to Adventureworld, venture through the tunnel and ascend the steps at the far end to enter the Musclehead Colosseum. Speak with the Receptionist behind the counter in the Registration alcove on the right to partake in various combat encounters.
Event Square
Accessible nearby after traveling to Fantasyworld, ascend the tunnel and proceed down the corridor on the opposite side of the room. Your companion will point out a poster featuring an actress on the wall, recognized by Cloud as none other than Jessie.
After discussing her and any potential romantic history, enter the theater beyond. Despite the performance having concluded, you can still obtain a 3-Star HP Up materia.
Wonderment Square
Reached by ascending the stairs to your left upon arrival at Fantasyworld, then making two immediate consecutive left turns, proceed through the tunnel to arrive at a central hub area. Here, engage in QB matches, the retro 3D Brawler fighting minigame, and G-Bike. In G-Bike, navigate along a linear track, defeating enemies with sword swipes, nitrous boosting, and collecting points until reaching the finish line.
Skywheel Square
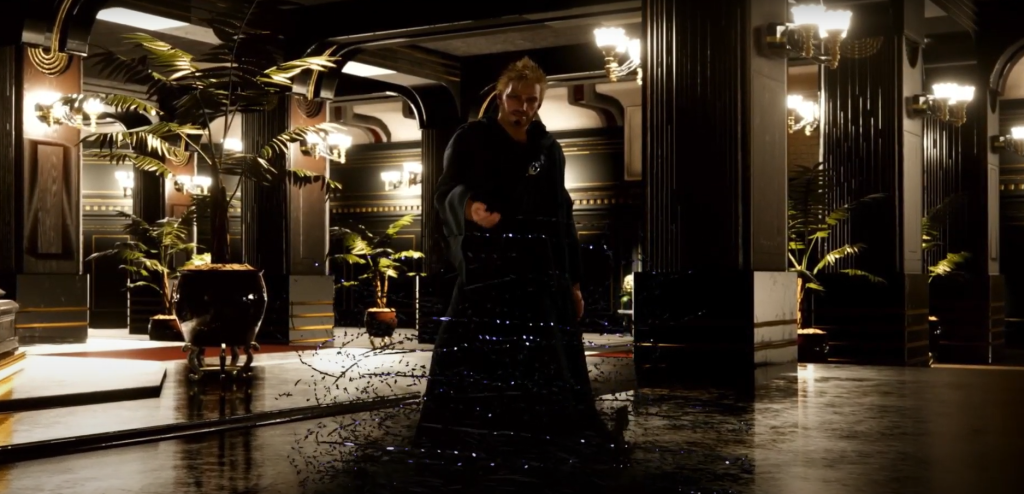
Accessible by ascending the stairs to your left upon arrival at Fantasyworld, followed by the next flight of stairs up to your left, proceed through the tunnel. Upon arrival, the scene shifts to Barret chasing the mysterious gunner into the Battle Square, where he discovers several downed Shinra guards. As the mystery figure enters an elevator and it closes behind him, he removes his robe, leaving Barret with a sinking feeling that he knows the person.
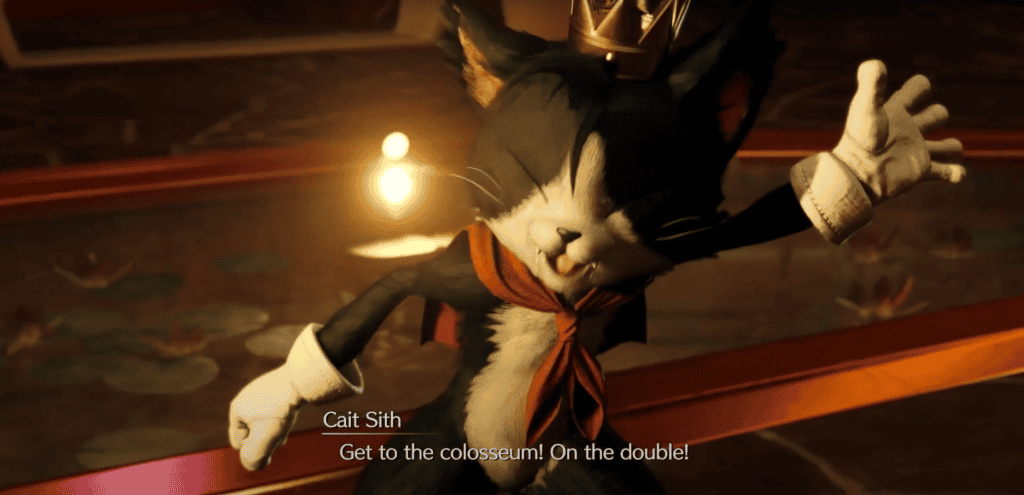
Meanwhile, at Skywheel Square, Cloud prepares to board the wheel with his partner when the power suddenly cuts out. Cait Sith rushes in, requesting their aid at the Colosseum, and reveals that the shooter has a gun for an arm. Utilize the Guide Moogle nearby and promptly travel to Battle Square.
Ascend the steps and, upon clearance, proceed through the registration area to the right. Dio arrives and explains that the fallen Shinra guards were part of a security detail for a director from the head office. Despite the party's protests, Dio suspects Barret as the culprit. However, he grants the party 24 hours to find the true perpetrator before handing them over to Shinra, securing Cloud with a bracelet as insurance. Follow Cait Sith through the nearby doorway, along the path, and into the elevator. During the descent, he briefs you on the Dustbowl, a derelict former staff living quarters plagued by crime. Exit the elevator and follow the path leading downward to the right, entering Corel Prison.
Corel Prison
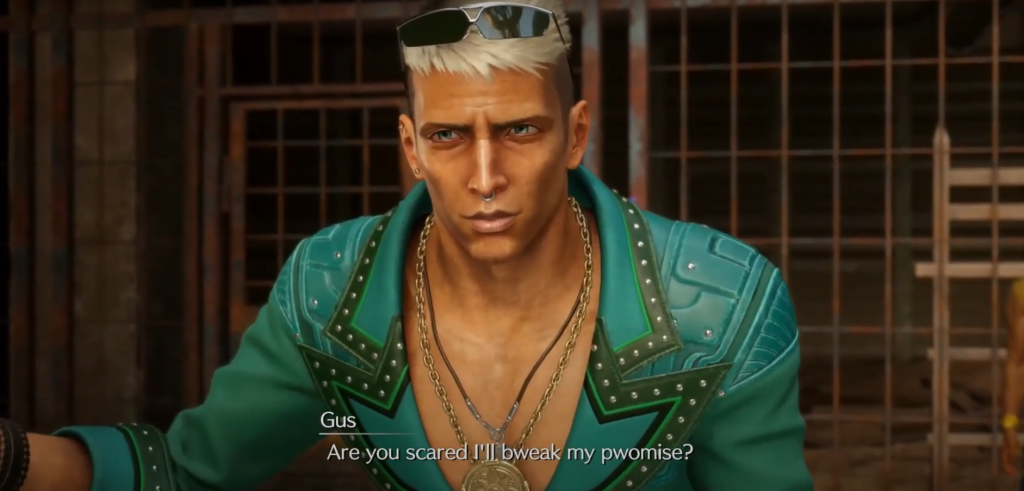
Proceed along the path until you're surrounded by a biker gang who swiftly incapacitate Cloud. The following morning, within Solemnitude Manor nearby, the party regains consciousness as Garth instructs them to follow him. Upstairs, Gus, the leader, introduces himself and reveals that he's holding Barret captive nearby. However, he agrees to release Barret if the party can earn him a substantial sum of money.
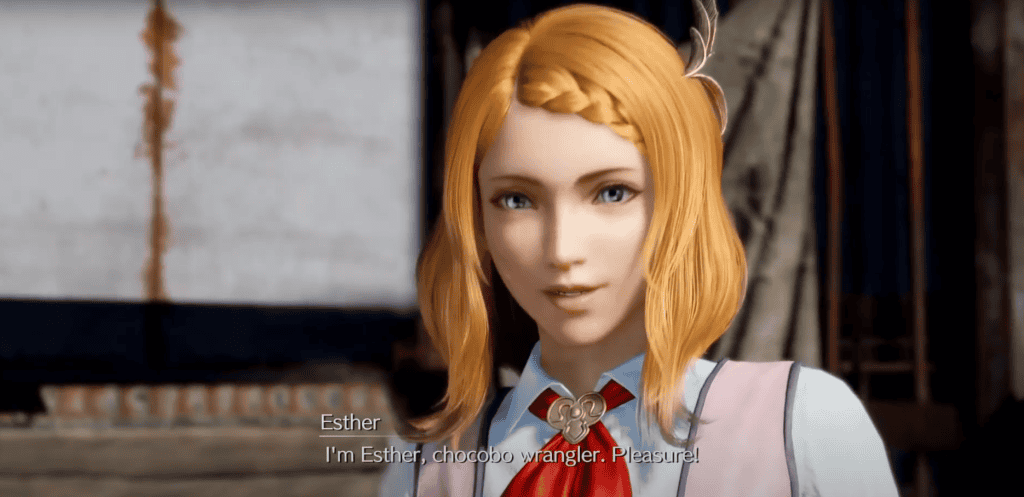
Informing you about an upcoming chocobo race, Garth leads you downstairs (remember to loot the chest for an Umbral Blade en route) and out to the adjacent Chocobo stable. Here, you meet Esther, who explains that Billy and Piko the Chocobo have been brought there somewhat unwillingly.
Esther requests your help in finding food for Piko to ensure he's in optimal condition for the race. You'll need to gather three bundles to restore Piko's health fully. Leave the stable and venture into the Desert Rush shack to begin a minigame. Your objective is to accumulate as many points as possible within the time limit by destroying crates scattered around. Achieving 15,000 points completes Rank 1 and earns you some Sylkis Greens.
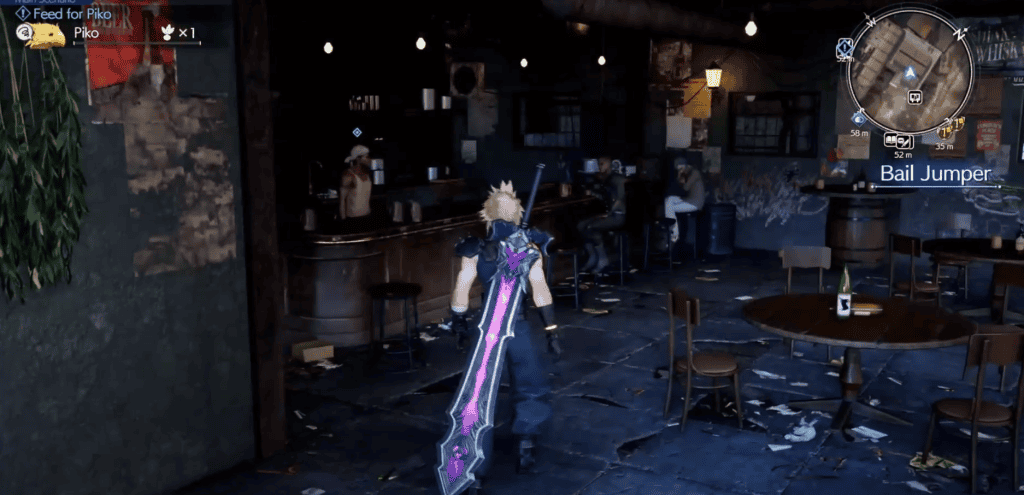
Next, head into the eastern part of town and turn left toward the noticeboard. Enter the Bail Jumper bar and converse with the bartender, who provides you with the keys to his garden atop the cliff, allowing you to take whatever you need—provided you can reach it.
Leave the bar and proceed north toward the locked gate that leads into a tunnel. Climb the ladder inside. You can streamline this entire section and bypass numerous combat encounters by taking alternative routes. At the top of the ladder, you can engage in a battle with two Sandhog Pies, or opt to take the path to the right to reach the next ladder without triggering combat.
Upon reaching the top of this ladder, you'll notice a Cactuar grabbing the Sylkis Greens before running away. Pursue it by looking up and pressing L2 to swing across the gap, where you'll encounter another pair of Sandhog Pies. After defeating them, ascend the yellow handholds on the northeastern wall and follow the slope upward and outside. Alternatively, you can avoid this combat encounter by staying on the opposite side of the flying creature. Proceed through the next tunnel and around the corner to reach a series of consecutive grapple points.
Swing across them and drop down onto the handholds below. Traverse left through the pipe, emerging into a confrontation with two Death Claws. Once you've dispatched them, resume chasing the Cactuar, encountering two more Sandhog Pies along the way. Then, shimmy along the pipe to the left. Note that just before this, you can also drop down to loot a chest containing a mega-potion and discover an orb of HP Up materia on the floor.
Once you've traversed the pipe, ascend the incline to encounter a group of Cactuars guarding the Greens. Engage and defeat them to obtain the Greens. Subsequently, ascend the ledge to the south and utilize the zipline to descend back to town. Upon arrival, you'll land next to a chest containing 4,000 Gil. Descend further by sliding down the nearby pole to return to ground level.
Various avenues exist within the town to acquire a third bundle of Greens. One option involves visiting the Card Collector located to the south. They will challenge you to defeat the three QB players near the noticeboard. Completing this task will not only yield the Greens but also reward you with QB cards corresponding to each defeated player:
Victory over Theo awards the Joker QB card
Defeat Dax to obtain the Thug QB card
Overcome Mary for the Death Claw QB card
Alternatively, the quickest method to acquire the third bundle of Greens involves interacting with three individuals situated left of the QB players. They will request your guidance down a sheltered alley to their right.
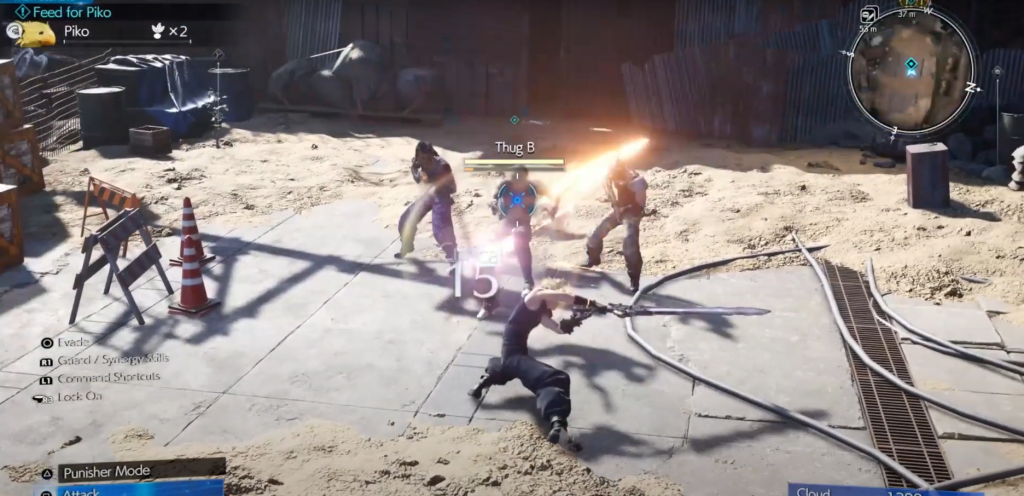
Proceed down the designated path and loot the chest ahead for 1,500 Gil. Enter the adjacent building and navigate through the narrow passage to prompt a confrontation. It's imperative to position yourself in proximity to ensure their proper pursuit.
Subdue them (they'll offer little resistance), and they'll surrender the bundle before fleeing. Armed with three Sylkis Greens, you can return to Billy and Piko, placing the Greens in the trough.
If you aspire to gather all six Sylkis Greens in the vicinity and utilize the surplus for trading Chocobo gear, peruse our dedicated guide on obtaining all Sylkis Greens!
Whether you opt for three Sylkis Greens or pursue the full set, advancing necessitates conversing with Garth and consenting to initiate the race. Accompany Esther through the adjacent passageway and proceed to the elevator located at the opposite end.
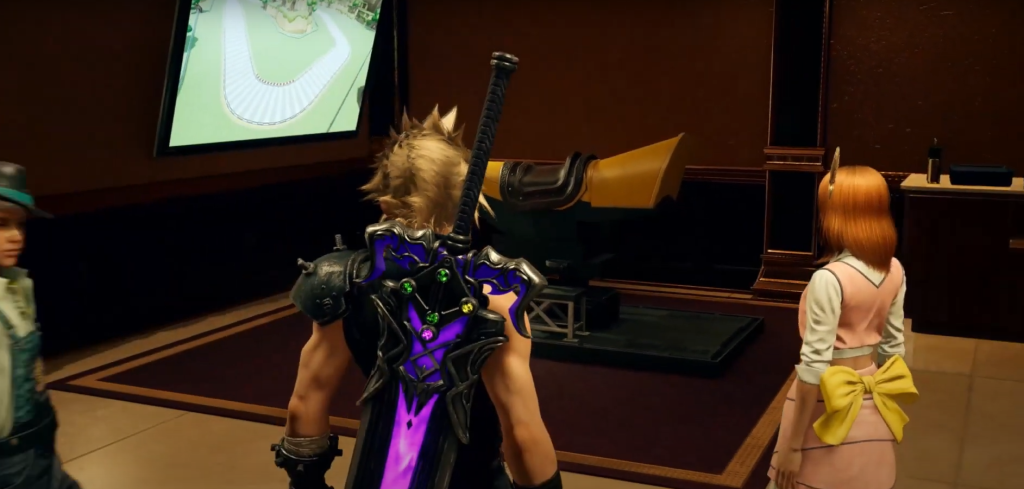
Upon disembarking the elevator, navigate to the opposite side of the room and access the Jockey Lounge situated at the corridor's terminus. Once introduced to the fellow jockeys, utilize the training equipment to familiarize yourself with the race's dynamics and mechanics.
Left analog stick - Steer
X - Speed up
O - Slow down/Back up
Left analog stick + R2 - Drift
Once you feel prepared, conclude your practice session and await the announcement over the intercom while lingering in the lounge. Proceed towards the open doors when signaled and agree to initiate the race as directed by Esther. Subsequently, you'll have the opportunity to equip your Chocobo with any gear that has been unlocked or purchased. Meanwhile, Palmer observes the race, while Rude engages in a phone conversation with Elena, who is in pursuit of someone in the desert, expressing her frustration with the situation.
The race comprises three laps, and your primary objective is to secure first place. Gather yellow and red fruits along the way to enhance your Dash and Speed Burst abilities, utilizing them strategically, particularly on straight stretches of the track.
Employ your Drift technique effectively and navigate corners tightly without veering off the track to maintain a competitive position throughout the race. With skillful execution, you should effortlessly claim the lead early in the first lap and sustain it until the end.
Following your victory, the party celebrates, and Gus honors his pledge by releasing the captives and granting access to a gate leading to a ladder. Descend the ladder and proceed through the tunnel below, engaging in a confrontation with the three Sandhog Pies encountered along the way. Upon their defeat, ascend the slope to the south and emerge outdoors.
Track the large vulture as it moves from one perch to another, deciding whether to engage in or avoid the various combat encounters scattered throughout the area.
Eventually, immense dust storms arise, prompting Barret to call out to you just before they engulf the surroundings. Once the storm subsides, the group confronts Barret about the shooting incident, and he discloses that it was actually Dyne - his closest friend.
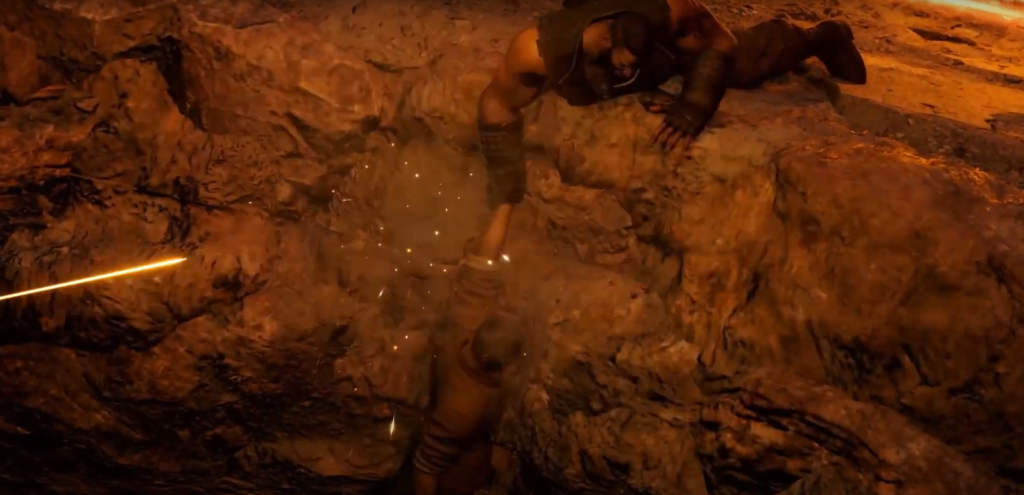
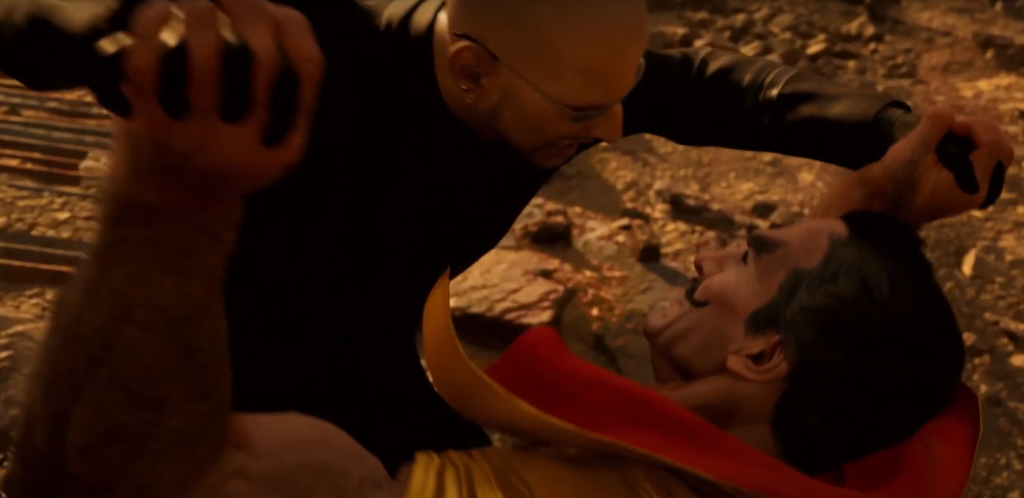
In a flashback to four years prior, following the explosion at the Corel reactor, Dyne and Barret rush back to the town seeking assistance, only to find it engulfed in flames. As the mayor falls victim to gunfire, Dyne saves Barret by pushing him away from danger, but ends up slipping off a cliff in the process. Scarlet appears and mercilessly shoots at their arms, leading to Dyne's fall into the chasm below. This tragic event, which resulted in both of their arms being amputated and replaced, also reveals that Marlene is Dyne’s biological daughter.
Deciding to attempt to reconcile with Dyne, the group presses forward. Descend the slope and dispatch the two Sandhog Pies before scaling the ledge on the opposite side. Barret expresses his desire to approach Dyne alone. Slip through the gap in the fence and make your way to the nearby shack.
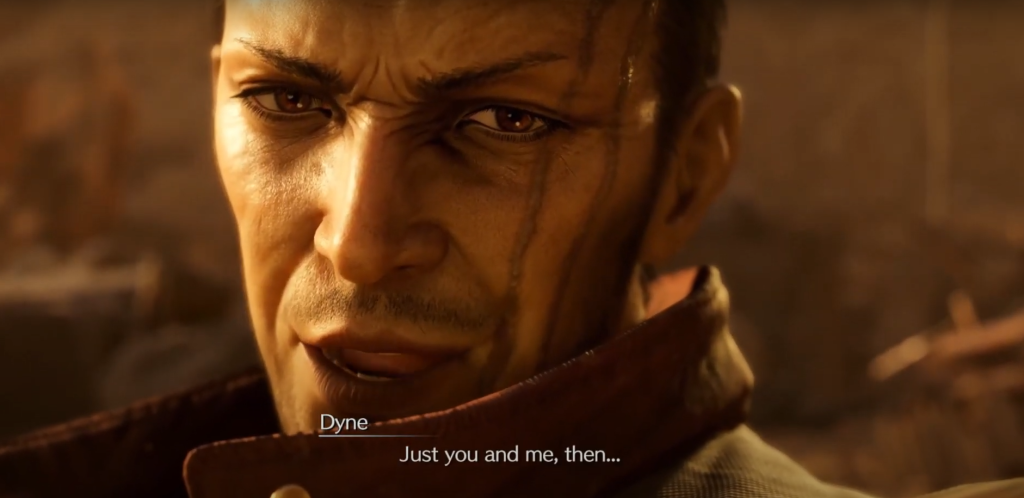
Discovering a seemingly deranged Dyne, the duo frees him from his restraints. However, upon seeing Cloud, Dyne becomes agitated, convinced that Barret is still allied with Shinra.
Dyne Boss Fight
Dyne typically relies on ranged assaults throughout the battle. Between his named attacks, he'll unleash a barrage of bullets, which you can either block or dodge behind debris for cover.
"Paralyzing Shot" involves Dyne punching the ground, creating electrified lines that emit orbs of electricity. Position yourself between these lines to avoid being stunned by the orbs.
"Firebombs" Dyne throws out small explosives in a semi-circular arc. Evade to the sides or use cover to shield yourself from the explosions.
In a cutscene, Dyne sets proximity mines by firing explosives into the air. Watch out for the red spheres projected around each mine and avoid stepping into their perimeter.
"Repentance" sees Dyne charging a laser beam. Once fired, the beam remains static, but it can destroy cover it hits.
With "Point Blank," Dyne swiftly dashes towards you, charging up an explosive blast. Perfect blocking is optimal, but dodging right after Dyne's dash also works.
In the second phase, Dyne magnetizes junk onto his arm, granting him new attacks like "Heedless Swing," which has greater range than expected.
"Executioner" involves Dyne leaping into the air and slamming down his fist onto your position. Time your block or dodge accordingly.
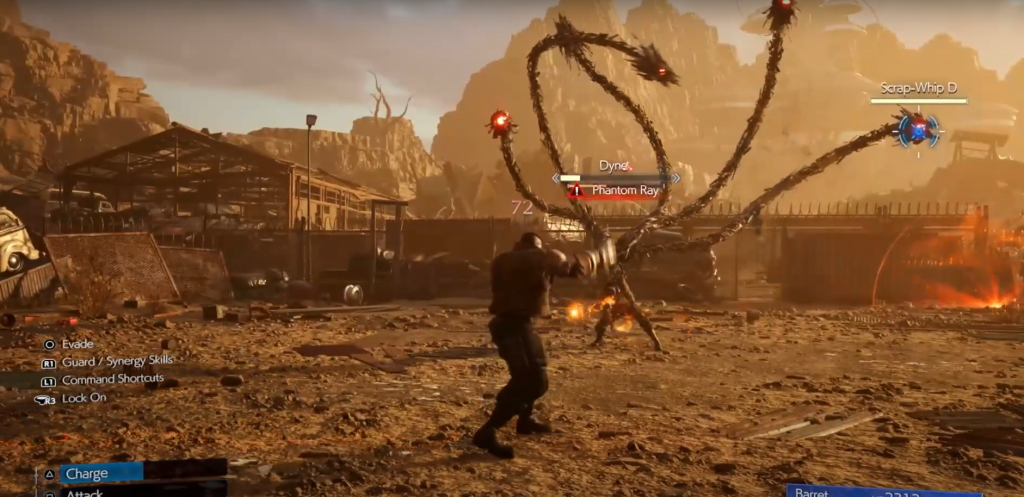
Dyne can also summon tendrils capable of devastating ranged attacks. "Phantom Ray" fires laser beams in random directions, while "Undying Rage" fires all tendrils simultaneously.
"Hidden Barb" sees tendrils burrowing under the ground towards you. Keep moving and dodge at the last second to avoid being thrown up.
"Paralyzing Wave" spirals outward from Dyne, similar to Paralyzing Shot. Position yourself between the lines until they vanish.
Towards the end, Dyne unleashes "Annihilation Beam," firing rapid blue projectiles downward. Running in one direction will evade the projectiles.
Defeating Dyne yields 1,800 EXP, 10 AP, 1,200 Gil, and 50 Party EXP.
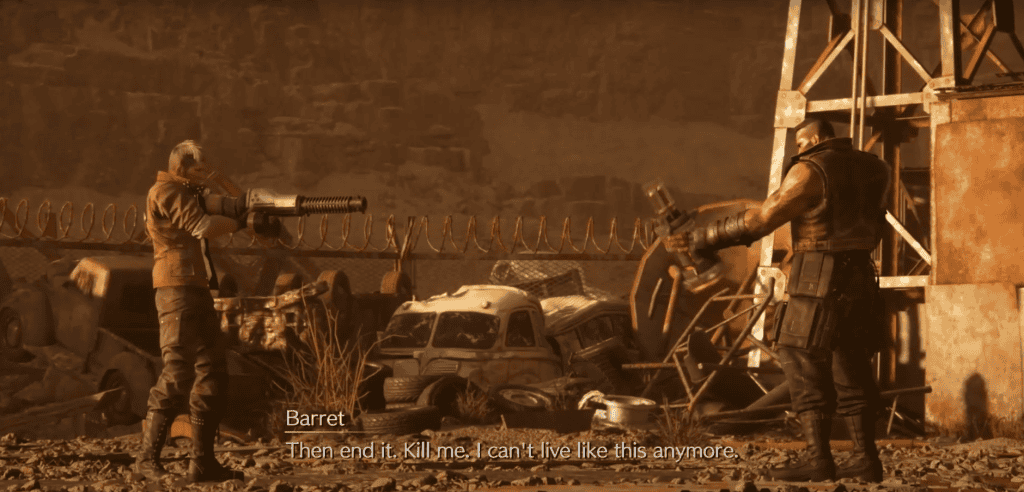
Following Dyne's defeat, Barret offers his life to Dyne, but Dyne, consumed by rage, cannot go through with it. Instead, he starts firing at approaching Shinra guards, with Barret shielding him while the rest of the party eliminates the survivors.
Barret tells Dyne that Marlene is alive and in Midgar, which initially brings Dyne joy, but then turns to anger as he feels Barret has taken yet another thing from him. Dyne also worries about Marlene seeing him in his current state. After throwing Barret aside, Dyne continues to mow down Shinra troops, sustaining fatal wounds before collapsing on Barret and passing away.
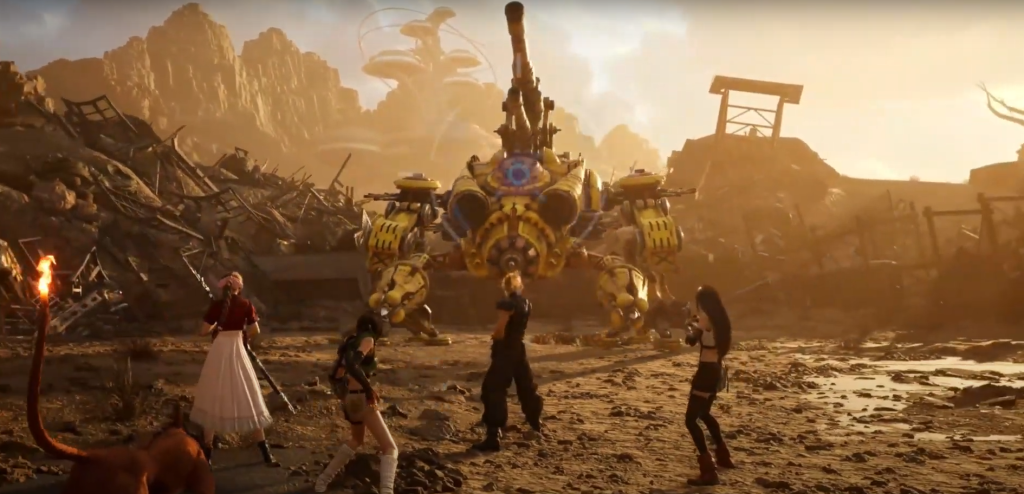
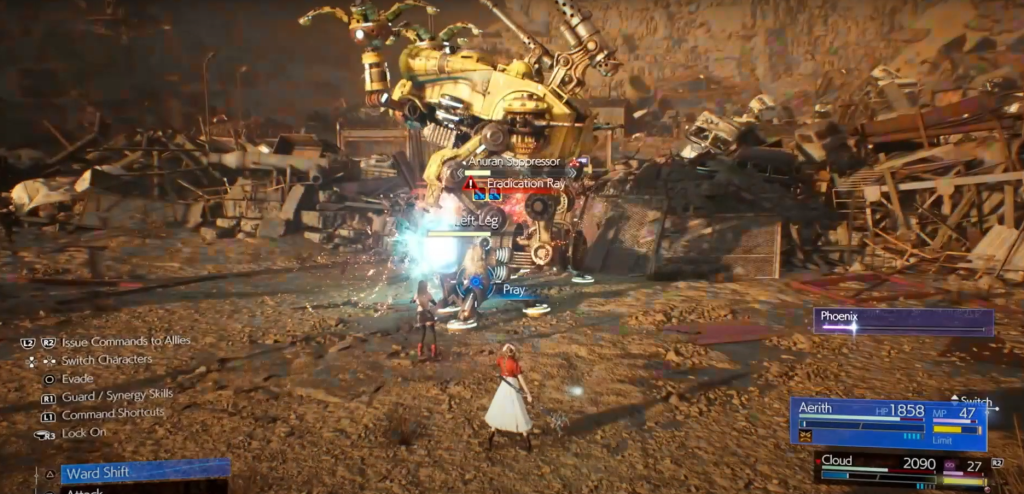
Taking control of Cloud, proceed down the path as Shinra helicopters draw near. Utilize the Rest Bench and vending machines as needed before descending from the ledge into the circular arena below. Meanwhile, in a helicopter above, Elena and Rude are relieved that Gus provided accurate information about the party's whereabouts. However, they are concerned about Palmer's desire to join the fray by piloting the Anuran Suppressor machine dropped into the arena.
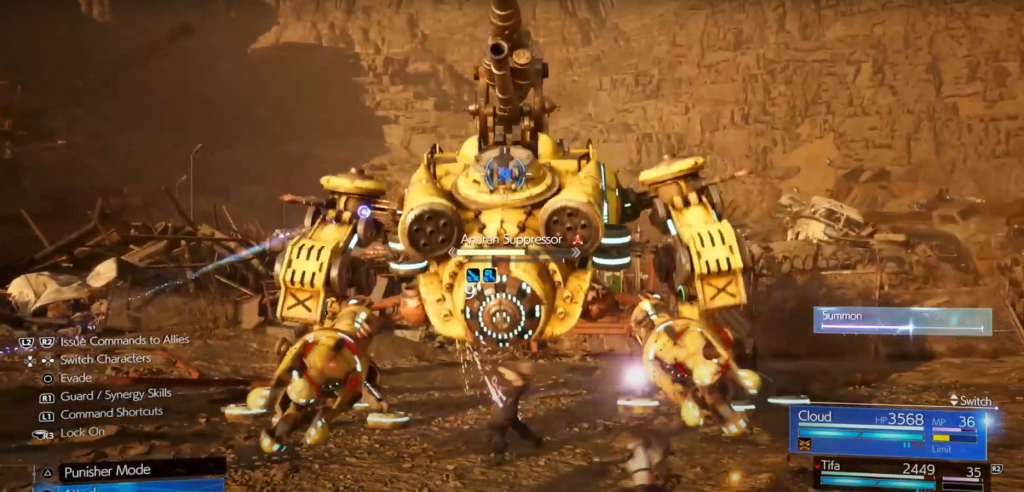
Anuran Suppressor Boss Fight
Weaknesses: Lightning. Lesser - Fixed Damage
The Anuran Suppressor, despite its size, is surprisingly agile, making it relatively easy to dodge most of its attacks. Armed with guns in its front arms, the AS occasionally fires at you.
One of its AoE attacks, "Electroshock," unleashes an electric surge in its vicinity, briefly stunning anyone caught in it. Moving backward a few times should create a safe distance to avoid the shock.
During the "Steamroll" charge attack, the AS squats down, charges its boosters, and rockets towards you. Whether you dodge or not, it ends up on its back afterward, leaving it vulnerable. However, approach cautiously, as it can flip back over quickly, causing considerable damage.
The "Amphibian Laser" attack involves the AS firing an electrified tongue-like appendage that whips around in front of itself. Fortunately, it's easy to avoid by sidestepping or running away when the tongue hits the ground before whipping around.
Another attack, "Time Bomb Scatter," involves the AS deploying small bombs in front of itself. However, the range is limited, and the bombs have a small explosion radius, so avoiding them is as simple as staying out of their immediate area.
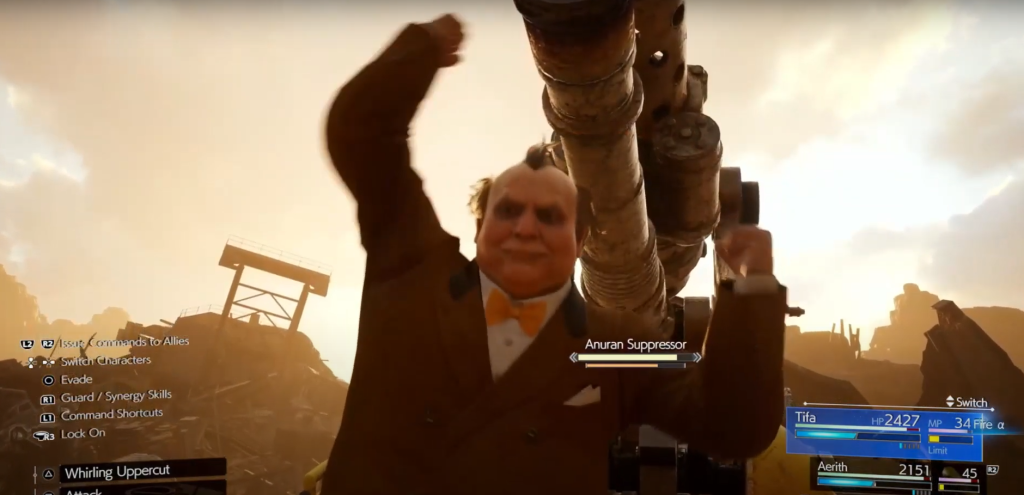
"Open the Hatch" and "Neener Neener" are unique moves in that they don't directly attack, but instead, Palmer exits the mech through the hatch on top to taunt you.
Seize this opportunity to focus your attacks on him, dealing extra damage and hastening the Stagger gauge's fill rate.
When Palmer's health drops to around 50%, he accidentally triggers an override that enhances the AS's power, unlocking new attacks. At this point, you can also target and disable the mech's legs individually, which significantly speeds up the second phase of the battle.
"Stun Ray" is one of the more challenging attacks to avoid. The AS summons a large cannon on its back, which targets you or a party member, emitting a shockwave that temporarily stuns anyone caught in its path. Although tricky to evade, the AS is unlikely to follow up with another attack until you've recovered from the stun.
"Leapfrog" is a straightforward move where the AS jumps into the air and slams down on you. Dodge this by staying mobile and evading at the last moment, much like you would with previous leap attacks in the game.
"Strangle" is another basic attack where the AS remains stationary before lunging at you with its front pincers in an attempt to grab you. To avoid it, quickly move to one side or behind the AS when the attack begins, and it won't be able to track you, allowing you to escape unharmed.
Once the AS's health drops to around 25%, it can unleash "Eradication Ray," summoning a massive beam weapon underneath it that charges up and fires in your direction.
This is the AS's most powerful attack, but you can turn the tables by moving in close as soon as the attack starts. Position yourself to the left or right until the beam locks in place and starts firing. This creates an opening for you to land several hits while the AS is unable to react.
1,200 EXP, 10 AP, 1,200 Gil, 50 Party EXP
Upon defeating the Anuran Suppressor, Elena and Rude save Palmer before the party can land a final strike, and the group retreat back to Barret. WIth the Turks bearing down on them, Dio arrives with an ATV and removes Cloud’s tracker whilst promising to help deal with the Turks as they escape. Cloud assures Barret that the party are there for him, and they all board the ATV and drive off as Dio and Rude rough it out. This begins a chase in which Barret has to fend off incoming Shinra forces.
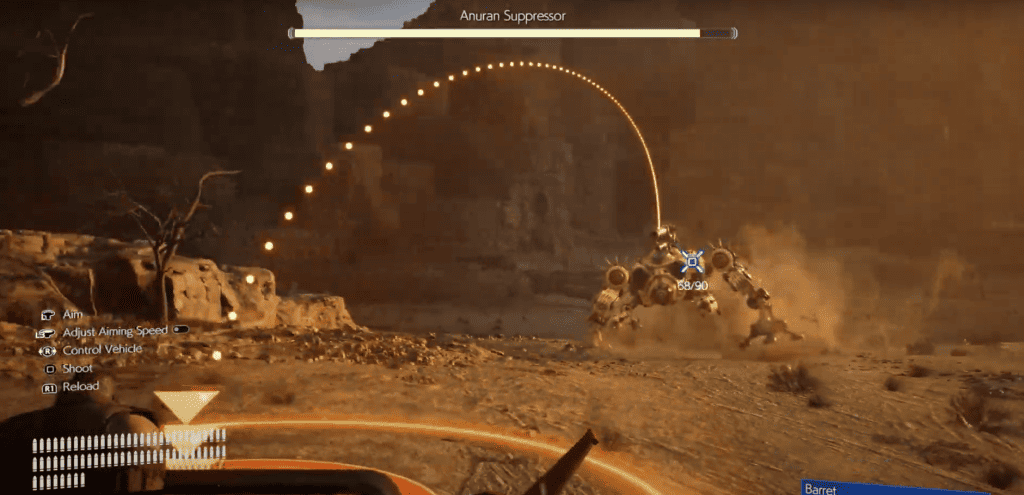
Commence the pursuit as Barret engages in a relentless battle against incoming Shinra forces. Utilize your aiming skills to take down the Shinra bikers and the occasional helicopters that swoop in. As the skirmish intensifies, Palmer arrives with his Anuran Suppressor mech, adding another layer of danger to the chase. Keep firing and dodging to evade the barrage of projectiles, focusing on targeting the weak spot underneath the mech when prompted.
After successfully depleting its health, Palmer resorts to desperate measures, unleashing a barrage of missiles. Tragically, one of the missiles strikes Elena and Rude's helicopter, sending it spiraling down. Elena manages a daring mid-air leap onto the ATV but is quickly thrown off as the party makes their escape. Barret silently reflects on the hope that Dyne would be proud and resolves to share the truth with Marlene.
Meanwhile, within the confines of the Shinra Building, Reeve takes action to alter the mugshots of Cloud, Tifa, and Barret, seemingly aiming to provide them with some form of protection. Nearby, Tseng observes the proceedings with keen interest. In the President’s Office, Rufus receives a visit from Tseng, who confirms that the Turks are actively monitoring Aerith's movements. Suddenly, Glenn materializes in a mysterious vortex, taunting Rufus before vanishing into thin air.
Navigating through the Sector 5 Undercity, Zack embarks on his quest to locate Biggs. Proceed down the street directly in front of you, passing by various civilians along the way, each adorned with speech bubbles above their heads.
Engage in conversation with each individual you encounter, probing for any leads on Biggs' whereabouts. Despite your efforts, none possess any pertinent information. However, after conversing with four civilians, a sudden and powerful explosion reverberates through the vicinity.
Continue onward, veering northwest through the area, navigating the maze of junk piles. Eventually, a figure comes into view ahead, bearing a striking resemblance to Biggs.