

FF7 Rebirth Walkthrough- Chapter 1 – Fall of a Hero
Embark on an epic journey with our comprehensive FF7 Rebirth Walkthrough for Chapter 1 of Final Fantasy VII Rebirth: (Fall of a Hero)
Image: iGame Magazine (Final Fantasy VII screenshot, Square Enix)Chapter 1 Video (Part 1)

Chapter 1 - Fall of a Hero
Cloud narrates an expedition with Sephiroth in the Nibel region five years prior, as former SOLDIER operatives, to survey an old reactor in Nibelheim. Interrupted by Disgorgons on the road, Sephiroth dispatches one, saving Cloud from the other.
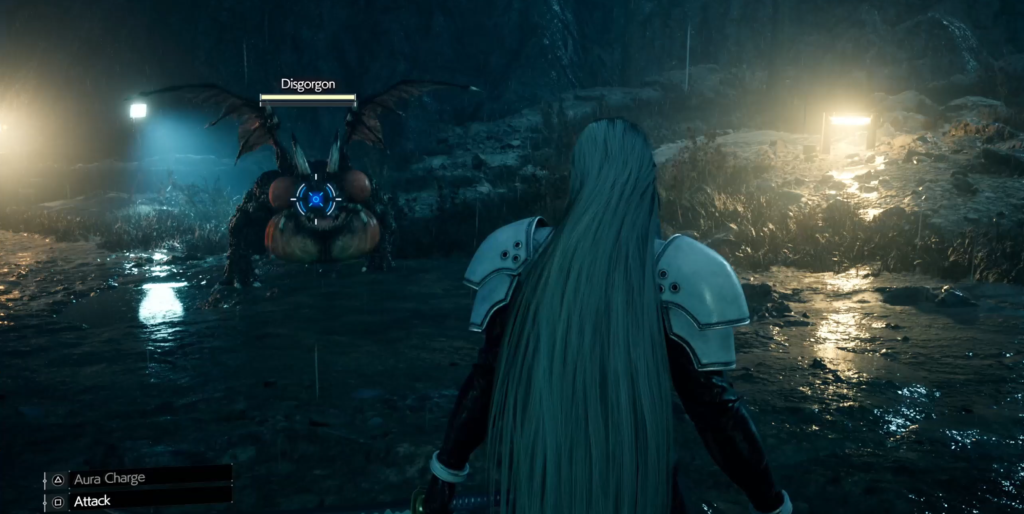
As Sephiroth, players execute swift slashes or Sword Dance to dispatch the monsters. In present-day Kalm, Cloud and the party discuss Nibelheim's significance, where the first reactor was located, and Shinra's intervention due to monster sightings.
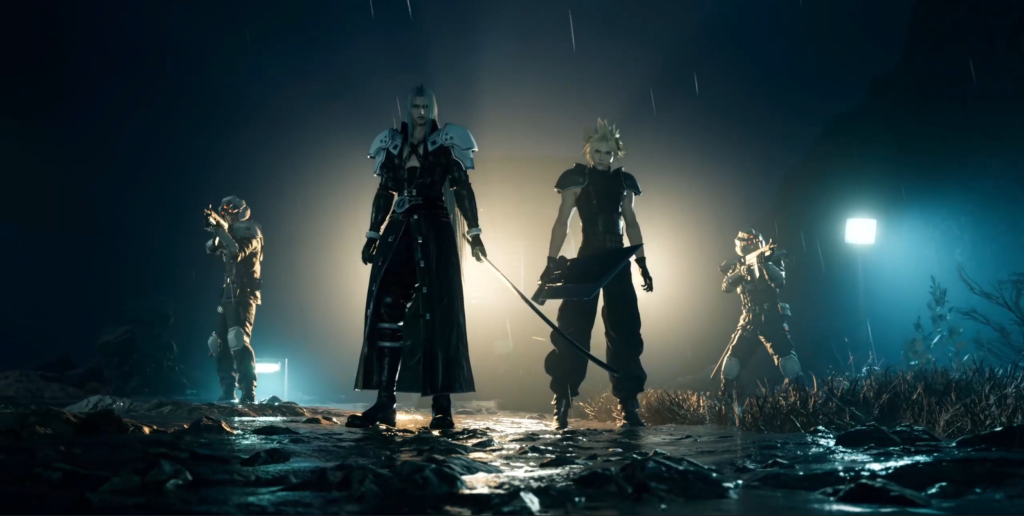
Returning to the past, Cloud, Sephiroth, and company arrive at Nibelheim, reminiscing about Cloud's childhood home. Sephiroth reveals his mother as Jenova, an ancient life-form, and is about to disclose his father's identity when Barret interrupts, linking Jenova to the Shinra building.
Exploring Nibelheim
Mayor Zander welcomes the party to Nibelheim, granting them freedom until sundown. Ascend the main steps to the town center, where options include meeting Zangan at the Nidhogg hotel or visiting Cloud's mother's house.

Inside Cloud's home, a short scene with Claudia, Cloud's mother, is disrupted by static flashes, triggering a memory battle. Alternatively, explore Tifa's home with the red postbox.
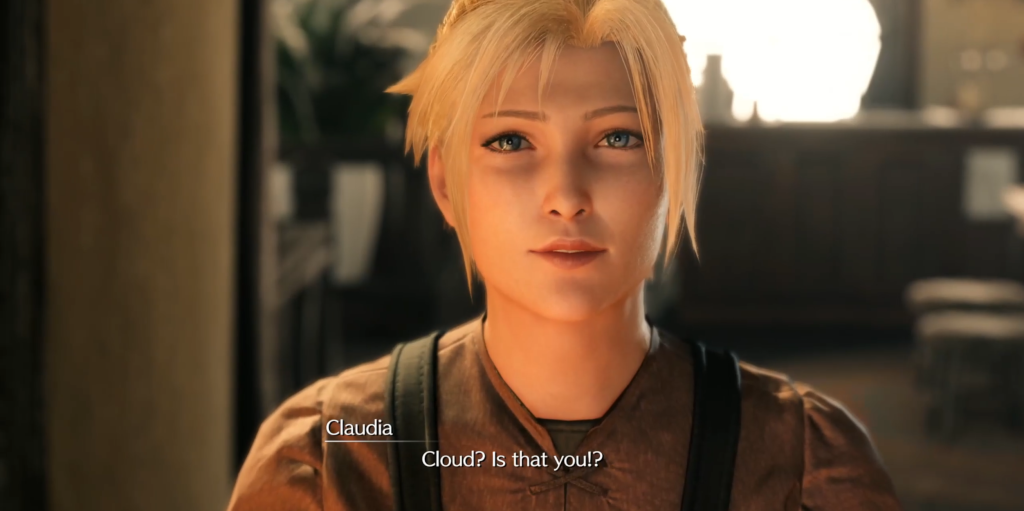 Image: iGame Magazine (Final Fantasy VII screenshot, Square Enix)
Climb the water tower ladder, sharing sentiments with Tifa, then rest at the inn upon concluding exploration. Ascend the stairs to find Sephiroth gazing out the window. Commenting on the familiar surroundings, they bid each other goodnight. In the present, Cloud and Tifa recall the sleepless night, revealing Tifa's role as their guide up the mountain years ago.
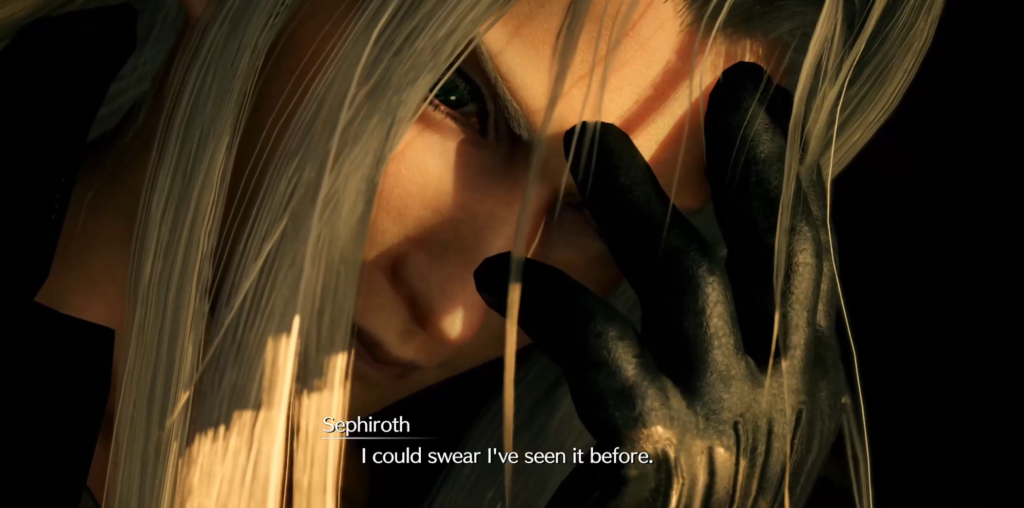 Image: iGame Magazine (Final Fantasy VII screenshot, Square Enix)
Sephiroth comments that he’s sure he’s seen the surrounding area before, and the pair bid each other a good night. Back in the present, Cloud explains he couldn’t rest, and neither could Tifa; revealed to be the tour guide leading Cloud and co. up the mountain the following morning all those years ago.
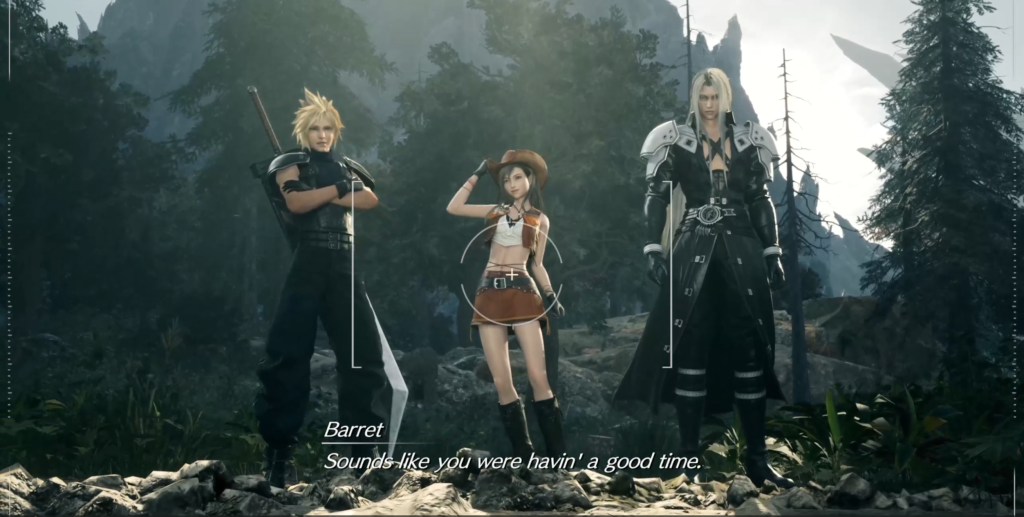 Image: iGame Magazine (Final Fantasy VII screenshot, Square Enix)
Mt. Nibel
Accompany Tifa along the mountain path, encountering Insectoid Chimeras ahead. Engage in combat and proceed until facing Kyuvilduns beyond the bridge. Cross over, encountering Mako deposits and engaging a Velociwing. Learn about blocking and perfect blocks while fighting the Velociwing, aiming to stagger it swiftly.
After defeating the Velociwing, confront another alongside a Kyuvildun. Defeat both, then agree to handle the final two Velociwings alone. Prepare for another battle before Cloud offers to clear the way to the reactor.
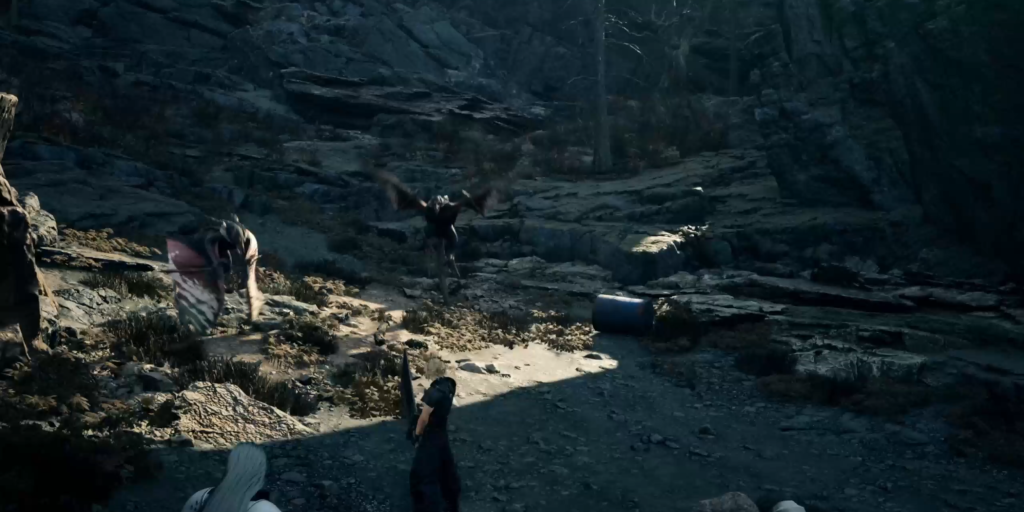
Cross over the bridge beyond and Mako deposits will be visible on the ground. As Mako jets erupt, a Velociwing swoops in and Tifa launches towards and kicks it away. Now fighting the Velociwing, you’ll learn about blocking and if you perfect block then the enemy attack is rendered ineffective.
Velociwings
Velociwings can fire a projectile at you, or “Charge” where it swoops down and claws you. Both of which have a decent wind-up animation so you shouldn’t have a problem preparing a perfect block, or a dodge at the very least to avoid damage. You’ll want to try and stagger it as fast as possible as it will collapse to the ground and be fully vulnerable to attacks.
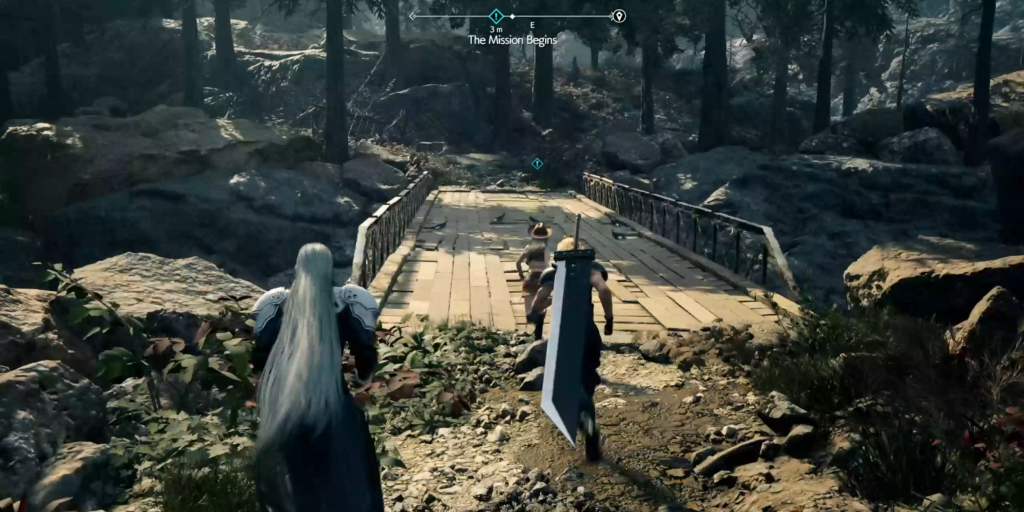 Image: iGame Magazine (Final Fantasy VII screenshot, Square Enix)
After defeating the first Velociwing, you’ll find another a little further up the path alongside a Kyuvildun. The Velociwing should be your first priority (at least to stagger it), and with both defeated a cluster of Velociwings fly down and swarm the group. Fighting off all but two, Cloud agrees to take care of the final two, so prepare for yet another fight.
Assess Materia
Receive the Materia tutorial, activating Assess Materia, and proceed up the path. Engage Insectoid Chimeras, practicing mode switching. Face additional Velociwings, looting a chest for mixed hi-potions. Approach the collapsed path, collect Wind Materia, and reunite with Tifa. Progress through the Shinra facility, triggering encounters and puzzles.
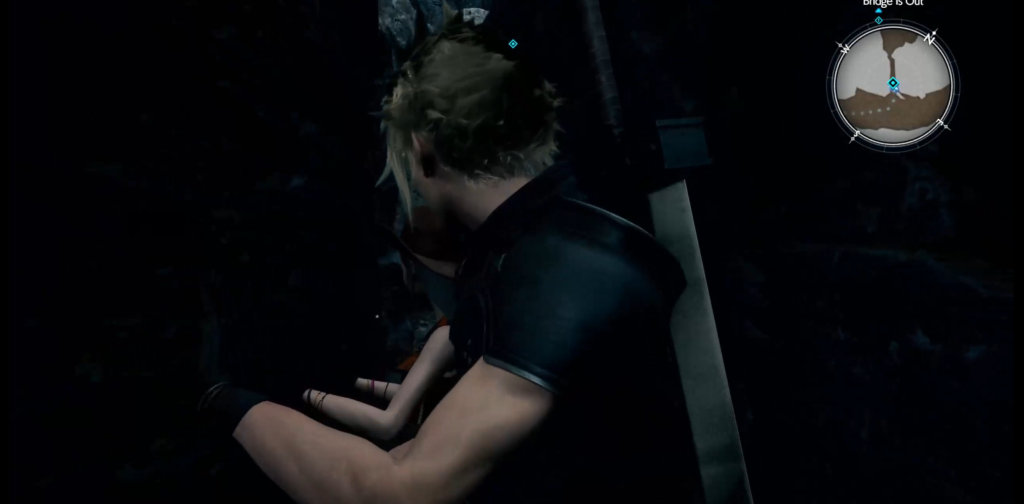 Image: iGame Magazine (Final Fantasy VII screenshot, Square Enix)
Reaching the bottom of the steps and reuniting with Tifa, you’ll be tutorialised on squeezing through narrow gaps, one of which you can find immediately to the left at the base of the stairs.Squeeze through and then follow Tifa and the others into the Shinra facility ahead. You’ll arrive at the facility after going through a tunnel and up a hill, and Sephiroth will interact with the computer terminal nearby to open the facility doors.
Shinra Facility
Head inside and up the steps ahead of you, turning right to find an orb of level boost Materia.Then head the other way and enter the elevator, interacting with the button at the back to ride it up.
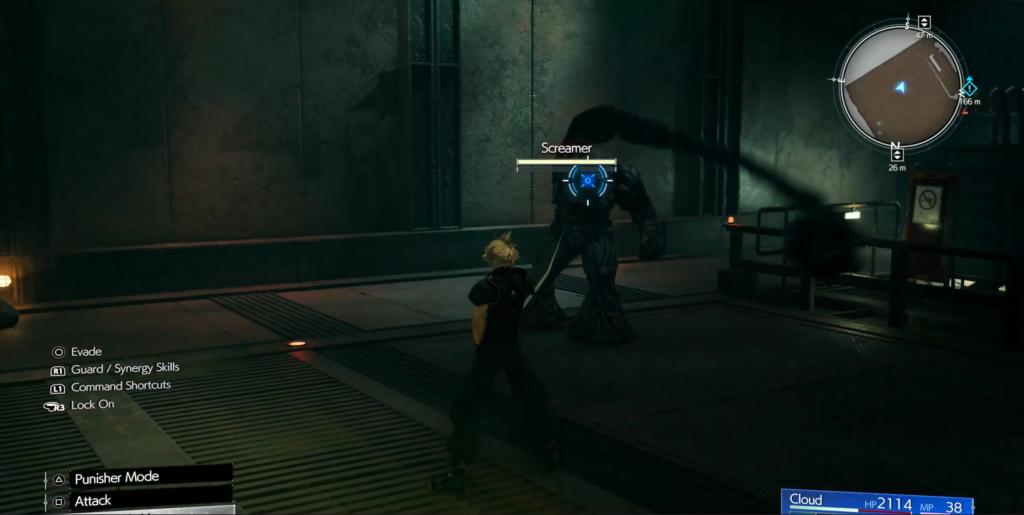
Screamer
As the doors open and you exit out, head right and you’ll spot an ominous shadow in the distance. It’s revealed to be a Screamer, one that you must defeat.
Switching to Punisher Mode is invaluable here as it is far easier to execute perfect blocks against the continual swinging attacks that the Screamer performs with its arm. After killing the Screamer, head to the spot where it came from and before heading up the steps, vault over the barrier to loot a chest for a bottle of ether.
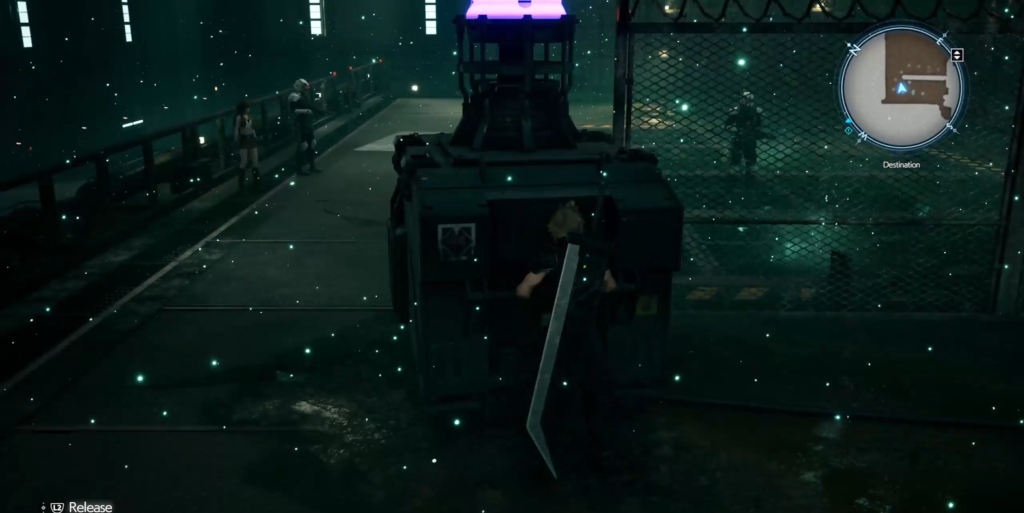 Image: iGame Magazine (Final Fantasy VII screenshot, Square Enix)
Now go up the stairs and loop around to the left where you’ll stumble upon clouds of Mako gas. There’s a computer terminal against the back wall but it is inoperable with the pollution, so head to the right and grab the large box-shaped purifier machine with L2 and drag it around the fence and over/near the three clouds of gas on the floor.
With all three cleared, the doors will automatically open and you can get into the elevator beyond, once again interacting with the button at the back to ride it up.
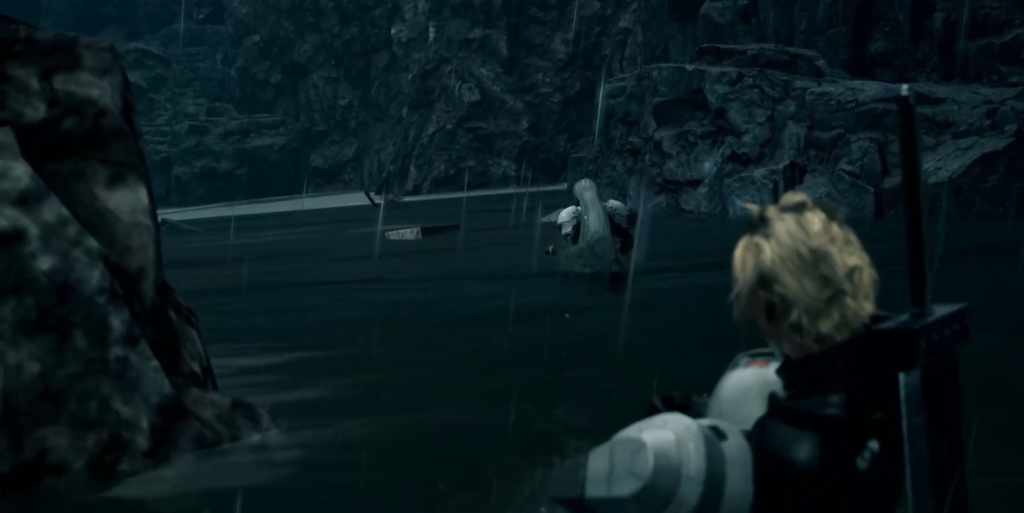 Image: iGame Magazine (Final Fantasy VII screenshot, Square Enix)
Southern Ridge - Summit Approach
Exiting the elevator back outside, curve up around to the right (destroying the various nearby Shinra crates if you wish), and follow the path up until you arrive at a helipad platform.In a brief cutscene, it begins to rain.
Regaining control, follow the path to a large bridge that you’ll need to cross, with Tifa leading the way. Around halfway across the bridge a lightning strike will collapse the bridge and you, Tifa, and Sephiroth will fall into the river below. Sephiroth saves Tifa from being washed away as Cloud rescues one of the Shinra soldiers, though the other is lost to the current.
Chapter 1 Video (Part 2)

Back on solid ground, Tifa admits she lacks the means to guide the group to the reactor, but Sephiroth assures her that staying with them offers safety. Consequently, Sephiroth formally joins Cloud's party.
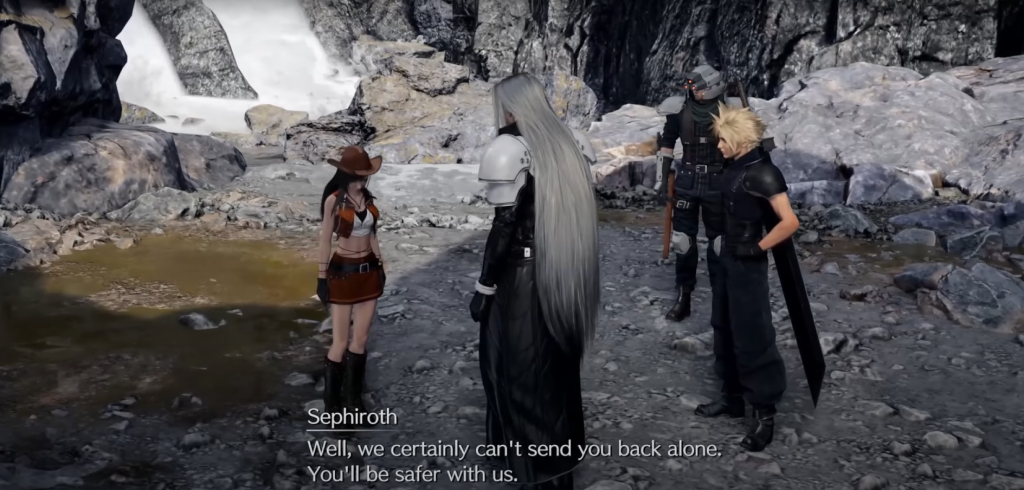
Approach the looming wall ahead to initiate automatic climbing. Use the left analog stick to switch between handholds as you ascend, eventually reaching the summit.
Immediately ahead, there's a bench where you can rest to replenish your HP and MP. After resting, make sure to retrieve the HP Up Materia orb located directly behind the bench.
Encountering 3 Insectoid Chimeras, you'll have the option to switch between Cloud and Sephiroth. Sephiroth proves to be significantly stronger in this encounter, so stick with him to swiftly dispatch the creatures. Proceed into the cave ahead, where you'll face two Velociwings. Sephiroth's ranged abilities and Warp make him particularly effective against them.
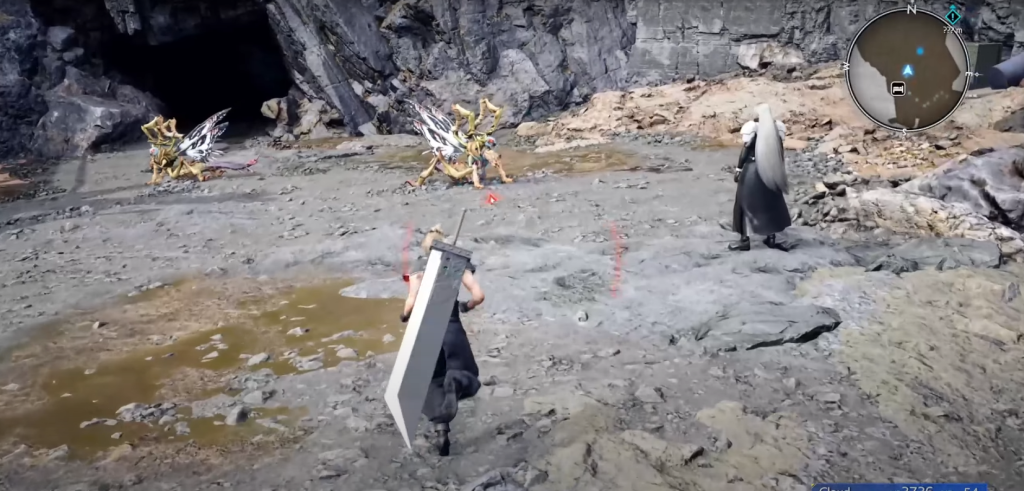
After defeating the creatures, ascend to the right to acquire an orb of empowerment Materia. Then backtrack to the central chamber and descend the ledge towards the glowing Mako structure below. Sephiroth explains how Materia empowers individuals with abilities and remarks on Cloud's perceived naivety about it.
Upon regaining control, confront a Screamer and a Velociwing. While both are viable targets, prioritizing the Velociwing as Sephiroth can help mitigate its ranged attacks.
Continue ascending the slope, encountering two Insectoid Chimeras and a Twin Brain ahead. Focus on the Twin Brain as it can briefly incapacitate you with its Life Siphon grab attack.
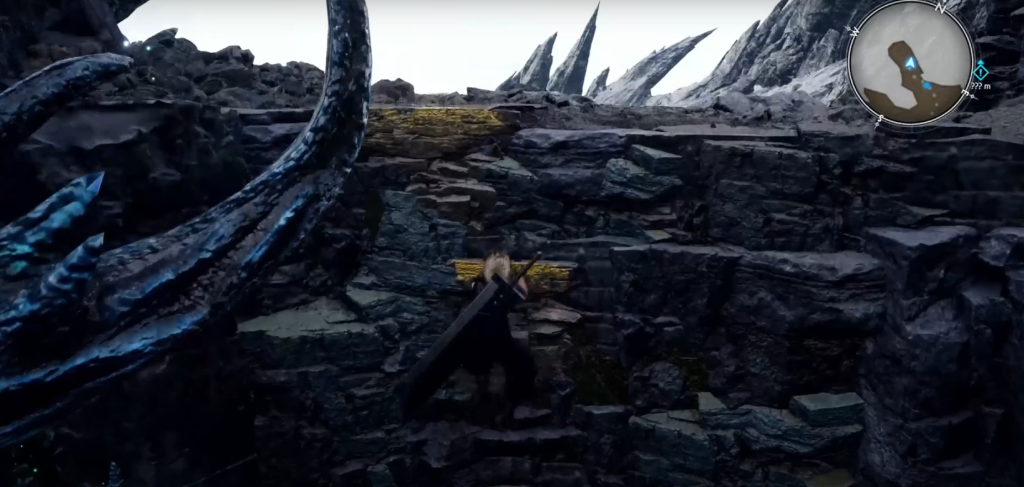
Follow Tifa's directions and climb the handholds until you emerge and spot the coastline. Turn right and start climbing the handholds ahead, though one may partially collapse midway. Upon reaching the top, turn left and face another Velociwing alongside a Twin Brain. Once again, prioritize defeating the Twin Brain due to its more aggravating attacks.
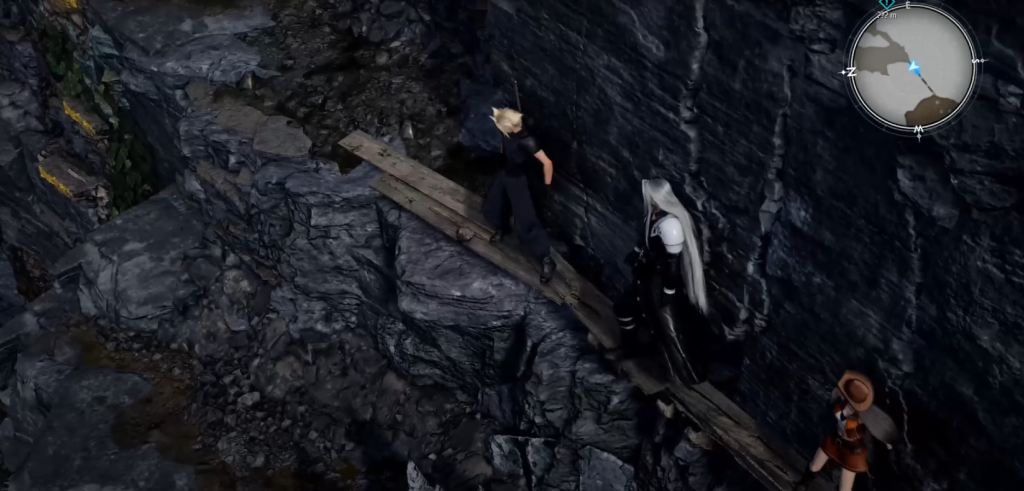
After defeating both enemies, shimmy along the wooden planks to the edge. Drop off the ledge onto a set of handholds and retrieve the magnify Materia orb at the bottom. Climb back up and proceed left until you reach a large clearing where a Zu bird descends. This is where you'll be introduced to Synergy Skills, particularly the Dualblade Dance.
Defeat the Zu, then proceed to a chest slightly up on the right containing a mega-potion. Further ahead, climb onto the top of a nearby structure to find an orb of precision defense focus Materia.
Descend and climb up the nearby ladder to encounter two Kyuvilduns, which Sephiroth can dispatch swiftly. Continue climbing and retrieve an orb of auto-cast Materia on top of the pallets.
Before climbing the ladder at the far end, destroy a large pile of wooden crates on the left to obtain consumables. At the top of the ladder, encounter more clouds of Mako gas. Purify the clouds and use the elevator to proceed.
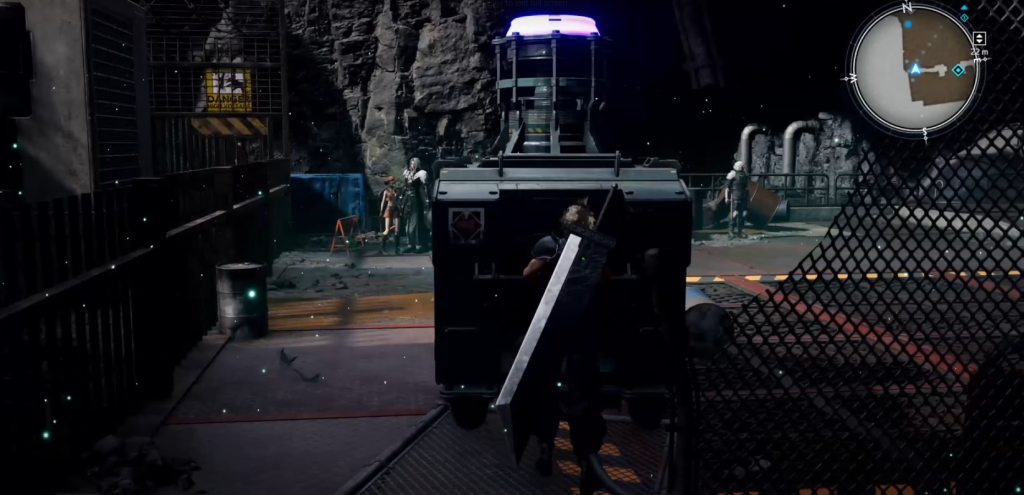
As the elevator ride ends, find a chest with an elixir by going through the opening in the chain fence to the right. Then drop down to the right for another chest with another elixir.
Return to the ladder and head forward, using the bench on the right if needed. Push open the gate and enter the cavernous space, triggering a cutscene where the party confronts a Materia Guardian.
The Materia Guardian
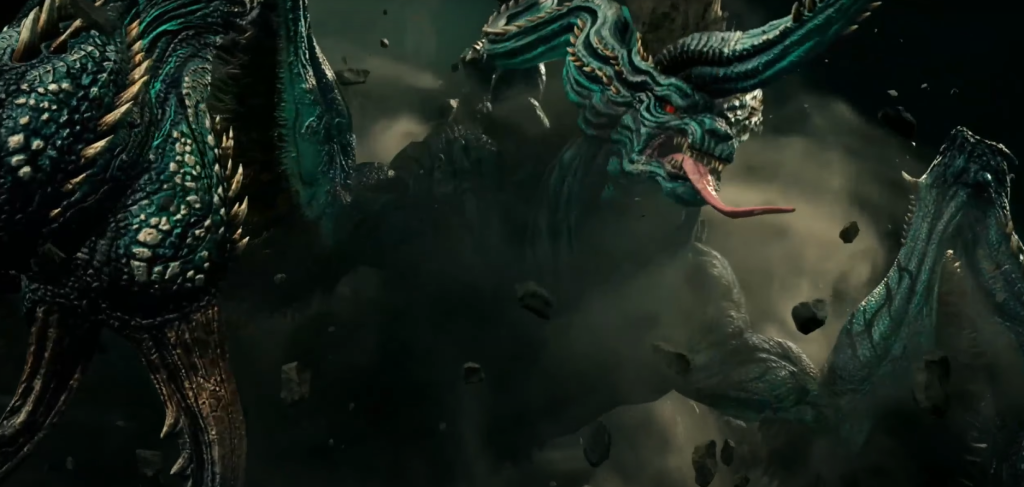
The Materia Guardian Boss Fight ensues, with its weakness being Fire. Utilize tactics and exploit weaknesses to defeat it, triggering a cutscene where Sephiroth collaborates with you to weaken and defeat the Guardian.
One of the Guardian's reliable attacks is "Seizing Claws," where it swipes one of its claws and grabs you. Switch to Sephiroth and use your Warp ability to target the hindleg holding Cloud.
Another attack to watch for is "Dual Tail Lash," where the Guardian performs a backflip ending in a tail whip. Dodge to the side to evade this attack.
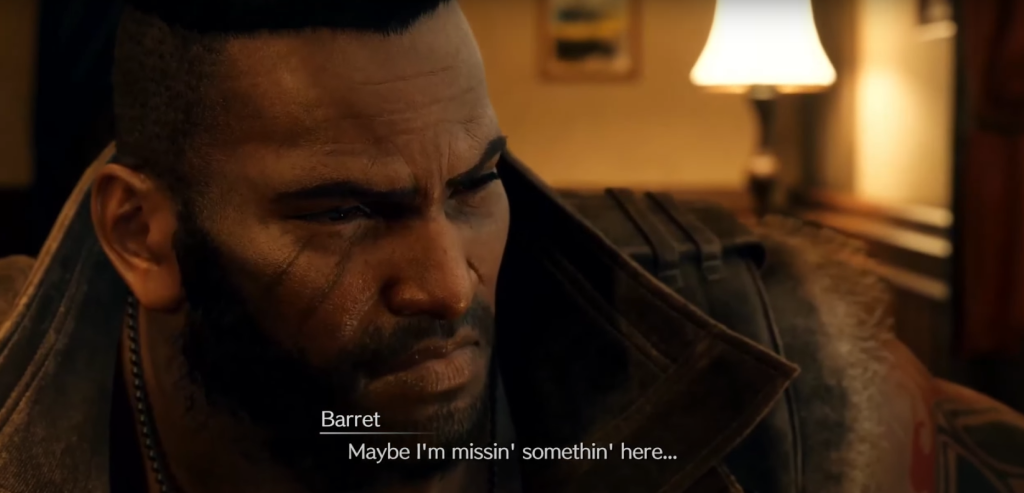
Returning from the flashback, Barret questions Sephiroth's portrayal, but Cloud assures him that he'll reveal something Barret will dislike.
Mt Nibel Reactor
Outside the Mako Reactor at Mt. Nibel, Cloud and Sephiroth instruct Tifa to wait with the guard as they proceed inside. Follow the path to the elevator and descend to encounter two Twin Brains, which Sephiroth swiftly dispatches.
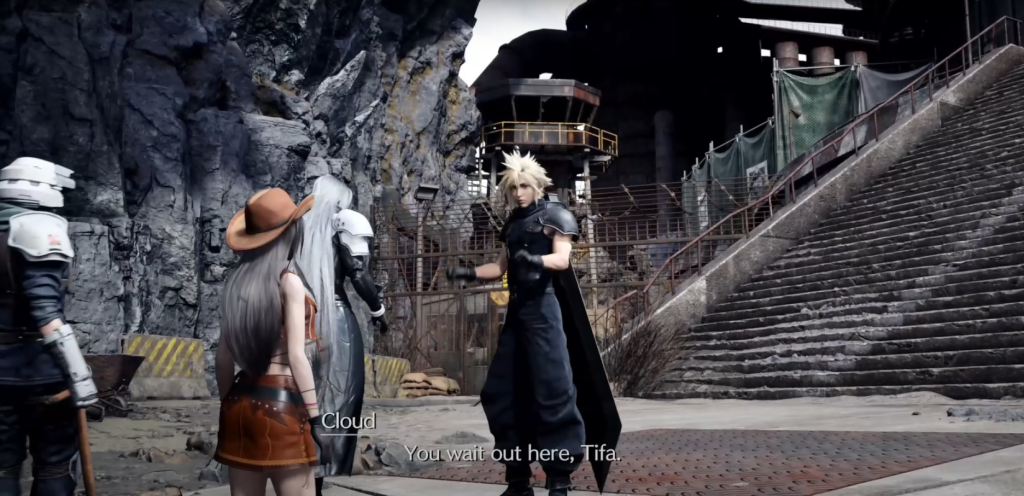
Inside the reactor, Sephiroth tasks you with turning a valve outside to halt the Mako flow to the pods. After accomplishing this, Sephiroth explains the pods' purpose and their connection to artificial Materia production.
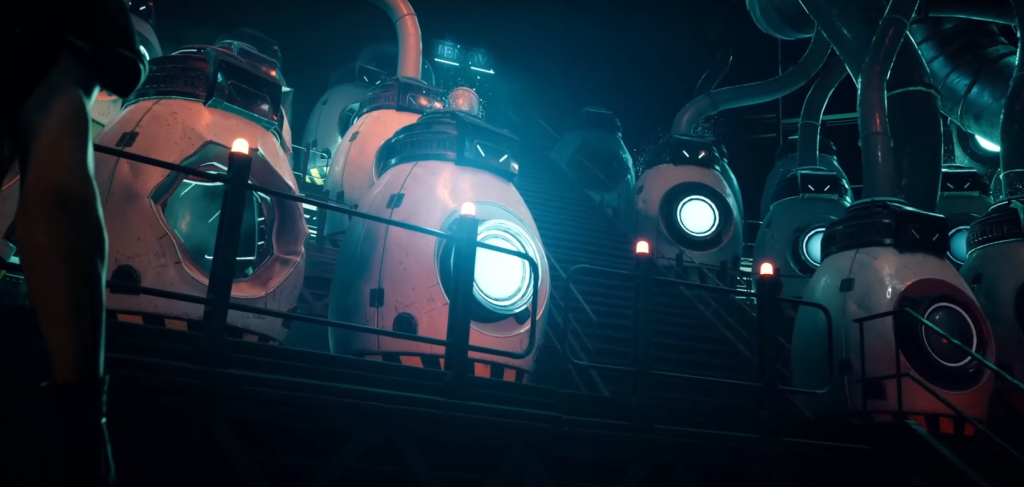
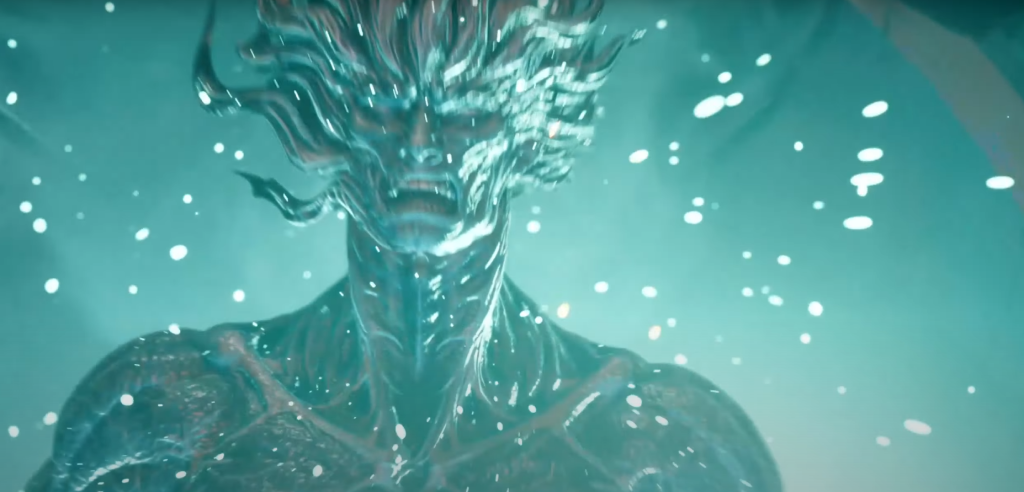
Returning to Sephiroth, he starts cutting the pipes supplying the pods with Mako, revealing they were repurposed for producing artificial Materia and serving as incubators for Mako-infused monsters. Showing Cloud a humanoid creature in one of the pods, Sephiroth deduces that since his mother was Jenova, he is also a result of these experiments.
Shinra Manor
In the present, Cloud explains their return to the Nibelheim Inn, where Sephiroth became reclusive and eventually disappeared without informing anyone. In the past, head downstairs where the mayor informs you of Sephiroth's departure for Shinra Manor.
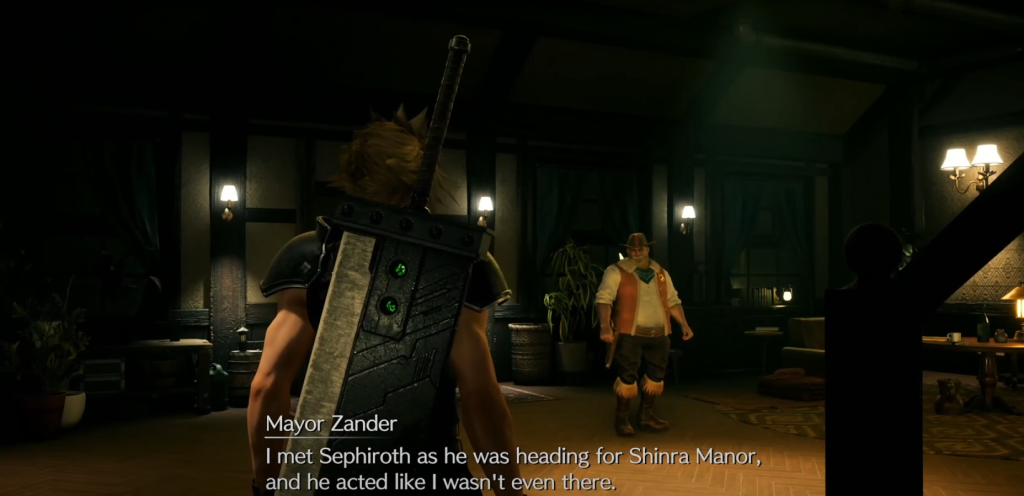
Leave the inn and follow the concerned villagers towards the path leading to Mt. Nibel. Pass through the gateway of Shinra Manor with the villagers until reaching the Manor itself. Enter through the front doors and turn left to find a button on the wall, opening the elevator.
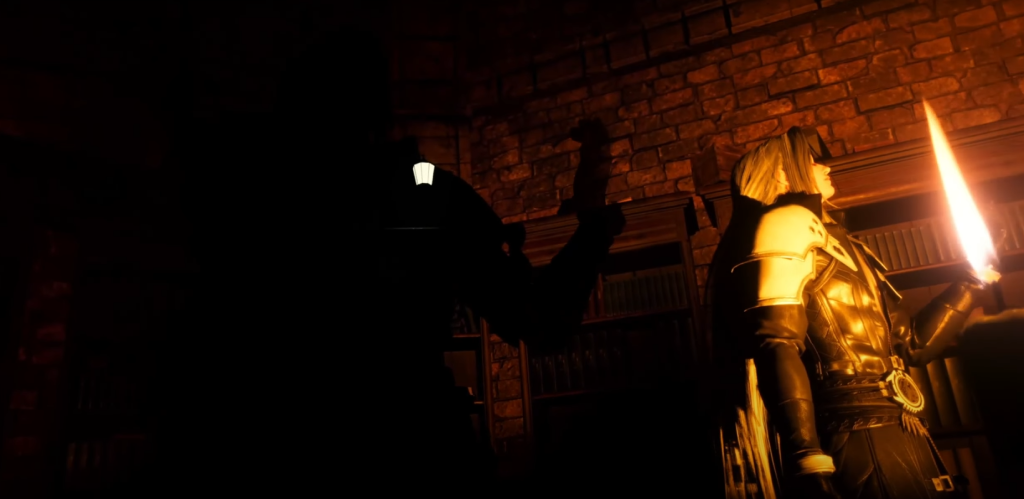
Ride the elevator down and proceed down the stairs, crossing the large open room and heading left to find Sephiroth in a small library area. Reading history books, Sephiroth describes the extraction of an ancient life-form named Jenova from rock, leading to the approval of the Jenova Project. With his suspicions confirmed, Sephiroth becomes fixated on learning more about the project.
Back in Nibelheim later, Cloud ponders the significance of these revelations. Reuniting with Sephiroth in Shinra Manor, Sephiroth acknowledges that Jenova was an Ancient - a guardian of the planet - and that the Jenova Project aimed to resurrect the Ancients who birthed him.
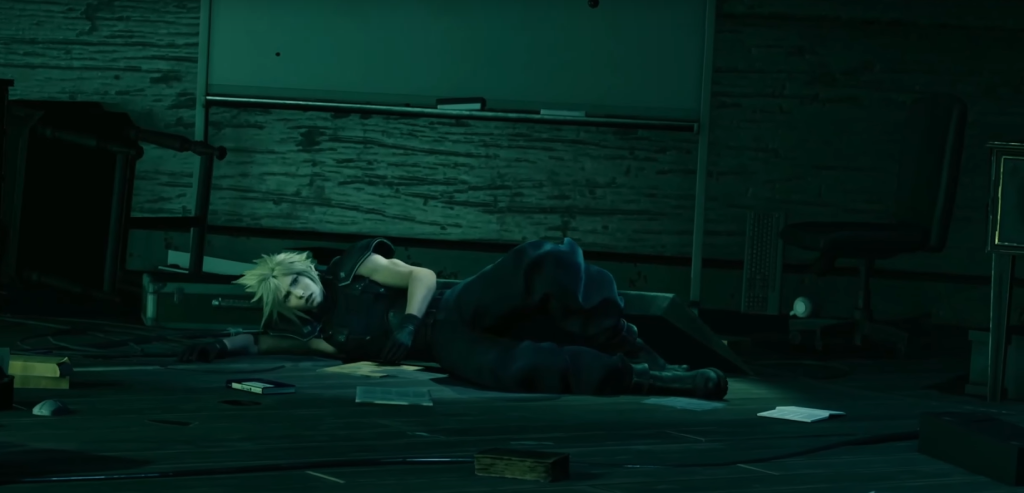
Filled with anger and disbelief, Sephiroth calmly hurls Cloud across the room, rendering him unconscious. Awakening outside amidst flames, follow the path and encounter Zangan, then turn right to return to the village.
Nibelheim in Flames
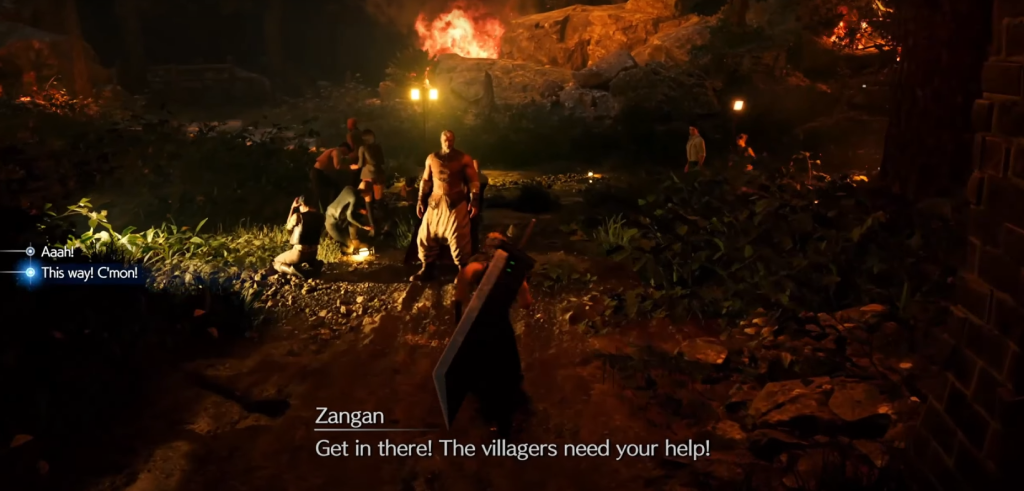
Navigating through falling debris and a collapsing log, slowly advance into the village and head towards your mother's home. Before reaching it, additional debris blocks the path. Turn around and enter the open doorway escaped by a villager, using the crawlspace to the left inside the building.
Follow the path, crouching as needed, and loop around to narrowly escape a falling water tower. Reach the front door of the home, where a blast from inside knocks you back. As a militiaman attempts to help, Sephiroth fatally impales him.
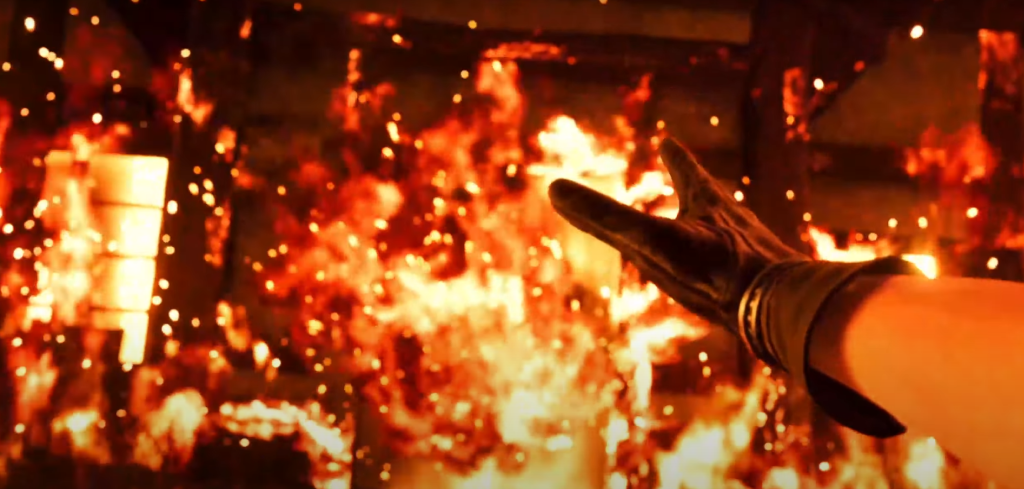
Crawl towards Sephiroth as he walks away, alternating pressing L2 and R2 while villagers and militiamen attempt to fend him off. When prompted, hold both L2 and R2 to stand, witnessing Sephiroth strike down Mayor Zander before calmly proclaiming his intentions.
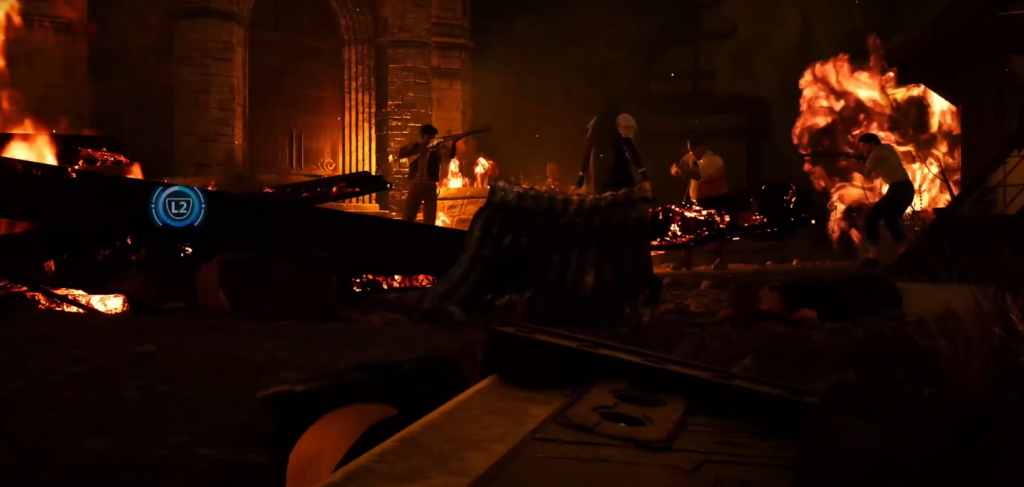
Later, Cloud returns to the reactor to find Tifa grieving over her father's body. She charges at Sephiroth with his sword, but he catches it and slashes her abdomen.
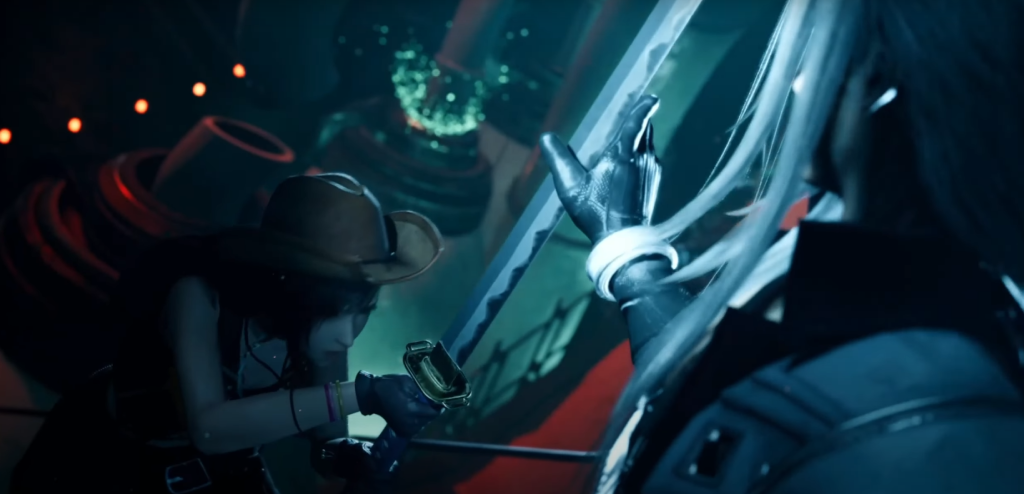
As Cloud carries Tifa to safety, she appears to succumb to her wounds. Cloud then confronts Sephiroth in the Jenova chamber as they prepare to fight. In the present, Cloud explains his memory loss beyond this point.
The party debates Sephiroth's resurrection and motives, retiring for the night without answers. Later, Aerith and Tifa discuss Cloud's whereabouts over the past 5 years, with Tifa expressing concern as she's certain Cloud wasn't in Nibelheim. Restless, Tifa calls for a meeting with Cloud.
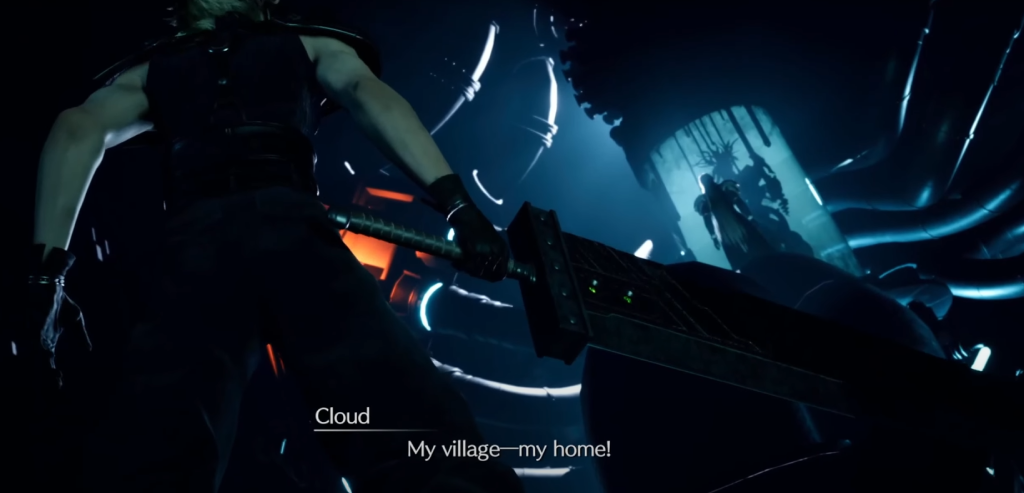
Head upstairs to speak with Tifa on the roof, where you confront each other about the events at the Nibelheim reactor. Tifa shows her scar as proof of her identity and Zangan's rescue. Cloud admits he can't explain his whereabouts for the past 5 years, prompting Tifa to request time alone.
Return to your room where Barret confronts you about internal conflict, which Cloud dismisses before settling down for sleep.

David Ware is the Founder and Managing Editor of iGame Magazine. Since 2024 he has built igamemag.com into a trusted online destination for gamers and tech enthusiasts, covering the latest gaming news, in-depth game reviews, hardware and tech breakdowns, and practical guides.
How we write: every article is researched from official sources, such as developer posts, store pages and press releases, then fact-checked and edited by David Ware before it's published. We use AI tools to help with research and drafting.
Related on iGame
 More GuidesWARDOGS Guide for Beginners: How the Cash, Control Zone and Roles Actually WorkOct 23, 2026
 More GuidesRust Livestock Update: How to Farm Cows and Sheep, Sell at the Stables and Use Milk and WoolOct 21, 2026
 More GuidesSteam Next Fest October 2026: 8 Survival and FPS Demos Worth Playing Before It EndsOct 21, 2026
 More GuidesBattlefield 6 x Dead Space Event Guide: Dates, Marker Incursion and Every RewardOct 20, 2026
 More GuidesIs Resonance: A Plague Tale Legacy on Game Pass? Price, Editions and PlatformsOct 19, 2026
 More GuidesResonance: A Plague Tale Legacy PC Requirements, Steam Deck and Performance FixesOct 19, 2026