FF7 Rebirth Walkthrough – Chapter 9 – The Planet Stirs

We continue with our FF7 Rebirth Walkthrough Chapter 9 back at Corel Desert.
Venturing Back into the Corel Desert
The group ventures back into the Corel Desert and delves into Cait Sith’s backstory, but they halt abruptly when Yuffie falls ill. Cait Sith's fortune-telling suggests exploring a nearby dilapidated reactor. Tifa entrusts Cloud with the keys to the buggy, and they navigate through the terrain to the Gongaga region. Cait Sith advises continuing on foot to a nearby village, where Cloud experiences déjà vu.
Journey To Gongaga Village
Approaching a cave, the group finds a Rest Bench and vending machines. They explore the cave, cross bridges, and follow a path leading them to a tunnel, where they find a "Mushroom Storage" Cache with useful items. After navigating through wooden platforms and defeating enemies, they arrive at Gongaga Village.

Welcome To Gongaga Village
In the village, Cissnei, the coalition captain, directs them to a memorial for those lost in a reactor explosion. After resting and exploring the village, they discover that the occupants of a home Aerith enters are Zack’s parents. Cloud experiences unsettling flashes upon hearing Zack's name. Aerith opens up about her lingering feelings for Zack, but Cloud urges her to let go of the past, triggering more flashes.
Engage in a conversation with Aerith just outside the home, delving into Zack and Aerith’s shared history. You have the option to offer reassurance when Aerith feels she may have overstepped. As Aerith opens up about her lingering feelings for Zack, Tifa arrives. Cloud, believing Zack to be deceased, urges Aerith to let go of the past. His words trigger unsettling flashes, prompting him to seek rest.
Resting and Exploring the Village
Cross the bridge ahead and head westward until you reach Cissnei’s residence near the noticeboard. Rest in the bed inside. Cloud wakes up to distant booming noises hours later, as Yuffie bursts in, explaining the sounds emanating from the reactor. Follow Yuffie out of the house, across the bridge, and back up to the memorial site on the hill.
Recognizing the noises as likely caused by a Weapon, Cissnei reveals her ability to perceive Whispers, unsettling the group. Barret, Cait Sith, and Red XIII accompany Cloud to confront the Weapon, while the girls remain behind.

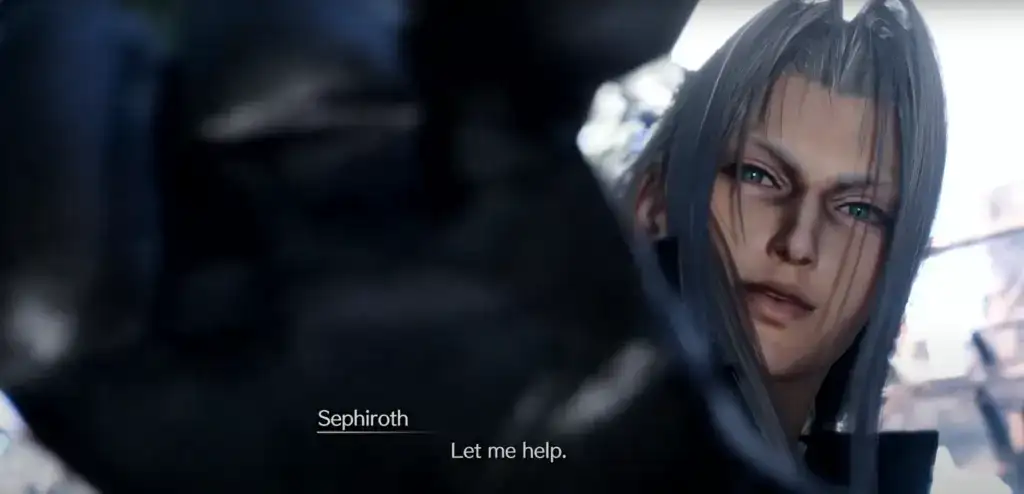
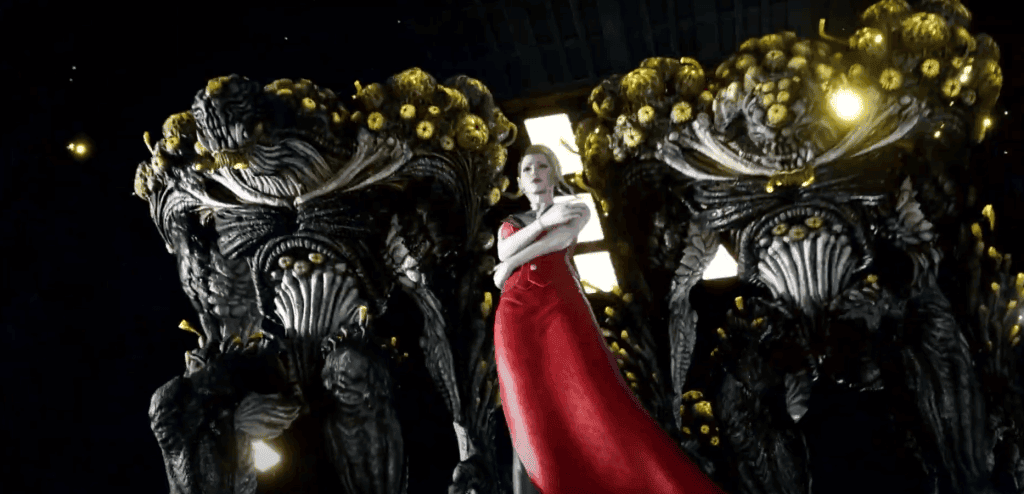
They traverse the village, navigating various obstacles and defeating enemies, ultimately reaching the reactor. Whispers appear, and Cloud witnesses Sephiroth's spectral presence. Scarlet, high above, prepares a colossal mech to extract the Weapon.
You may wish to get a drink or some snack as this next part of FF7 Rebirth Walkthrough Chapter 9 is rather long.
Gongaga Reactor
Inside the reactor, Cloud and the party face several enemies and solve puzzles to progress.
At first, you'll face off against a pair of Amalgams. Once they're vanquished, move to the platform's edge, leap across the gap, and repeat the process to access the adjacent platform.
Subsequently, three more Amalgams join the fray. Dispatch them to clear the way for Scarlet, who introduces a colossal abomination, initiating a formidable boss encounter.
They encounter the boss, Specimen H1024, and after a challenging battle, they defeat it. Cloud momentarily loses consciousness, but a Whisper ascends, showing Sephiroth's visage. Scarlet descends with a mech, unleashing an attack on the party.
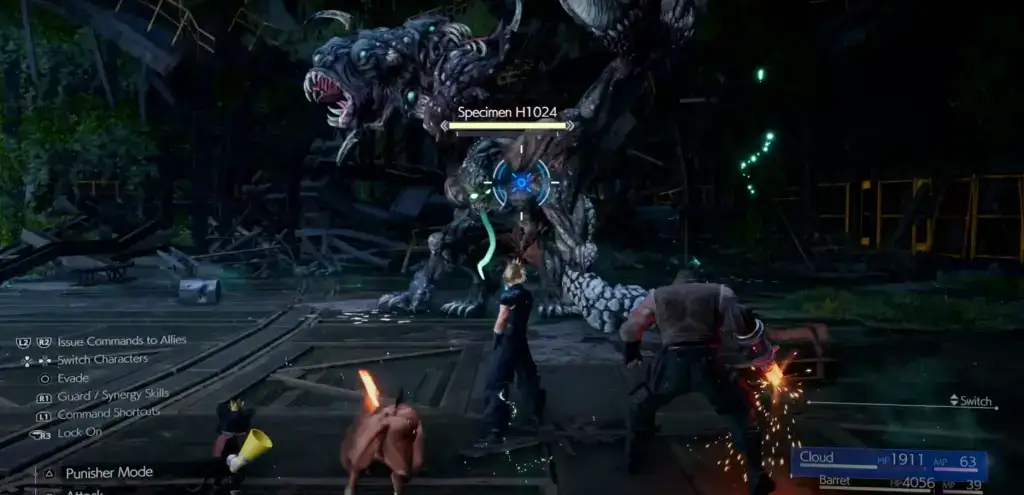
Specimen H1024 - iGame Screenshot
Specimen H1024 Boss Fight
Weaknesses: Ice. Lesser - Stop, Sleep
Battling Specimen H1024
Facing off against Specimen H1024 presents a formidable challenge, given its formidable size, agility, and array of attacks. To emerge victorious, you must optimize your party's capabilities and employ items, spells, and abilities judiciously.
H1024 unleashes a series of ranged elemental assaults. Firstly, it employs "Thundara," summoning localized lightning strikes that target each member of your party. Mastering the timing is crucial; evading at the last moment, just as the lightning descends, is imperative to avoid injury.
Secondly, it employs "Fira," utilizing an additional head appendage to launch fiery projectiles. Beware, positioning yourself to the sides or behind H1024 offers no protection, as the projectiles can penetrate its body to strike you.
At intervals, H1024 employs the "Mako Ingestion" maneuver, absorbing surrounding mako to enhance itself and bestow the Manaward buff. Another mako-based tactic is "Mako Shot," where H1024 launches a swiftly moving orb of mako with its head appendage, detonating upon impact.
"Memento Mori" stands as one of its most devastating moves, involving a ground-shaking slam that propels targets skyward, followed by a mako-infused beam from its head appendage, inflicting substantial damage.
Additionally, H1024 can execute a basic vertical slam with its left arm's claw-like appendage, although it's a rare occurrence, typically employed when close for an extended duration, which is unlikely.
Utilizing the bulb-like extension on its left shoulder, H1024 charges it with mako energy before slamming it vertically into the ground, followed by a delayed explosion. Alternatively, it may execute a variation of this move, repeatedly slamming the bulb three times without causing an explosion.
When its health reaches approximately 50%, H1024 will hurl Cloud into another section of the core, marking the beginning of the second phase where mako energy is more abundant.
During this phase, "Mako Expulsion" is initiated, with H1024 unleashing a massive burst of mako directly ahead, accompanied by secondary smaller explosions. To evade this, swiftly step backward multiple times upon the attack's initiation to avoid the blast radius. The "Mako Ingestion" from the initial phase transitions into "Mako Inhalation" in this stage, operating similarly as before, as H1024 absorbs mako from the surroundings to enhance itself.
As H1024 nears its demise, it will unleash the "Mako Overdose" assault, overflowing with Mako consumption. However, this typically happens when H1024 is on the brink of defeat. Therefore, unleash all available abilities, items, and spells to swiftly vanquish H1024 before it can execute this devastating move.
2,900 EXP, 10 AP, 1,450 Gil
After vanquishing Specimen H1024, it crumples into the mako-infused ground, enveloping Cloud in its overpowering fumes, rendering him incapacitated momentarily. A Whisper ascends, momentarily replacing Cloud's vision with Sephiroth's visage, attempting to corrupt him before he shakes off the influence.
Tifa & Co
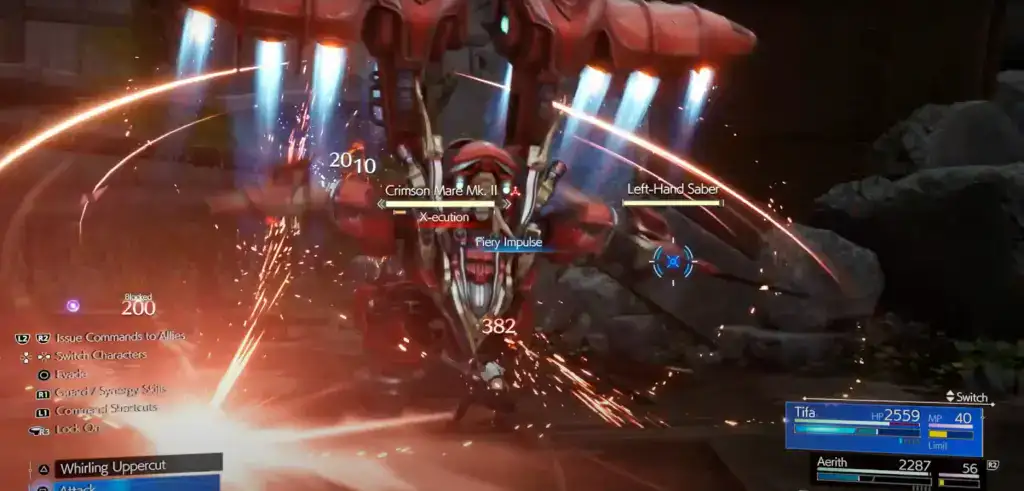
Scarlet descends in her colossal mech, charging up her weapon and unleashing a devastating blast at the party. Meanwhile, back in Gongaga village, Tifa, Aerith, and Yuffie spring into action. They ride Chocobos and use grappling hooks to reach the reactor, where they battle Shinra forces. Tifa ascends to confront Scarlet, but Cloud, influenced by Sephiroth, attacks Tifa, causing her to fall into the mako below.
Tifa swims through the depths, experiencing memories and hearing familiar voices. She realizes she is in the Lifestream and navigates through it. Sephiroth appears, shattering the seal around Tifa, but she ascends to the surface, encouraged by voices from her past. Cloud, disheartened, sees the Weapon emerge with Tifa inside. Barret's sharp slap brings Cloud back to his senses, and Tifa is safely retrieved from the Weapon.
Back In Gongaga Village
Back in Gongaga Village, Tifa shares a moment with Cloud, reflecting on their past and Cloud's identity. Cait Sith and Yuffie interrupt, and the group discusses Tifa's experiences. Cissnei suggests relocating to Cosmo Canyon, offering a map and transportation. They head to an airstrip and summon a Chocobo for the journey. After navigating various obstacles, they reach the airstrip and send smoke signals to attract a plane.
Meeting Cid Highwind
Cid Highwind, the pilot, offers to transport them to Cosmo Canyon for a fee. On the plane, they meet Cid, while Hojo conducts experiments on Roche back at the Shinra Building. The plane lands smoothly at Cosmo Canyon, setting the stage for the next chapter of their journey.
We hope you enjoyed our FF7 Rebirth Walkthrough Chapter 9 and look forward to seeing you in Chapter 10.
Related Articles
Enjoyed this article? Share it with your friends on social media and spread the word!